

SpringBoot创建员工管理系统(四)员工页面设置
| 阿里云国内75折 回扣 微信号:monov8 |
| 阿里云国际,腾讯云国际,低至75折。AWS 93折 免费开户实名账号 代冲值 优惠多多 微信号:monov8 飞机:@monov6 |
设置员工展示页面
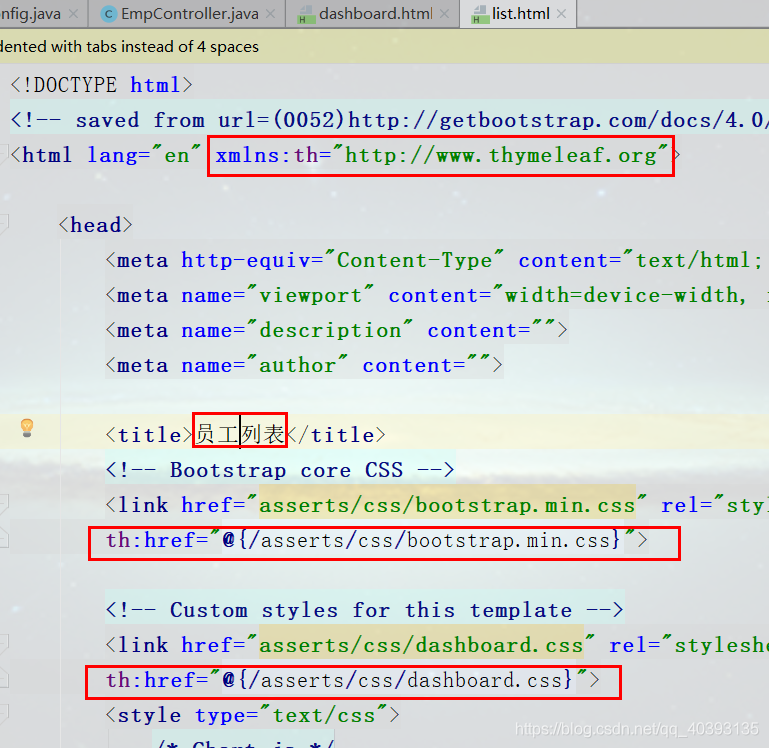
在dashboard.html中设置员工地址请求
因为现在没有办法处理请求,所以创建一个处理请求的 EmpController类来处理请求
@Controller
public class EmpController {
    @Autowired
    EmployeeDao employeeDao;
//    查询员工跳转到列表页
    @RequestMapping("/emplist")
    public String emplist(Model model){
        Collection<Employee> employees = employeeDao.getAll();
        model.addAttribute("emps",employees);
        return "emp/list";
    }
}
处理完请求后,还需要对 list.html 员工列表进行处理,
处理完请求之后,导入员工的信息
进行测试就可以看到导入了数据

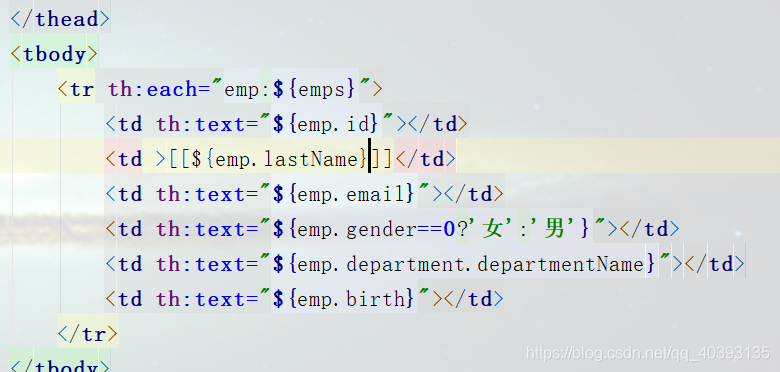
接下来就可以导入遍历数据,
<tbody>
	<tr th:each="emp:${emps}">
		<td th:text="${emp.id}"></td>
		<td >[[${emp.lastName}]]</td>
		<td th:text="${emp.email}"></td>
		<td th:text="${emp.gender==0?'女':'男'}"></td>
        <td th:text="${emp.department.departmentName}"></td>
		<td th:text="${emp.birth}"></td>
	</tr>
</tbody>
测试结果如下
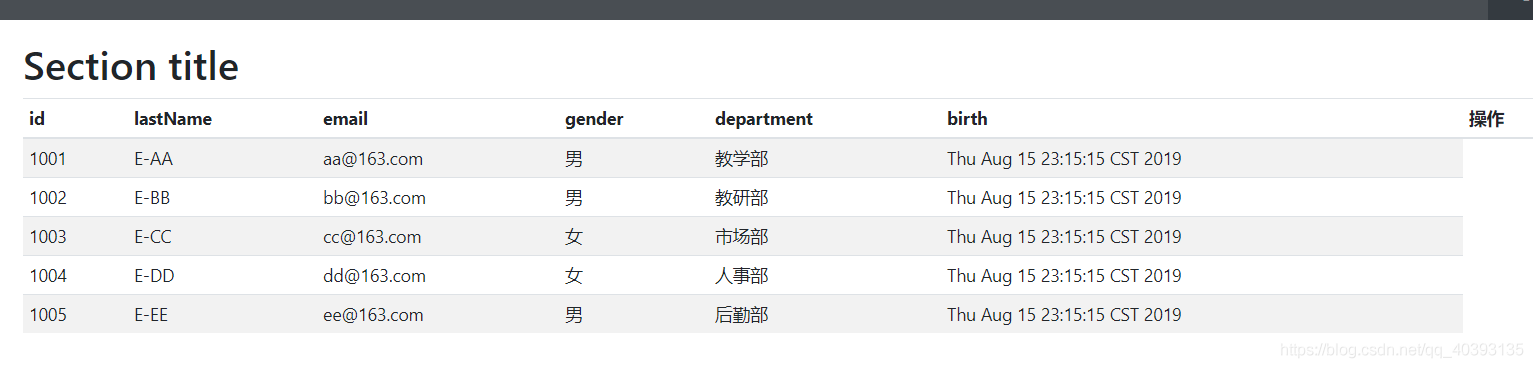
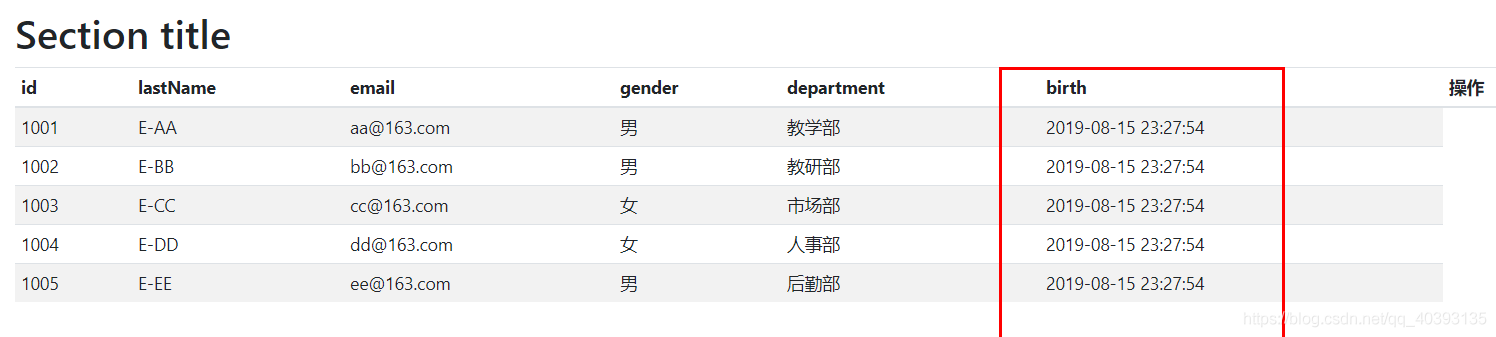
现在我们可以看到日期格式和我们所想的不同,那么就设置时间内格式
<td th:text="${#dates.format(emp.birth,'yyyy-MM-dd HH:mm:ss')}"></td这样再次进行测试,就可以看到结果如下
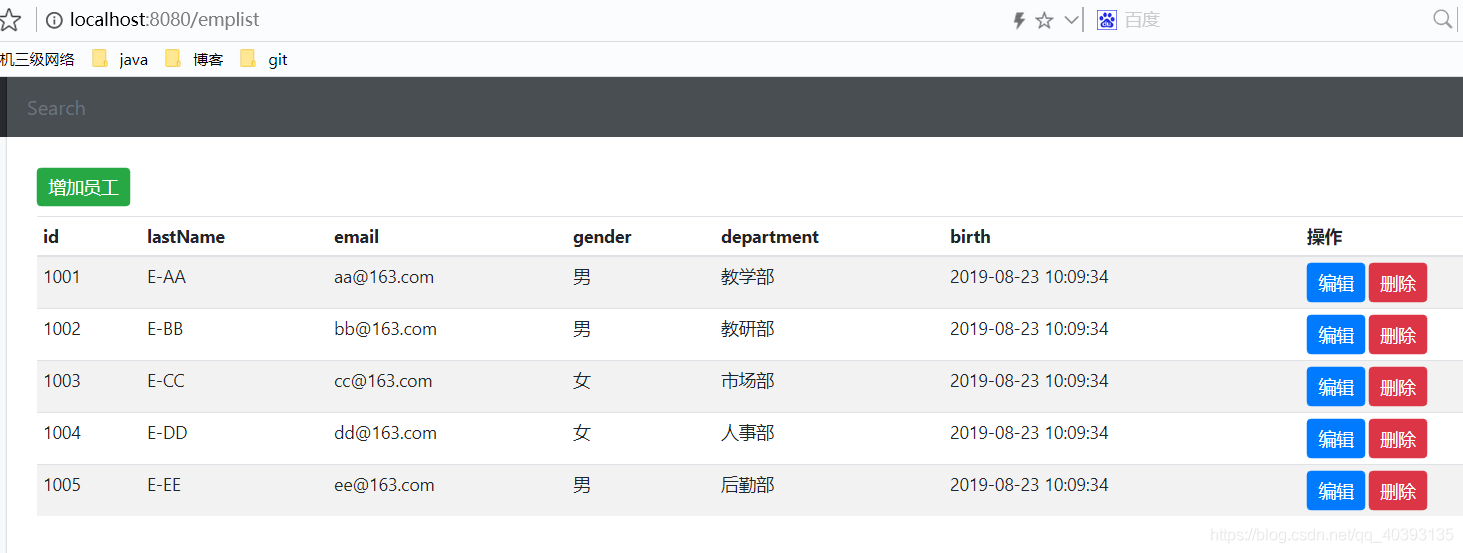
添加操作
<h2><a class="btn btn-sm btn-success" href="">增加员工</a></h2><!--操作-->
<td>
<a class="btn btn-sm btn-primary" th:href="@{/update/}+${emp.id}">编辑</a>
<a class="btn btn-sm btn-danger" th:href="@{/delete/}+${emp.id}">删除</a>
</td>测试,就可以看到增加了操作按钮
员工列表功能
- 首先将首页的侧边栏Customers改为员工管理;
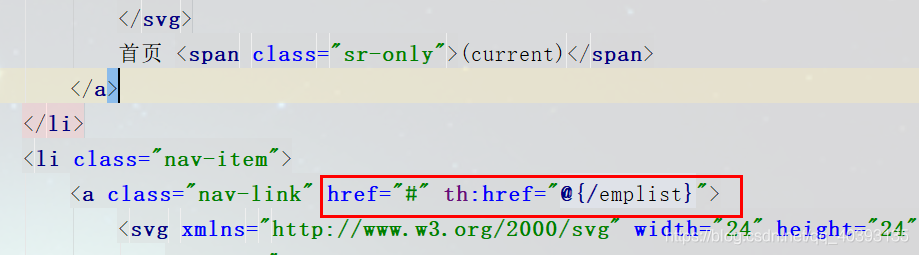
- a链接添加请求;
<a class="nav-link" href="#" th:href="@{/emps}">员工管理</a>- 将list放到emp文件夹下:
- 编写处理请求的controller;
package com.zhang.springboot2.controller;
import com.zhang.springboot2.dao.DepartmentDao;
import com.zhang.springboot2.dao.EmployeeDao;
import com.zhang.springboot2.pojo.Employee;
import org.springframework.beans.factory.annotation.Autowired;
import org.springframework.stereotype.Controller;
import org.springframework.ui.Model;
import org.springframework.web.bind.annotation.RequestMapping;
import java.util.Collection;
@Controller
public class EmpController {
@Autowired
EmployeeDao employeeDao;
@RequestMapping("/emplist")
public String emplist(Model model){
Collection<Employee> employees = employeeDao.getAll();
// 将结果放到请求中
model.addAttribute("emps",employees);
return "emp/list";
}}Thymeleaf 公共页面元素抽取
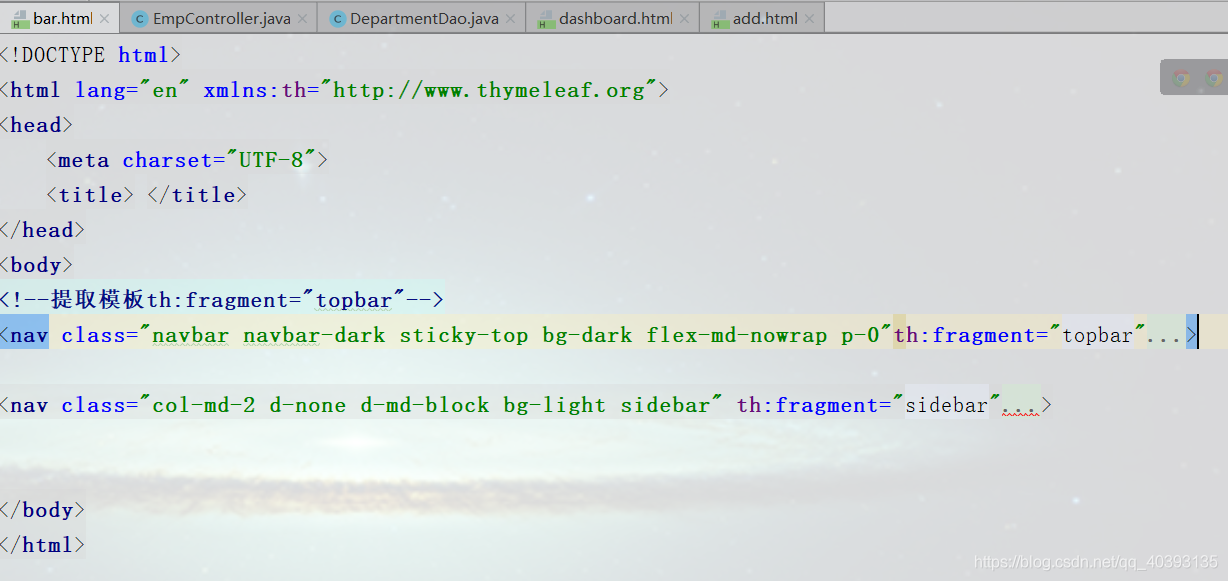
- 抽取公共的片段,
th:fragment="topbar" 定义模板名- 引入公共片段,
<div th:insert 插入模板名 使用list 列表,抽取头部<!--提取模板th:fragment="topbar"-->
<nav class="navbar navbar-dark sticky-top bg-dark flex-md-nowrap p-0"th:fragment="topbar">
<a class="navbar-brand col-sm-3 col-md-2 mr-0"
style="color: white;font-weight: bold">[[${session.loginUser}]]</a>
<input class="form-control form-control-dark w-100"
type="text" placeholder="Search" aria-label="Search">
<ul class="navbar-nav px-3">
<li class="nav-item text-nowrap">
<a class="nav-link" href="#" th:href="@{/user/loginOut}">注销</a>
</li>
</ul>
</nav>- 然后在list页面中引入,可以删除原来的nav
<div th:insert="~{commons/bar::topbar}"></div>除了使用insert插入,还可以使用replace替换,或者include包含,三种方式会有一些小区别,可以见名知义;
我们使用replace替换,可以解决div多余的问题
我们发现一个小问题,侧边栏激活的问题,它总是激活第一个;按理来说,这应该是动态的才对!
为了重用更清晰,我们建立一个commons文件夹,专门存放公共页面;
我们去页面中引入一下
<div th:replace="~{commons/bar::topbar}"></div>
<div th:replace="~{commons/bar::sitebar}"></div>我们先测试一下,保证所有的页面没有出问题!ok!
我们来解决我们侧边栏激活问题!
1.将首页的超链接地址改到项目中
2.我们在a标签中加一个判断,使用class改变标签的值;
<a class="nav-link active" th:class="${activeUrl=='main.html'?'nav-link active':'nav-link'}" href="#" th:href="@{/main.html}">
其余同理,判断请求携带的参数,进行激活测试3.修改请求链接
<div th:replace="~{commons/bar::sitebar(activeUrl='main.html')}"></div>
<div th:replace="~{commons/bar::sitebar(activeUrl='emps')}"></div>
其余要用都是同理遍历我们的员工信息!顺便美化一些页面,增加添加,修改,删除的按钮<body>
<!--使用提取的模板 "~{templatename::selector}"-->
<div th:insert="~{commons/bar::topbar}"></div>
<div class="container-fluid">
<div class="row">
<!--侧边栏-->
<div th:insert="~{commons/bar::sidebar(activeUrl='emps.html')}"></div>
<main role="main" class="col-md-9 ml-sm-auto col-lg-10 pt-3 px-4">
<h2><a class="btn btn-sm btn-success" th:href="@{/toAddPage}">增加员工</a></h2>
<div class="table-responsive">
<table class="table table-striped table-sm">
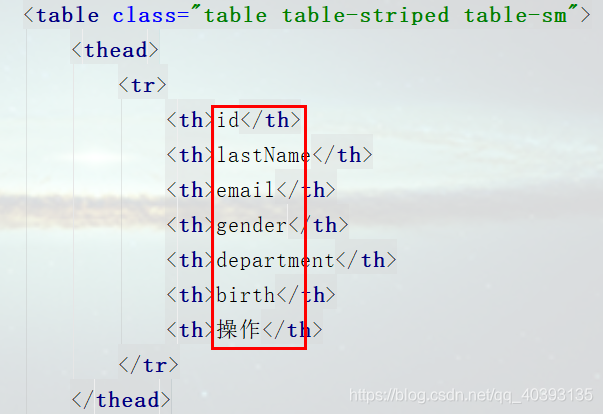
<thead>
<tr>
<th>id</th>
<th>lastName</th>
<th>email</th>
<th>gender</th>
<th>department</th>
<th>birth</th>
<th>操作</th>
</tr>
</thead>
<tbody>
<tr th:each="emp:${emps}">
<td th:text="${emp.id}"></td>
<td>[[${emp.lastName}]]</td>
<td th:text="${emp.email}"></td>
<td th:text="${emp.gender==0?'女':'男'}"></td>
<td th:text="${emp.department.departmentName}"></td>
<td th:text="${#dates.format(emp.birth,'yyyy-MM-dd HH:mm:ss')}"></td>
<!--操作-->
<td>
	<a class="btn btn-sm btn-primary" th:href="@{/update/}+${emp.id}">编辑</a>
	<a class="btn btn-sm btn-danger"  th:href="@{/delete/}+${emp.id}">删除</a>
</td>
</tr>
</tbody>
</table>
</div>
</main>
</div>
</div>| 阿里云国内75折 回扣 微信号:monov8 |
| 阿里云国际,腾讯云国际,低至75折。AWS 93折 免费开户实名账号 代冲值 优惠多多 微信号:monov8 飞机:@monov6 |