

微信小程序|搭建一个博客小程序
| 阿里云国内75折 回扣 微信号:monov8 |
| 阿里云国际,腾讯云国际,低至75折。AWS 93折 免费开户实名账号 代冲值 优惠多多 微信号:monov8 飞机:@monov6 |
文章目录
一、文章前言
此文主要通过小程序搭建一个博客系统实现博客的一些基础功能也可以当做备忘录或者空间动态使用。
二、创建小程序
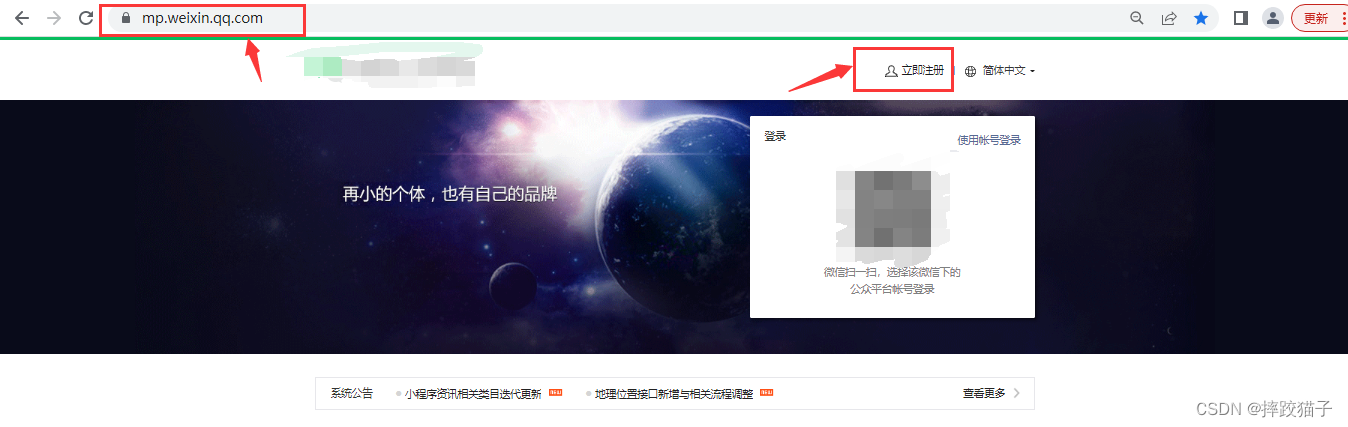
- 访问微信公众平台点击账号注册。
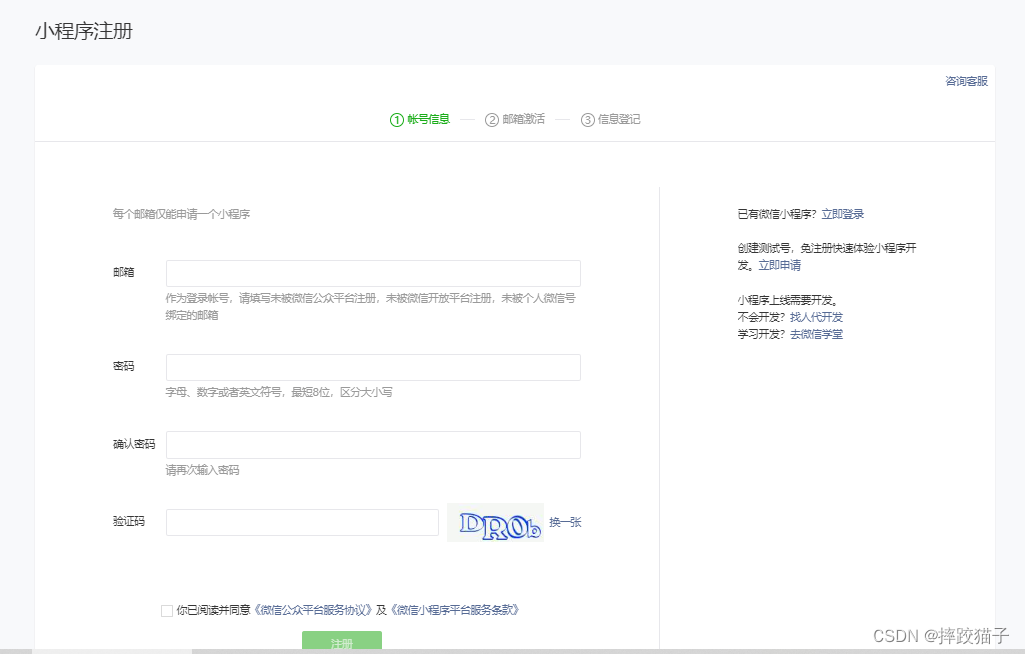
- 选择小程序并在表单填写所需的各项信息进行注册。

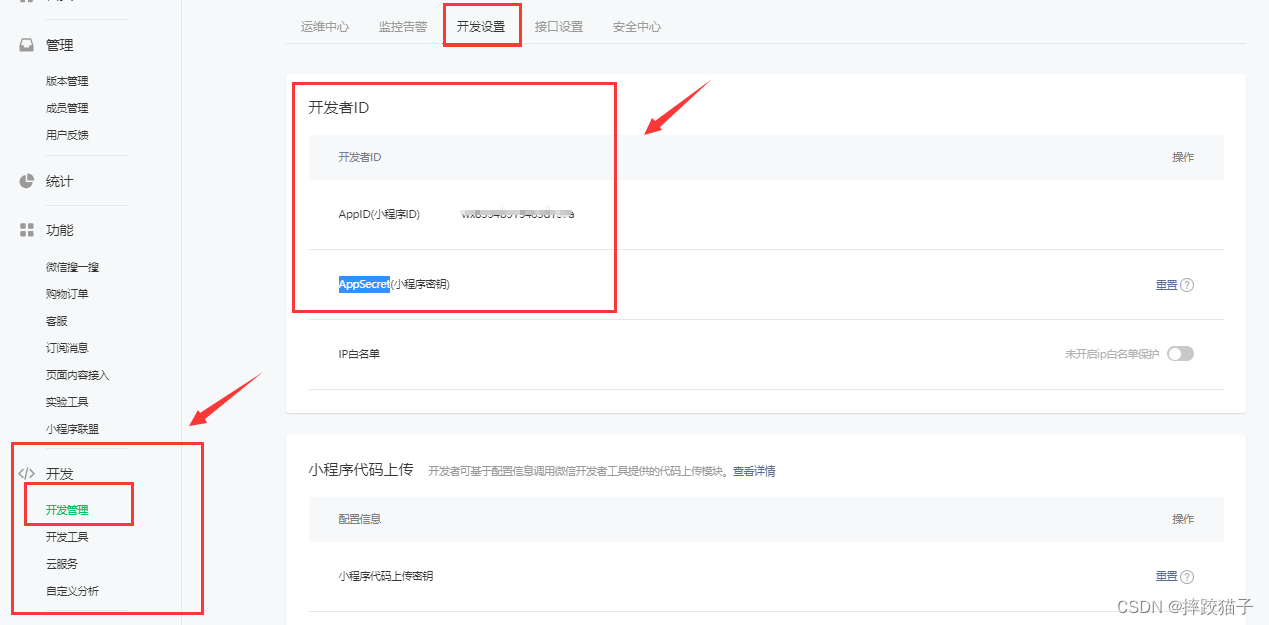
- 在开发管理选择开发设置将AppID及AppSecret复制出来进行存储。
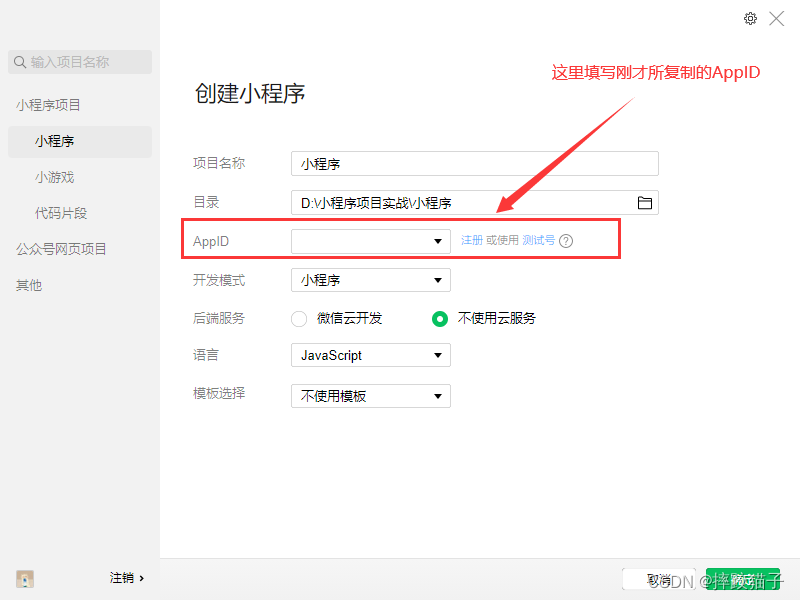
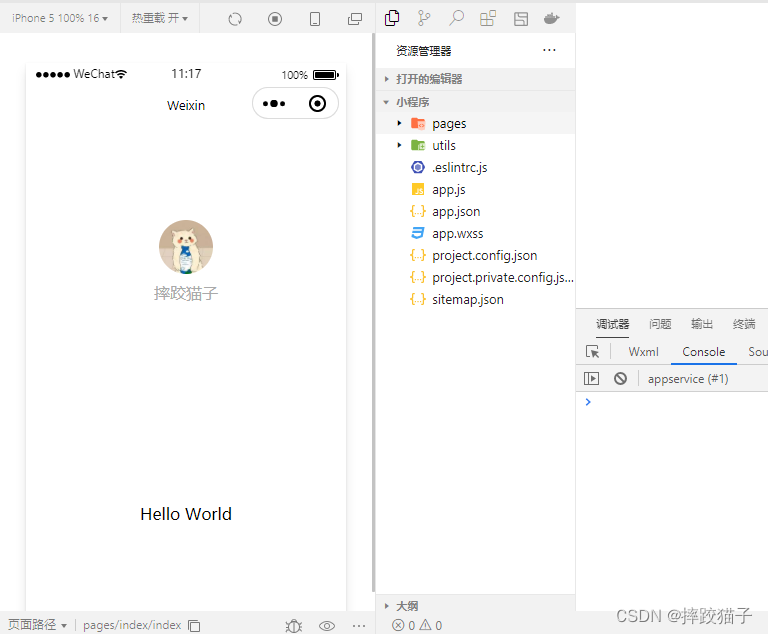
- 下载安装微信web开发者工具并创建一个新的项目填入上图所复制的AppId。
三、功能开发
1首页
- 在实现首页这个页面前先把tabbar配置好。

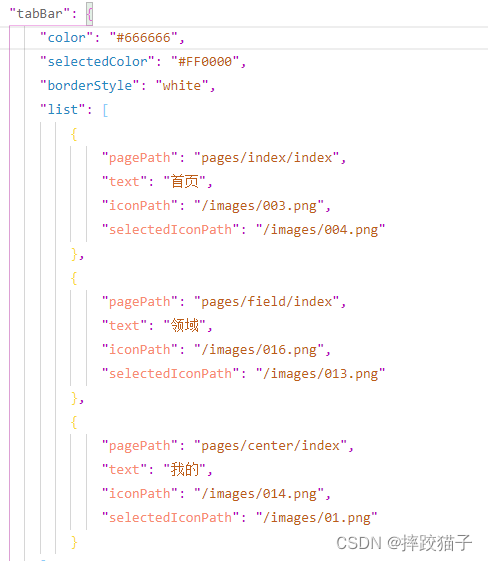


    "tabBar": {
        "color": "#666666",
        "selectedColor": "#FF0000",
        "borderStyle": "white",
        "list": [
            {
                "pagePath": "pages/index/index",
                "text": "首页",
                "iconPath": "/images/003.png",
                "selectedIconPath": "/images/004.png"
            },
            {
                "pagePath": "pages/field/index",
                "text": "领域",
                "iconPath": "/images/016.png",
                "selectedIconPath": "/images/013.png"
            },
            {
                "pagePath": "pages/center/index",
                "text": "我的",
                "iconPath": "/images/014.png",
                "selectedIconPath": "/images/01.png"
            }
        ]
    }
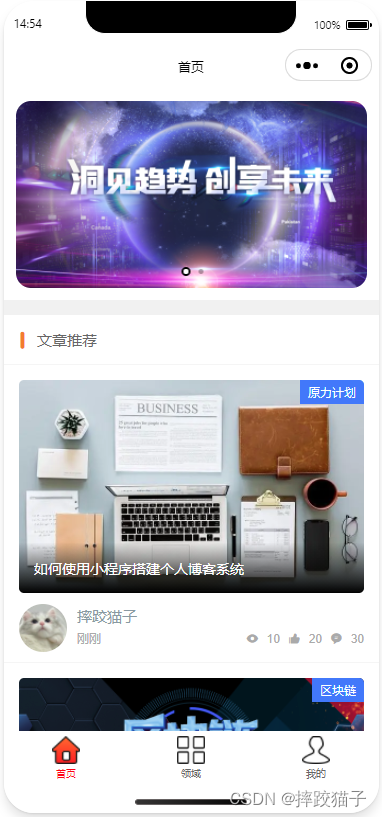
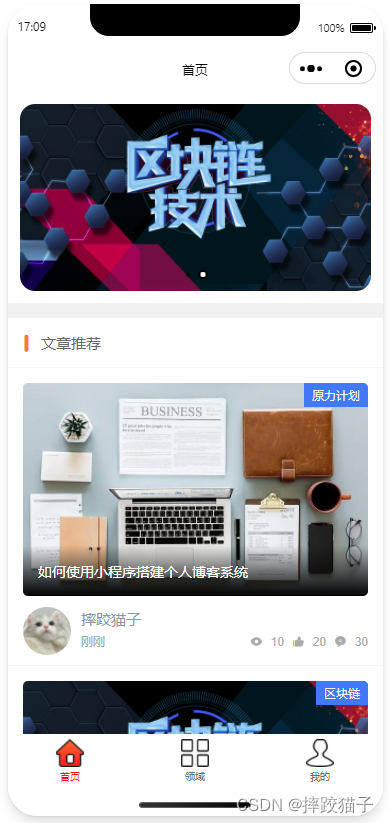
- tabbar配置好后进行首页的设计大体包括轮播图文章推荐列表等元素。轮播图需要用到swiper组件文章推荐列表可以通过view将数据进行渲染即可。
<view style="">
  <swiper class="screen-swiper round-dot" indicator-dots="true" circular="true" autoplay="true" interval="5000" duration="500">
    <swiper-item>
      <image src="../../images/banner2.png" mode="aspectFill"  style="border-radius:30rpx;"></image>
    </swiper-item>
</view>
<view class="cu-bar bg-white solid-bottom margin-top">
  <view class='action'>
    <text class='cuIcon-titles text-orange '></text> 文章推荐
  </view>
</view>
<view class="cu-card case no-card solid-bottom" bindtap="detail">
  <view class="cu-item shadow">
    <view class="image">
      <image src="../../images/banner3.jpg" mode="widthFix"></image>
      <view class="cu-tag bg-blue">原力计划</view>
      <view class="cu-bar bg-shadeBottom">
        <text class="text-cut">如何使用小程序搭建个人博客系统</text>
      </view>
    </view>
    <view class="cu-list menu-avatar">
      <view class="cu-item">
        <view class="cu-avatar round lg" style="background-image:url(../../images/cat.jpg);"></view>
        <view class="content flex-sub">
          <view class="text-grey">摔跤猫子</view>
          <view class="text-gray text-sm flex justify-between">
            刚刚
            <view class="text-gray text-sm">
              <text class="cuIcon-attentionfill margin-lr-xs"></text> 10
              <text class="cuIcon-appreciatefill margin-lr-xs"></text> 20
              <text class="cuIcon-messagefill margin-lr-xs"></text> 30
            </view>
          </view>
        </view>
      </view>
    </view>
  </view>
</view>
2领域页
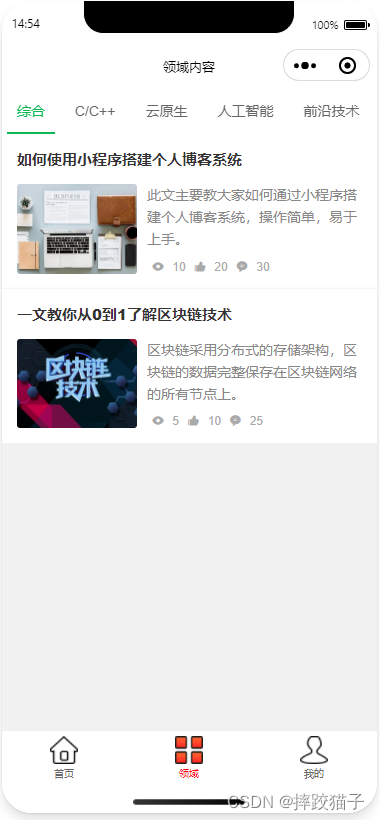
- 领域页主要是根据不同的领域展示不同的内容这个页面主要用到scroll-view。
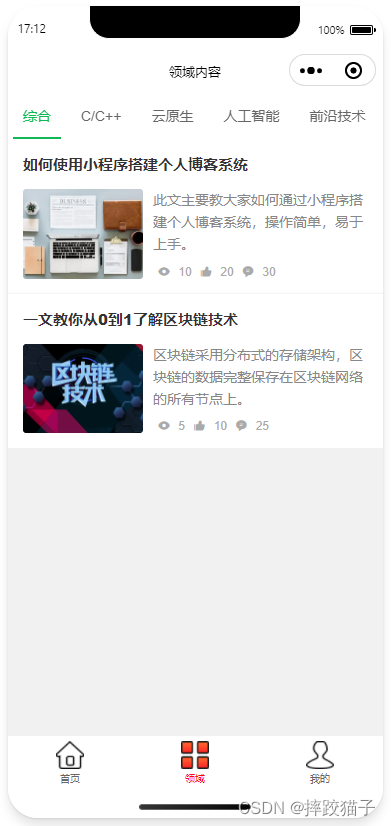
- 在data中先将领域类型定义好在页面进行渲染实现一个切换滚动的效果。

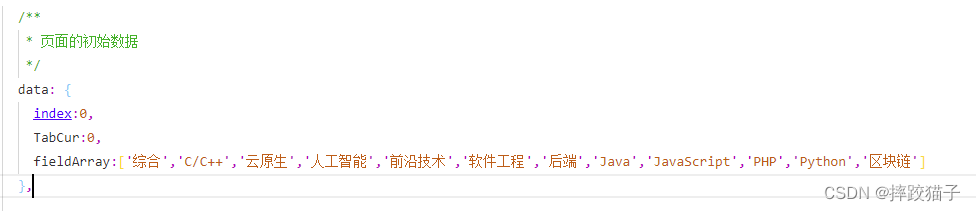
    /**
     * 页面的初始数据
     */
    data: {
      index:0,
      TabCur:0,
      fieldArray:['综合','C/C++','云原生','人工智能','前沿技术','软件工程','后端','Java','JavaScript','PHP','Python','区块链']
    },
<scroll-view scroll-x class="bg-white nav" scroll-with-animation scroll-left="{{scrollLeft}}">
  <view class="cu-item {{index==TabCur?'text-green cur':''}}" wx:for="{{fieldArray}}" wx:key bindtap="tabSelect" data-id="{{index}}">
    {{item}}
  </view>
</scroll-view>
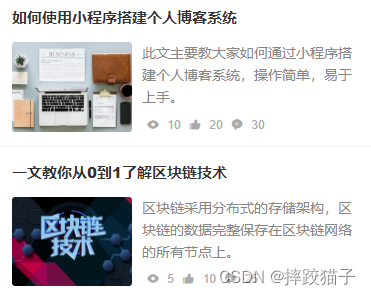
- 在页面定义view先实现博客列表的样式大致有封面图、标题、简介、浏览、点赞、评论数等标识。
<view class="cu-card article solid-bottom no-card">
  <view class="cu-item shadow">
    <view class="title">
      <view class="text-cut">一文教你从0到1了解区块链技术</view>
    </view>
    <view class="content">
      <image src="../../images/banner1.png" mode="aspectFill"></image>
      <view class="desc">
        <view class="text-content">区块链采用分布式的存储架构区块链的数据完整保存在区块链网络的所有节点上。</view>
        <view>
          <view class="text-gray text-sm">
              <text class="cuIcon-attentionfill margin-lr-xs"></text> 5
              <text class="cuIcon-appreciatefill margin-lr-xs"></text> 10
              <text class="cuIcon-messagefill margin-lr-xs"></text> 25
            </view>
        </view>
      </view>
    </view>
  </view>
</view>
3博客详情页
- 在首页以及领域页的博客列表增加点击事件提供跳转进去博客详情页的入口。
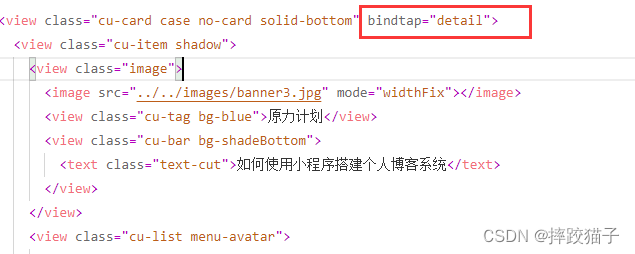
    detail(){
      wx.navigateTo({
        url: '/pages/detail/index',
      })
    },
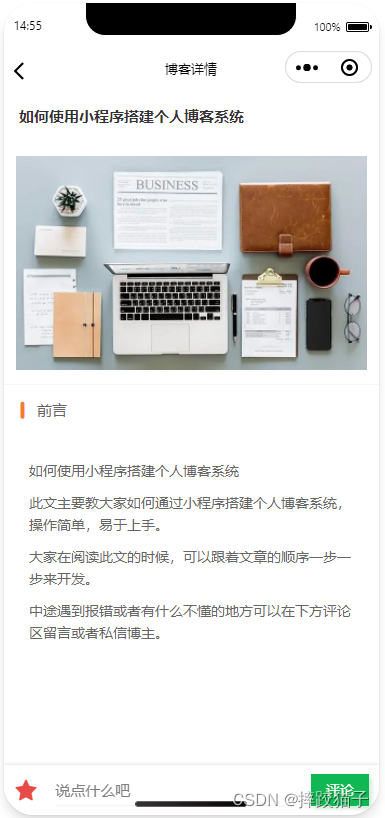
- 博客详情页可以使用富文本渲染的方式也可以通过基本标签的方式将数据进行渲染。
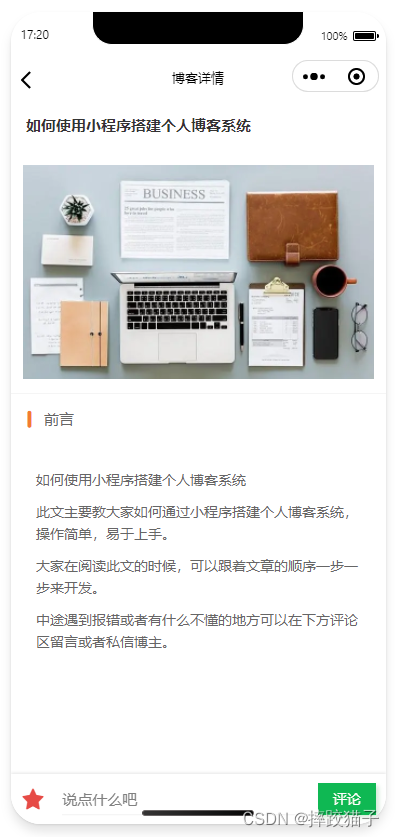
- 大体实现博客图片、博客内容以及底部的收藏及评价的入口。
<view class="cu-card article solid-bottom no-card">
  <view class="cu-item ">
    <view class="title">
      <view class="text-cut">如何使用小程序搭建个人博客系统</view>
    </view>
  </view>
  <view style="width:750rpx;padding:0 24rpx 24rpx 24rpx ;background:white;">
    <image src="../../images/banner3.jpg" style="width:702rpx;" mode="widthFix"></image>
  </view>
</view>
<view class="cu-bar bg-white">
  <view class='action'>
    <text class='cuIcon-titles text-orange '></text> 前言
  </view>
</view>
<view class='bg-white padding-xl'>
  <view class='text-content'>
    <view>如何使用小程序搭建个人博客系统</view>
    <view class='margin-top-sm'>此文主要教大家如何通过小程序搭建个人博客系统操作简单易于上手。</view>
    <view class='margin-top-sm'>大家在阅读此文的时候可以跟着文章的顺序一步一步来开发。</view>
    <view class='margin-top-sm'>中途遇到报错或者有什么不懂的地方可以在下方评论区留言或者私信博主。</view>
  </view>
</view>
<view class="cu-bar foot input">
  <view class="action">
    <text class="cuIcon-favorfill text-red"></text>
  </view>
  <input class="solid-bottom" placeholder="说点什么吧" maxlength="300" ></input>
  <view class="cu-btn bg-green shadow" >评论</view>
</view>
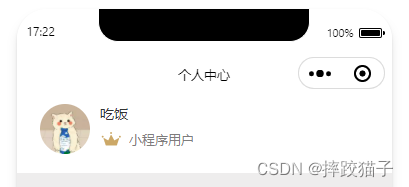
4个人中心页
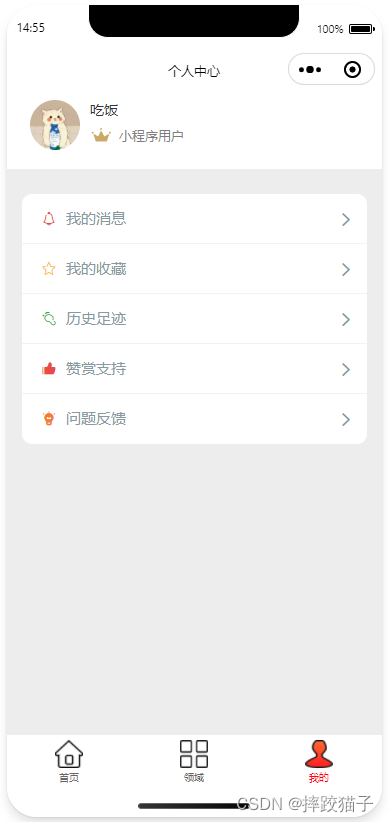
- 个人中心需要获取微信用户头像及昵称等信息并用于展示。
  <view class="topHead">
    <!-- 左侧容器 -->
    <view class="topLeft">
      <!-- 头像 -->
      <view class="headBox">
        <open-data type="userAvatarUrl"  class="user-img"></open-data>
      </view>
      <!-- 昵称  -->
      <view class="teamIcon">
        <open-data type="userNickName"  class="user-nickname"></open-data>
        <view class="uIcon">
          <image src="../../images/head.png" class="uIconImg">
          </image>
          <view class="teamTitle">小程序用户</view>
        </view>
      </view>
    </view>
    <!-- 右侧容器 -->
    <view class="rightBox">
    </view>
  </view>
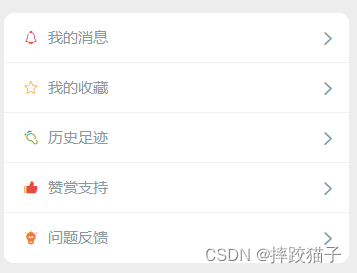
- 在下方增加一些快捷菜单提供跳转其他模块的入口大家可以根据自己的需求进行定义设计。
  <view class="cu-list menu card-menu margin-top-xl margin-bottom-xl shadow-lg radius">
    <view class="cu-item arrow">
      <view class="content" bindtap="CopyLink">
        <text class="cuIcon-notice text-red"></text>
        <text class="text-grey">我的消息</text>
      </view>
    </view>
    <view class="cu-item arrow">
      <view class="content" bindtap="CopyLink">
        <text class="cuIcon-favor text-yellow"></text>
        <text class="text-grey">我的收藏</text>
      </view>
    </view>
    <view class="cu-item arrow">
      <navigator class="content" url="/pages/about/log/log" hover-class="none">
        <text class="cuIcon-footprint text-green"></text>
        <text class="text-grey">历史足迹</text>
      </navigator>
    </view>
    <view class="cu-item arrow">
      <view class="content" bindtap="showQrcode">
        <text class="cuIcon-appreciatefill text-red"></text>
        <text class="text-grey">赞赏支持</text>
      </view>
    </view>
    <view class="cu-item arrow">
      <navigator class="content" url="/pages/about/test/list" hover-class="none">
        <text class="cuIcon-creativefill text-orange"></text>
        <text class="text-grey">问题反馈</text>
      </navigator>
    </view>
  </view>