如何利用HTML5 Canvas和JavaScript创建交互式和动画图形的指南
| 阿里云国内75折 回扣 微信号:monov8 |
| 阿里云国际,腾讯云国际,低至75折。AWS 93折 免费开户实名账号 代冲值 优惠多多 微信号:monov8 飞机:@monov6 |
前言
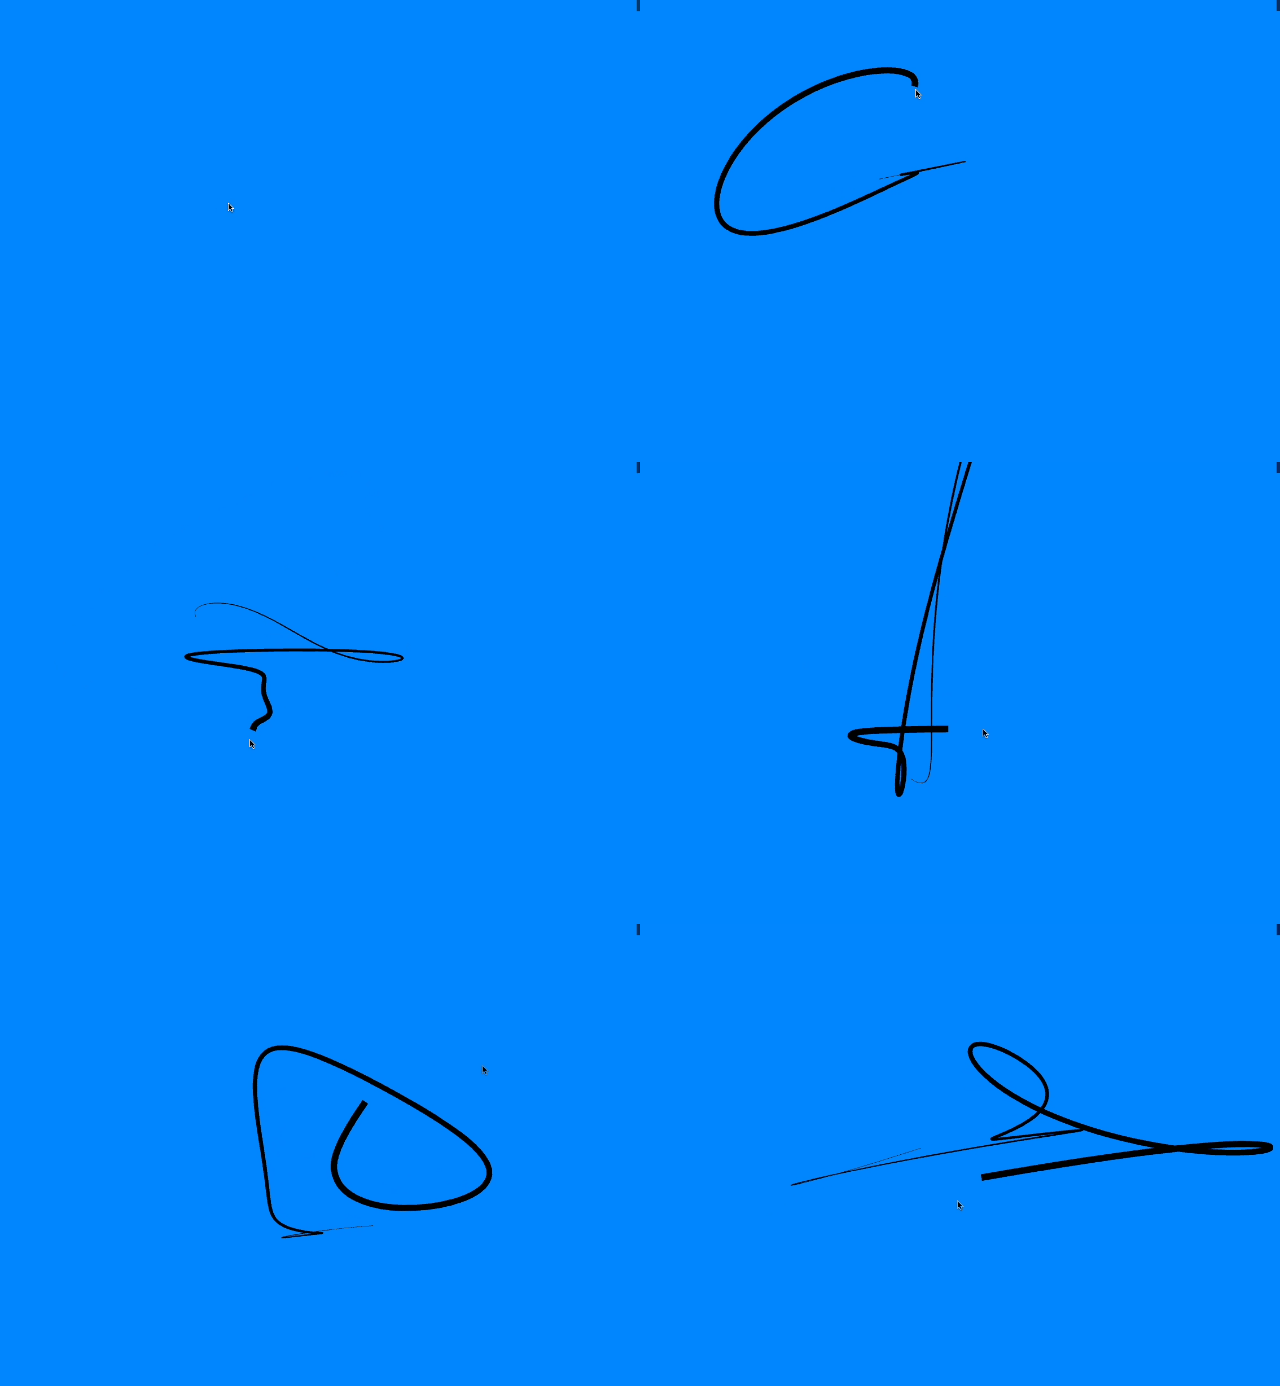
本文介绍了如何使用HTML5的Canvas和JavaScript创建一个交互式的泡泡效果。通过鼠标或触摸移动,可以在画布上产生流动的泡泡轨迹。这个效果利用了点与点之间的弹簧效果,使得泡泡可以自然地跟随鼠标或触摸的移动轨迹。 代码中的canvas元素被获取,并通过getContext方法获得2D绘图上下文。鼠标和触摸事件被监听,以更新鼠标或触摸的位置。
效果演示

代码讲解
首先使用document.querySelector()方法选择HTML中的canvas,并将其赋值给变量canvas。
const canvas = document.querySelector("canvas");
利用canvas.getContext('2d')方法创建了一个2D绘图环境,并将其赋值给变量ctx
const ctx = canvas.getContext('2d');
定义鼠标坐标对象,包含初始坐标和目标坐标。
let mouse = {
    x: .5 * window.innerWidth,
    y: .5 * window.innerHeight,
    tX: 0,
    tY: 0
}
定义参数对象,包括点数量、宽度系数、鼠标灵敏度、弹性和摩擦力等。
let params = {
    pointsNumber: 40,
    widthFactor: .3,
    mouseThreshold: .6,
    spring: .4,
    friction: .5
};
创建一个数组用于存储触摸轨迹,并进行遍历初始化每个点的x与y坐标、vx与vy速度为0。
const touchTrail = new Array(params.pointsNumber);
for (let i = 0; i < params.pointsNumber; i++) {
    touchTrail[i] = {
        x: mouse.x,
        y: mouse.y,
        vx: 0,
        vy: 0,
    }
}
通过addEventListener()方法给窗口添加点击事件、鼠标移动事件和触摸事件。
window.addEventListener("click", e => {
    updateMousePosition(e.pageX, e.pageY);
});
window.addEventListener("mousemove", e => {
    mouseMoved = true;
    updateMousePosition(e.pageX, e.pageY);
});
window.addEventListener("touchmove", e => {
    mouseMoved = true;
    updateMousePosition(e.targetTouches[0].pageX, e.targetTouches[0].pageY);
});
定义一个事件处理函数updateMousePosition(),用于更新鼠标坐标信息。
function updateMousePosition(eX, eY) {
    mouse.tX = eX;
    mouse.tY = eY;
}
调用setupCanvas()方法对canvas进行初始化,设置canvas的宽度和高度。
setupCanvas();
调用window.addEventListener()方法给窗口添加resize事件,并在事件处理函数中调用setupCanvas()方法对canvas进行初始化。
window.addEventListener('resize', () => {
    setupCanvas();
});
定义updateBubbles()方法,该方法用于更新气泡效果,并不断调用window.requestAnimationFrame()方法来不断渲染画面。
function updateBubbles(t) {
    ...
    window.requestAnimationFrame(updateBubbles);
}
在updateBubbles()方法中,通过判断鼠标是否移动来控制气泡的运动,如果鼠标没有移动,则设定为规律的动态图案。
if (!mouseMoved) {
        mouse.tX = (.5 + .3 * Math.cos(.002 * t) * (Math.sin(.005 * t))) * window.innerWidth;
        mouse.tY = (.5 + .2 * (Math.cos(.005 * t)) + .1 * Math.cos(.01 * t)) * window.innerHeight;
}
使用ctx.beginPath()方法开始绘制路径,touchTrail数组中的每个点表示一个气泡效果。
ctx.beginPath();
touchTrail.forEach((p, pIdx) => {
    ...
});
在touchTrail数组中遍历每个点,当当前点为第一个点时,将点的坐标设置为鼠标的坐标,并移动画笔到该点,否则计算当前点与前一个点之间的距离,并使用弹性和摩擦力控制其运动。vx和vy表示在x方向和y方向上的速度。
touchTrail.forEach((p, pIdx) => {
        if (pIdx === 0) {
            p.x = mouse.x;
            p.y = mouse.y;
            ctx.moveTo(p.x, p.y);
        } else {
            p.vx += (touchTrail[pIdx - 1].x - p.x) * params.spring;
            p.vy += (touchTrail[pIdx - 1].y - p.y) * params.spring;
            p.vx *= params.friction;
            p.vy *= params.friction;
            p.x += p.vx;
            p.y += p.vy;
        }
});
使用ctx.quadraticCurveTo()方法和ctx.lineTo()方法来绘制气泡路径,并通过params.widthFactor参数控制线条宽度的变化。
for (let i = 1; i < touchTrail.length - 1; i++) {
        const xc = .5 * (touchTrail[i].x + touchTrail[i + 1].x);
        const yc = .5 * (touchTrail[i].y + touchTrail[i + 1].y);
        ctx.quadraticCurveTo(touchTrail[i].x, touchTrail[i].y, xc, yc);
        ctx.lineWidth = params.widthFactor * (params.pointsNumber - i);
        ctx.stroke();
    }
    ctx.lineTo(touchTrail[touchTrail.length - 1].x, touchTrail[touchTrail.length - 1].y);
    ctx.stroke();
最后,通过params.mouseThreshold参数控制鼠标灵敏度,来实现平滑的运动效果。
mouse.x += (mouse.tX - mouse.x) * params.mouseThreshold;
mouse.y += (mouse.tY - mouse.y) * params.mouseThreshold;
完整代码
对下面的这段代码 分点讲解说明, 每一点需要有对应的代码

const canvas = document.querySelector("canvas");
const ctx = canvas.getContext('2d');

// for intro motion
let mouseMoved = false;

let mouse = {
    x: .5 * window.innerWidth,
    y: .5 * window.innerHeight,
    tX: 0,
    tY: 0
}
let params = {
    pointsNumber: 40,
    widthFactor: .3,
    mouseThreshold: .6,
    spring: .4,
    friction: .5
};

const touchTrail = new Array(params.pointsNumber);
for (let i = 0; i < params.pointsNumber; i++) {
    touchTrail[i] = {
        x: mouse.x,
        y: mouse.y,
        vx: 0,
        vy: 0,
    }
}

window.addEventListener("click", e => {
    updateMousePosition(e.pageX, e.pageY);
});
window.addEventListener("mousemove", e => {
    mouseMoved = true;
    updateMousePosition(e.pageX, e.pageY);
});
window.addEventListener("touchmove", e => {
    mouseMoved = true;
    updateMousePosition(e.targetTouches[0].pageX, e.targetTouches[0].pageY);
});

function updateMousePosition(eX, eY) {
    mouse.tX = eX;
    mouse.tY = eY;
}

setupCanvas();
updateBubbles(0);
window.addEventListener('resize', () => {
    setupCanvas();
});


function updateBubbles(t) {

    // for intro motion
    if (!mouseMoved) {
        mouse.tX = (.5 + .3 * Math.cos(.002 * t) * (Math.sin(.005 * t))) * window.innerWidth;
        mouse.tY = (.5 + .2 * (Math.cos(.005 * t)) + .1 * Math.cos(.01 * t)) * window.innerHeight;
    }

    ctx.clearRect(0, 0, canvas.width, canvas.height);
    ctx.beginPath();

    touchTrail.forEach((p, pIdx) => {
        if (pIdx === 0) {
            p.x = mouse.x;
            p.y = mouse.y;
            ctx.moveTo(p.x, p.y);
        } else {
            p.vx += (touchTrail[pIdx - 1].x - p.x) * params.spring;
            p.vy += (touchTrail[pIdx - 1].y - p.y) * params.spring;
            p.vx *= params.friction;
            p.vy *= params.friction;

            p.x += p.vx;
            p.y += p.vy;
        }
    });

    for (let i = 1; i < touchTrail.length - 1; i++) {
        const xc = .5 * (touchTrail[i].x + touchTrail[i + 1].x);
        const yc = .5 * (touchTrail[i].y + touchTrail[i + 1].y);
        ctx.quadraticCurveTo(touchTrail[i].x, touchTrail[i].y, xc, yc);
        ctx.lineWidth = params.widthFactor * (params.pointsNumber - i);
        ctx.stroke();
    }
    ctx.lineTo(touchTrail[touchTrail.length - 1].x, touchTrail[touchTrail.length - 1].y);
    ctx.stroke();

    mouse.x += (mouse.tX - mouse.x) * params.mouseThreshold;
    mouse.y += (mouse.tY - mouse.y) * params.mouseThreshold;

    window.requestAnimationFrame(updateBubbles);
}

function setupCanvas() {
    canvas.width = window.innerWidth;
    canvas.height = window.innerHeight;
}
完结

| 阿里云国内75折 回扣 微信号:monov8 |
| 阿里云国际,腾讯云国际,低至75折。AWS 93折 免费开户实名账号 代冲值 优惠多多 微信号:monov8 飞机:@monov6 |

