

nodejs使用eggjs创建项目,接入influxdb完成单表增删改查
| 阿里云国内75折 回扣 微信号:monov8 |
| 阿里云国际,腾讯云国际,低至75折。AWS 93折 免费开户实名账号 代冲值 优惠多多 微信号:monov8 飞机:@monov6 |
1.Eggjs 特性:
Eggjs 是 Node.js 服务端应用开发框架,它提供了一套约定,使开发者能够快速搭建、开发和部署应用。以下是 Egg.js 的一些特性和作用:
- 框架内置了基于约定的目录结构、约定的扩展机制和一些常用的插件,可以帮助开发者快速搭建应用。
- Egg.js 遵循 MVC 的分层架构,使代码更加清晰易于维护。
- Egg.js 通过插件机制提供了丰富的功能扩展,例如:数据库访问、模板引擎、Session、身份验证、安全等。
- Egg.js 提供了一套完善的开发调试工具,例如:自动重启、自动刷新、自动测试等。
- Egg.js 提供了一套完整的部署方案,例如:多进程部署、负载均衡等。
2..使用egg初始化项目
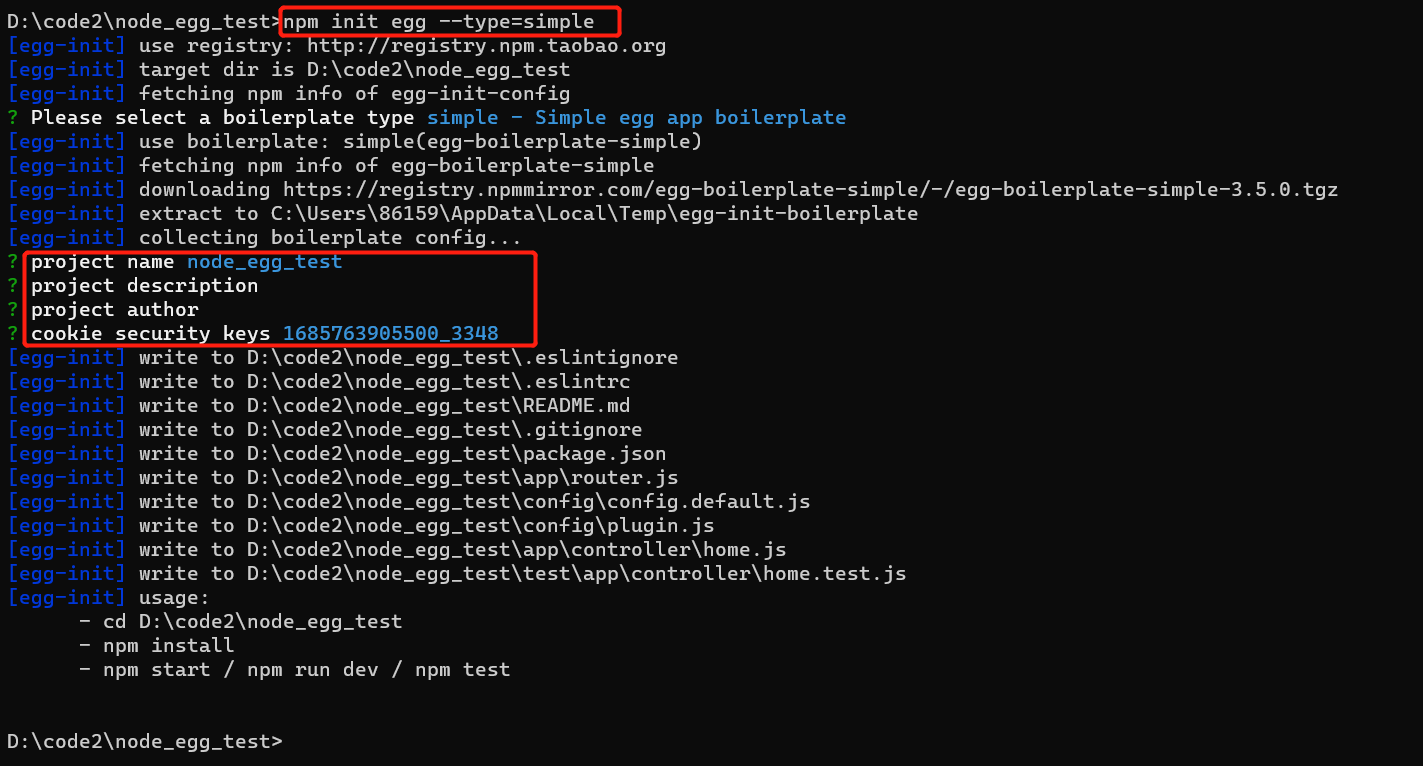
首先需要保证本地具有nodej的环境,使用egg初始化项目
npm init egg --type=simple在执行该命令的中间过程,需要输入 项目名称、项目描述、项目作者以及安全的配置key
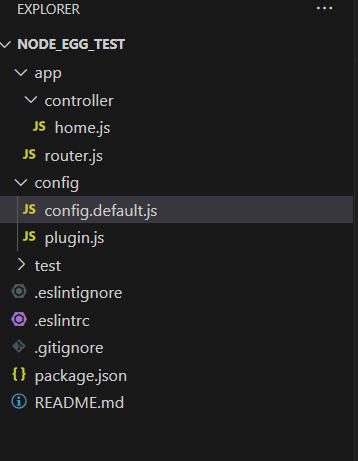
创建之后的项目导入vscode之后如下图所示:
3.约定规则
1 app/router.js:用于配置URL路由规则;
2 app/controller/** :用于解析用户的输入,处理后返回相应的结果;
3 app/service/: 用于编写业务逻辑层;
4 app/public/: 用于放置静态资源;
5 config/config.{env}.js: 用于编写配置文件;
6 config/plugin.js 用于配置需要加载的插件;
4.接入InfluxDB配置
egg提供5种配置文件:
config.default.js:默认配置文件;
config.local.js:开发环境下的配置,与默认配置合并,同名则覆盖默认配置;
config.prod.js:生产环境下的配置,与默认配置合并,同名则覆盖默认配置;
config.test.js:测试环境下的配置,与默认配置合并,同名则覆盖默认配置;
config.unittest.js:单元测试环境下的配置,与默认配置合并,同名则覆盖默认配置;
在 config.default.js 中添加influxdb相关的配置文件,并设置日志级别
config.influxdb = {
    host: 'influx_db_host',
    port: 8086,
    database: 'influx_db',
    username: 'influx_user',
    password: 'influx_pwd'
  }

  config.log = {
    level: 'DEBUG',
    consoleLevel: 'DEBUG',
  }
5. 创建user表
在app/model/user.js中创建user表:
module.exports = app => {
  const { InfluxDB } = require('influx');
  const { host, port, database, username, password } = app.config.influxdb;
  const influx = new InfluxDB({
    host,
    port,
    database,
    username,
    password,
    schema: [
      {
        measurement: 'user',
        fields: {
          name: InfluxDB.FieldType.STRING,
          age: InfluxDB.FieldType.INTEGER,
        },
        tags: [
          'id'
        ]
      }
    ]
  });
  class User extends app.Service {
    async create(user) {
      return influx.writePoints([
        {
          measurement: 'user',
          tags: { id: user.id },
          fields: {
            name: user.name,
            age: user.age
          }
        }
      ]);
    }
    async find(id) {
      return influx.query(`select * from user where id='${id}'`);
    }
    async update(id, user) {
      return influx.writePoints([
        {
          measurement: 'user',
          tags: { id },
          fields: {
            name: user.name,
            age: user.age
          }
        }
      ]);
    }
    async delete(id) {
      return influx.query(`delete from user where id='${id}'`);
    }
  }
  return User;
};
6. user表的增删改查
在app/controller/home.js中编写增删改查的接口:
const Controller = require('egg').Controller;
class HomeController extends Controller {
  async create() {
    const { ctx } = this;
    const { id, name, age } = ctx.request.body;
    await ctx.service.user.create({ id, name, age });
    ctx.body = { success: true };
  }
  async find() {
    const { ctx } = this;
    const { id } = ctx.query;
    const result = await ctx.service.user.find(id);
    ctx.body = result;
  }
  async update() {
    const { ctx } = this;
    const { id } = ctx.params;
    const { name, age } = ctx.request.body;
    await ctx.service.user.update(id, { name, age });
    ctx.body = { success: true };
  }
  async delete() {
    const { ctx } = this;
    const { id } = ctx.params;
    await ctx.service.user.delete(id);
    ctx.body = { success: true };
  }
}
module.exports = HomeController;
7.在app/router.js中配置路由
module.exports = app => {
  const { router, controller } = app;
  router.post('/user', controller.home.create);
  router.get('/user', controller.home.find);
  router.put('/user/:id', controller.home.update);
  router.delete('/user/:id', controller.home.delete);
};
8.启动并测试
启动
- 开发环境:
npm run dev - 生产环境:
npm start
停止
npm run stop
使用curl命令测试接口:
# 创建user
$ curl -X POST -H "Content-type: application/json" -d '{"id": "1", "name": "Alice", "age": 20}' http://localhost:7001/user
# 查找user
$ curl http://localhost:7001/user?id=1
# 更新user
$ curl -X PUT -H "Content-type: application/json" -d '{"name": "Bob", "age": 30}' http://localhost:7001/user/1
# 删除user
$ curl -X DELETE http://localhost:7001/user/1
9.目录结构及所有文件
egg-influxdb-demo
├── app
│   ├── controller
│   │   └── home.js
│   ├── model
│   │   └── user.js
│   ├── router.js
│   ├── service
│   │   └── user.js
│   └── view
│       └── home.tpl
├── config
│   ├── config.default.js
│   └── plugin.js
├── package.json
└── README.md
| 阿里云国内75折 回扣 微信号:monov8 |
| 阿里云国际,腾讯云国际,低至75折。AWS 93折 免费开户实名账号 代冲值 优惠多多 微信号:monov8 飞机:@monov6 |