ElasticSearch7 Kibana集群安装
| 阿里云国内75折 回扣 微信号:monov8 |
| 阿里云国际,腾讯云国际,低至75折。AWS 93折 免费开户实名账号 代冲值 优惠多多 微信号:monov8 飞机:@monov6 |
文章目录
ElasticSearch安装
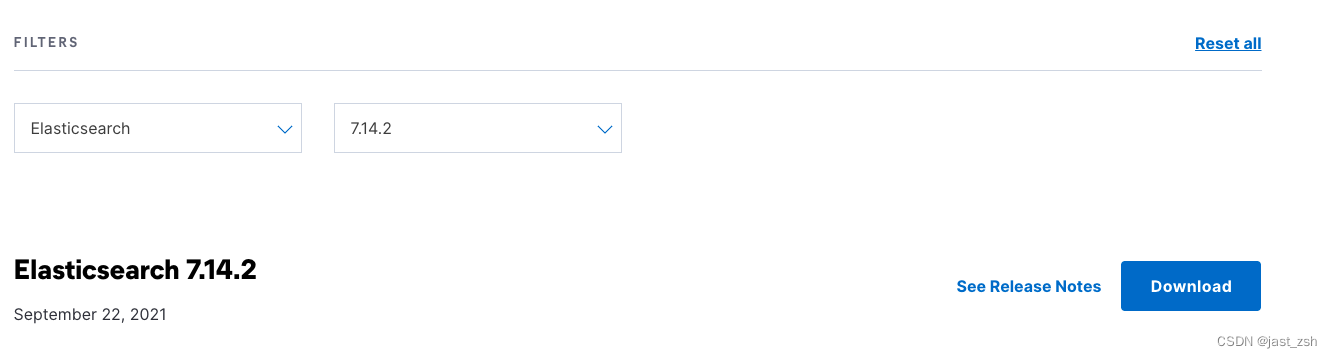
下载安装包
下载地址https://www.elastic.co/cn/downloads/past-releases#elasticsearch
安装版本7.14.2
基础环境安装
JDK安装
安装es的机器都需要安装
JDK版本11
- 将安装包移动到
/opt目录下
tar -zxvf jdk-11.0.17_linux-x64_bin.tar.gz
-
JDK加入环境变量
修改
/etc/profile在尾部添加export JAVA_HOME=/opt/jdk-11.0.17 export PATH=$PATH:$JAVA_HOME/bin
修改Linux配置
- 编辑 /etc/security/limits.conf追加以下内容
* soft nofile 65536
* hard nofile 65536
* hard memlock unlimited
* soft memlock unlimited
- 在/etc/sysctl.conf文件最后添加一行
vm.max_map_count=262144
执行
sysctl -p
- 修改 /etc/systemd/system.conf
vi /etc/systemd/system.conf
DefaultLimitMEMLOCK=infinity
安装ES
需要安装es的集群都要执行以下步骤
- 将安装包移动到
/opt目录
mv elasticsearch-7.14.2-linux-x86_64.tar.gz /opt
- 修改ES使用内存
修改配置文件config/jvm.options
################################################################
## IMPORTANT: JVM heap size
################################################################
##
## The heap size is automatically configured by Elasticsearch
## based on the available memory in your system and the roles
## each node is configured to fulfill. If specifying heap is
## required, it should be done through a file in jvm.options.d,
## and the min and max should be set to the same value. For
## example, to set the heap to 4 GB, create a new file in the
## jvm.options.d directory containing these lines:
##
## -Xms4g
## -Xmx4g
##
## See https://www.elastic.co/guide/en/elasticsearch/reference/current/heap-size.html
## for more information
##
################################################################
-Xms25g
-Xmx25g
- 修改
elasticsearch.yml配置
cluster.name: dev-cluster
node.name: node-2
node.master: true
node.data: true
node.ingest: true
bootstrap.memory_lock: true
bootstrap.system_call_filter: false
network.host: 172.16.24.192
http.port: 9200
transport.tcp.port: 9300
transport.tcp.compress: true
http.cors.enabled: true
http.cors.allow-origin: "*"
cluster.initial_master_nodes:  ["node-1","node-2","node-3"]
discovery.zen.ping.unicast.hosts: ["172.16.24.191:9300","172.16.24.192:9300","172.16.24.193:9300"]
discovery.zen.minimum_master_nodes: 1
# 启用脚本 默认painless
cluster.routing.allocation.same_shard.host: true
#超时时间
discovery.zen.ping_timeout: 5s
discovery.zen.fd.ping_timeout: 5s
#禁止自动创建索引
action.auto_create_index: true
# 一个集群中的N个节点启动后,才允许进行恢复处理
gateway.recover_after_nodes: 1
# 设置初始化恢复过程的超时时间,超时时间从上一个配置中配置的N个节点启动后算起
gateway.recover_after_time: 5m
# 设置这个集群中期望有多少个节点.一旦这N个节点启动(并且recover_after_nodes也符合),
# 立即开始恢复过程(不等待recover_after_time超时)
gateway.expected_nodes: 2
# 线程池
thread_pool.search.size: 100
thread_pool.search.queue_size: 1000
#xpack 插件的授权类型basic是免费的还有其他收费版本
xpack.license.self_generated.type: basic
#是否开启安全验证
xpack.security.enabled: true
#是否开启远程访问安全验证
xpack.security.transport.ssl.enabled: true
xpack.security.transport.ssl.verification_mode: certificate
# 证书位置该文件在下面流程会生成
xpack.security.transport.ssl.keystore.path: certs/elastic-certificates.p12
# 证书位置该文件在下面流程会生成
xpack.security.transport.ssl.truststore.path: certs/elastic-certificates.p12
- 创建elasticsearch用户
useradd elasticsearch
passwd elasticsearch
- 修改目录权限
chown elasticsearch.elasticsearch -R /opt/elasticsearch-7.14.2
- 切换用户启动es
su elasticsearch
cd /opt/elasticsearch-7.14.2
- 生成CA证书
bin/elasticsearch-certutil ca
warning: usage of JAVA_HOME is deprecated, use ES_JAVA_HOME
This tool assists you in the generation of X.509 certificates and certificate
signing requests for use with SSL/TLS in the Elastic stack.

The 'ca' mode generates a new 'certificate authority'
This will create a new X.509 certificate and private key that can be used
to sign certificate when running in 'cert' mode.

Use the 'ca-dn' option if you wish to configure the 'distinguished name'
of the certificate authority

By default the 'ca' mode produces a single PKCS#12 output file which holds:
    * The CA certificate
    * The CA's private key

If you elect to generate PEM format certificates (the -pem option), then the output will
be a zip file containing individual files for the CA certificate and private key

Please enter the desired output file [elastic-stack-ca.p12]:  #直接回车即可,不用设置密码
Enter password for elastic-stack-ca.p12 : #直接回车即可,不用设置密码
在当前目录可以看到 elastic-stack-ca.p12文件
- 生成密钥
bin/elasticsearch-certutil cert --ca elastic-stack-ca.p12
warning: usage of JAVA_HOME is deprecated, use ES_JAVA_HOME
This tool assists you in the generation of X.509 certificates and certificate
signing requests for use with SSL/TLS in the Elastic stack.

The 'cert' mode generates X.509 certificate and private keys.
    * By default, this generates a single certificate and key for use
       on a single instance.
    * The '-multiple' option will prompt you to enter details for multiple
       instances and will generate a certificate and key for each one
    * The '-in' option allows for the certificate generation to be automated by describing
       the details of each instance in a YAML file

    * An instance is any piece of the Elastic Stack that requires an SSL certificate.
      Depending on your configuration, Elasticsearch, Logstash, Kibana, and Beats
      may all require a certificate and private key.
    * The minimum required value for each instance is a name. This can simply be the
      hostname, which will be used as the Common Name of the certificate. A full
      distinguished name may also be used.
    * A filename value may be required for each instance. This is necessary when the
      name would result in an invalid file or directory name. The name provided here
      is used as the directory name (within the zip) and the prefix for the key and
      certificate files. The filename is required if you are prompted and the name
      is not displayed in the prompt.
    * IP addresses and DNS names are optional. Multiple values can be specified as a
      comma separated string. If no IP addresses or DNS names are provided, you may
      disable hostname verification in your SSL configuration.

    * All certificates generated by this tool will be signed by a certificate authority (CA)
      unless the --self-signed command line option is specified.
      The tool can automatically generate a new CA for you, or you can provide your own with
      the --ca or --ca-cert command line options.

By default the 'cert' mode produces a single PKCS#12 output file which holds:
    * The instance certificate
    * The private key for the instance certificate
    * The CA certificate

If you specify any of the following options:
    * -pem (PEM formatted output)
    * -keep-ca-key (retain generated CA key)
    * -multiple (generate multiple certificates)
    * -in (generate certificates from an input file)
then the output will be be a zip file containing individual certificate/key files

Enter password for CA (elastic-stack-ca.p12) : # 直接回车
Please enter the desired output file [elastic-certificates.p12]: # 直接回车
Enter password for elastic-certificates.p12 : # 直接回车

Certificates written to /opt/elasticsearch-7.14.2/elastic-certificates.p12

This file should be properly secured as it contains the private key for
your instance.

This file is a self contained file and can be copied and used 'as is'
For each Elastic product that you wish to configure, you should copy
this '.p12' file to the relevant configuration directory
and then follow the SSL configuration instructions in the product guide.

For client applications, you may only need to copy the CA certificate and
configure the client to trust this certificate.
在当前目录会生成elastic-certificates.p12文件
- 证书移动到指定目录
# 在config目录下创建certs
mkdir config/certs
# 证书移动到certs目录
 mv elastic-certificates.p12 config/certs/
- 后台启动es
cd /opt/elasticsearch-7.14.2
bin/elasticsearch -d
- 设置密码
这里可以复制输入
bin/elasticsearch-setup-passwords interactive
warning: usage of JAVA_HOME is deprecated, use ES_JAVA_HOME
Initiating the setup of passwords for reserved users elastic,apm_system,kibana,kibana_system,logstash_system,beats_system,remote_monitoring_user.
You will be prompted to enter passwords as the process progresses.
Please confirm that you would like to continue [y/N]y


Enter password for [elastic]:
Reenter password for [elastic]:
Enter password for [apm_system]:
Reenter password for [apm_system]:
Enter password for [kibana_system]:
Reenter password for [kibana_system]:
Enter password for [logstash_system]:
Reenter password for [logstash_system]:
Enter password for [beats_system]:
Reenter password for [beats_system]:
Enter password for [remote_monitoring_user]:
Reenter password for [remote_monitoring_user]:

Changed password for user [apm_system]
Changed password for user [kibana_system]
Changed password for user [kibana]
Changed password for user [logstash_system]
Changed password for user [beats_system]
Changed password for user [remote_monitoring_user]
Changed password for user [elastic]
- 验证
浏览器访问http://ip:9200/会提示输入账号密码输入elastic账号与设置的密码登录即可
{
  "name" : "node-1",
  "cluster_name" : "dev-cluster",
  "cluster_uuid" : "J1_qbq7ZTcC7RC_9HIOJnw",
  "version" : {
    "number" : "7.14.2",
    "build_flavor" : "default",
    "build_type" : "tar",
    "build_hash" : "6bc13727ce758c0e943c3c21653b3da82f627f75",
    "build_date" : "2021-09-15T10:18:09.722761972Z",
    "build_snapshot" : false,
    "lucene_version" : "8.9.0",
    "minimum_wire_compatibility_version" : "6.8.0",
    "minimum_index_compatibility_version" : "6.0.0-beta1"
  },
  "tagline" : "You Know, for Search"
}
启动报错
bootstrap check failure [1] of [1]: memory locking requested for elasticsearch process but memory is not locked
修改参数
> vi /etc/systemd/system.conf
DefaultLimitMEMLOCK=infinity

> /etc/security/limits.conf
* hard memlock unlimited
* soft memlock unlimited
Kibana安装
Kibana简介
Kibana是一个开源的基于浏览器的分析和可视化平台可以用于搜索查看删除Elasticsearch索引并与存储在Elasticsearch索引中的数据进行交互。可以执行高级数据分析并且以各种图标、表格和地图的形式可视化数据。
Kibana下载
下载地址https://www.elastic.co/cn/downloads/past-releases#elasticsearch
安装版本7.14.2

Kibana安装
- 安装包移动到
/opt目录
mv kibana-7.14.2-linux-x86_64 /opt
- 解压
tar -zxvf kibana-7.14.2-linux-x86_64.tar.gz
- 修改配置文件
vi config/kibana.yml
server.host: "172.16.24.191"
elasticsearch.hosts: ["http://172.16.24.191:9200"]
# 设置支持中文
i18n.locale: "zh-CN"
# 在es中设置kibana密码
elasticsearch.username: "kibana"
elasticsearch.password: "设置的密码"
- 修改权限
chown elasticsearch.elasticsearch -R kibana-7.14.2-linux-x86_64
- 启动
nohup bin/kibana > kibana.log &
- 查看进程
ps -ef|grep kibana
elastic+ 11336 11288 99 14:09 pts/0    00:00:12 /opt/kibana-7.14.2-linux-x86_64/node/bin/node --preserve-symlinks-main --preserve-symlinks /opt/kibana-7.14.2-linux-x86_64/src/cli/dist
- 访问地址
http://ip:5601
输入账号elastic与设置的密码登录