

【Spring Cloud Alibaba】 Nacos服务注册中心
阿里云国际版折扣https://www.yundadi.com |
| 阿里云国际,腾讯云国际,低至75折。AWS 93折 免费开户实名账号 代冲值 优惠多多 微信号:monov8 飞机:@monov6 |
文章目录
- 理论
- 什么是Nacos
- 实战
- Nacos下载和安装
- Nacos与SpringBoot集成
- nacos-server-discovery
- nacos-server-consumer
- 测试
- 总结
说起注册中心,我们肯定会想起Eureka、Zookeeper等,但是你知道阿里的Nacos注册中心吗?Nacos相对于Eureka和Zookeeper有哪些优势呢?关于它们之间的对比,在微服务注册中心ZooKeeper、Eureka、Consul 、Nacos对比一文中我已经给了非常详细的介绍,感兴趣的同学可以去看看。下面我们针对阿里的Nacos注册中心说道说道。
理论
什么是Nacos
Nacos是阿里云中间件团队开源的一个项目,基于阿里云内部提供的ACM配置管理服务进行独立,Nacos官网给出的定义是:
一个更易于构建云原生应用的动态服务发现、配置管理和服务管理平台。
Nacos的github地址:https://github.com/alibaba/nacos Nacos官网:https://nacos.io/zh-cn/
截止目前,Nacos在github上收获了超过15k的star,可见Nacos在开源社区的火爆程度。

Nacos 致力于帮助您发现、配置和管理微服务。Nacos 提供了一组简单易用的特性集,帮助您快速实现动态服务发现、服务配置、服务元数据及流量管理。
Nacos 帮助您更敏捷和容易地构建、交付和管理微服务平台。 Nacos 是构建以“服务”为中心的现代应用架构 (例如微服务范式、云原生范式) 的服务基础设施。
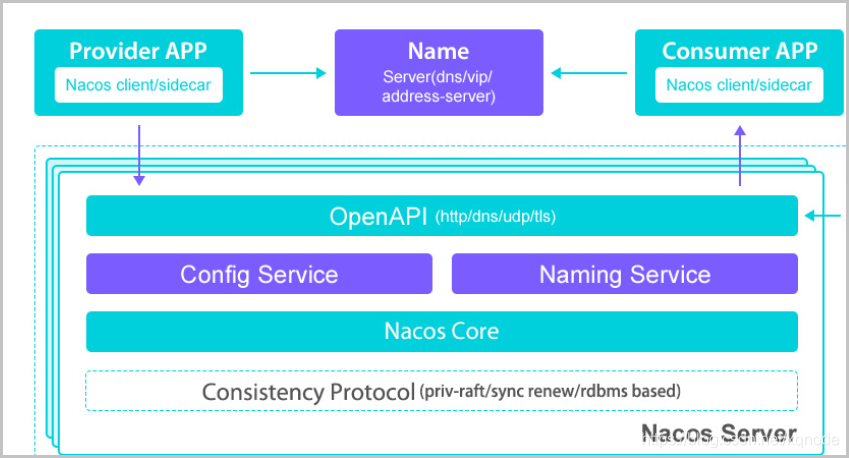
Nacos架构图:
实战
Nacos下载和安装
1. 下载
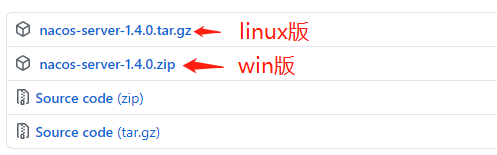
下载地址:https://github.com/alibaba/nacos/releases
截止目前(2021.1.14)稳定版本是1.4.0,推荐大家使用。
国内下载速度可能比较慢,为了方便大家,我把这2个资源包放在百度网盘了,需要的同学可以关注微信公众号Java学习指南,回复 nacos获取下载链接。
2. 安装
linux下载后解压,进入bin目录启动:
sh startup.sh -m standalone
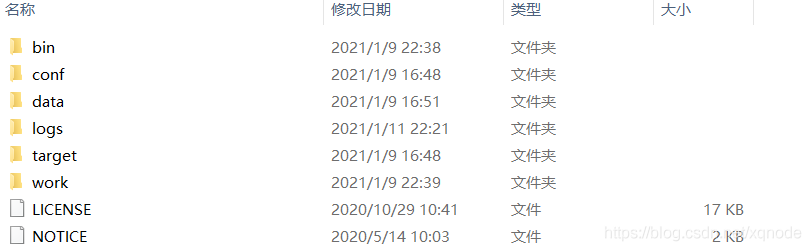
windows版zip包解压之后是这样的:
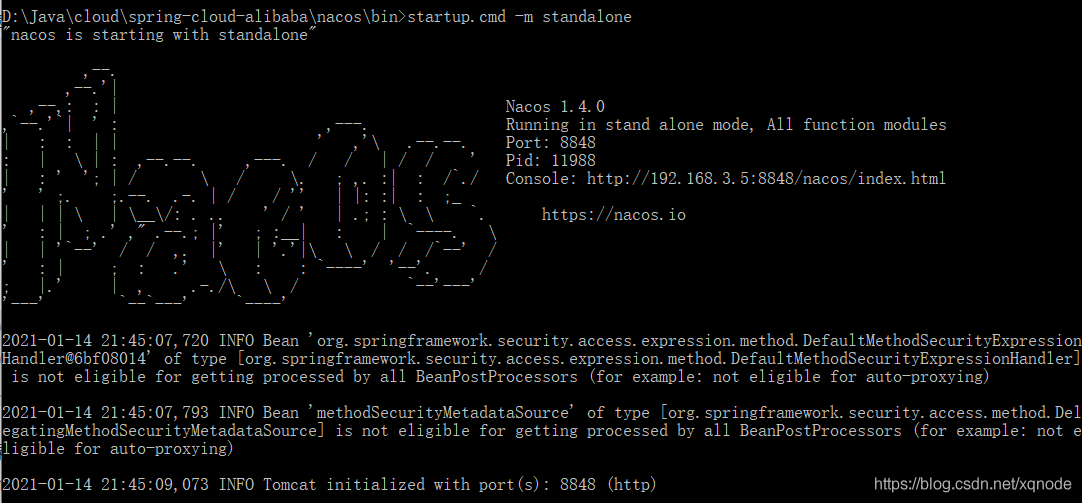
进入bin目录启动:
startup.cmd -m standalone
3. 打开管理界面
启动成功之后,可以打开nacos的管理界面,地址:http://localhost:8848/nacos/
第一次访问,自动跳转到登录页面,用户名和密码都是 nacos
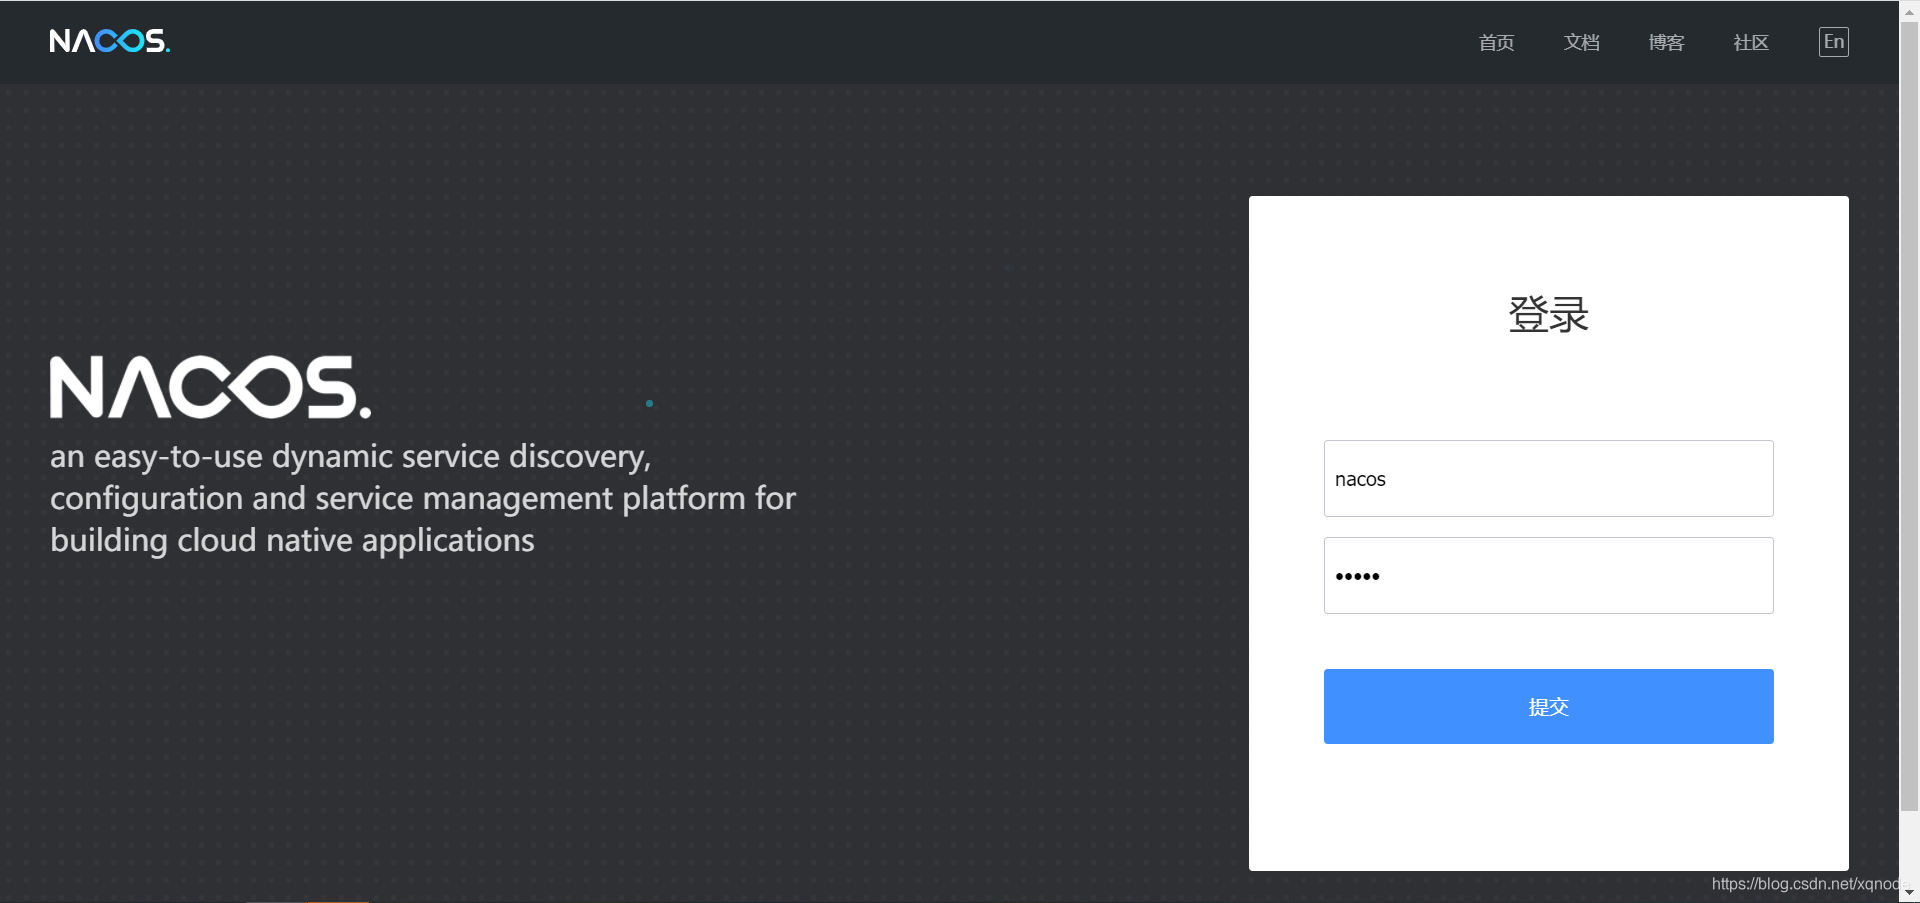
登录成功后进入管理页面:
Nacos与SpringBoot集成
SpringBoot版本:2.2.12.RELEASE
SpringCloud版本:Hoxton.SR9
SpringCloudAlibaba版本:2.2.1.RELEASE
为了方便项目集成,我使用了maven多模块项目,父模块的pom文件如下:
<dependencyManagement>
<dependencies>
<dependency>
<groupId>org.springframework.boot</groupId>
<artifactId>spring-boot-starter-parent</artifactId>
<version>2.2.12.RELEASE</version>
<type>pom</type>
<scope>import</scope>
</dependency>
<dependency>
<groupId>org.springframework.cloud</groupId>
<artifactId>spring-cloud-dependencies</artifactId>
<version>Hoxton.SR9</version>
<type>pom</type>
<scope>import</scope>
</dependency>
<dependency>
<groupId>com.alibaba.cloud</groupId>
<artifactId>spring-cloud-alibaba-dependencies</artifactId>
<version>2.2.1.RELEASE</version>
<type>pom</type>
<scope>import</scope>
</dependency>
</dependencies>
</dependencyManagement>
<dependencies>
<!--添加Springmvc依赖-->
<dependency>
<groupId>org.springframework.boot</groupId>
<artifactId>spring-boot-starter-web</artifactId>
</dependency>
<!-- nacos-discovery -->
<dependency>
<groupId>com.alibaba.cloud</groupId>
<artifactId>spring-cloud-starter-alibaba-nacos-discovery</artifactId>
</dependency>
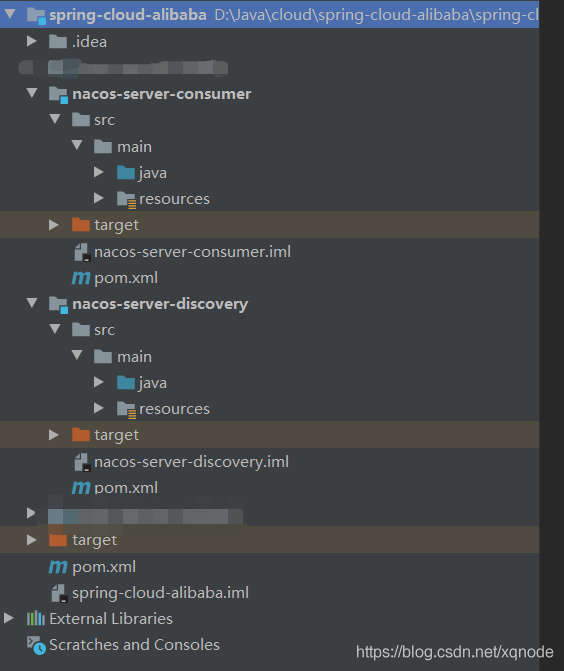
</dependencies>添加子模块作为服务提供者 nacos-server-discovery 和服务消费者 nacos-server-consumer
工程目录如下:
nacos-server-discovery
配置文件application.yml:
spring:
  application:
    name: nacos-server-discovery
  cloud:
    nacos:
      discovery:
        server-addr: localhost:8848
启动类:
import org.springframework.boot.SpringApplication;
import org.springframework.boot.autoconfigure.SpringBootApplication;
import org.springframework.cloud.client.discovery.EnableDiscoveryClient;

@EnableDiscoveryClient
@SpringBootApplication
public class Application {
    public static void main(String[] args) {
        SpringApplication.run(Application.class, args);
    }
}
编写测试接口 HelloController
@RestController
public class HelloController {

    @Value("${server.port}")
    private String port;

    @GetMapping(value = "/echo/{name}")
    public String echo(@PathVariable String name) {
        return "visit " + port + " success, name is " + name;
    }

}
nacos-server-consumer
配置文件 application.yml:
server:
  port: 8100
spring:
  application:
    name: nacos-server-consumer
  cloud:
    nacos:
      discovery:
        server-addr: localhost:8848

# 服务提供者的url地址,注意:这里写的是服务提供者的名称 nacos-server-discovery
producer-url: http://nacos-server-discovery
启动类:
import org.springframework.boot.SpringApplication;
import org.springframework.boot.autoconfigure.SpringBootApplication;
import org.springframework.cloud.client.discovery.EnableDiscoveryClient;

@EnableDiscoveryClient
@SpringBootApplication
public class Application {
    public static void main(String[] args) {
        SpringApplication.run(Application.class, args);
    }
}
我们在消费方使用RestTemplate请求接口,先配置一下 RestConfig:
import org.springframework.cloud.client.loadbalancer.LoadBalanced;
import org.springframework.context.annotation.Bean;
import org.springframework.context.annotation.Configuration;
import org.springframework.web.client.RestTemplate;

@Configuration
public class RestConfig {

    @Bean
    @LoadBalanced  // 使用Ribbon作为负载均衡
    public RestTemplate restTemplate() {
        return new RestTemplate();
    }
}
注意:使用SpringCloud默认是带 Ribbon组件的:

编写调用方测试接口 ConsumerController:
import org.springframework.beans.factory.annotation.Value;
import org.springframework.web.bind.annotation.GetMapping;
import org.springframework.web.bind.annotation.PathVariable;
import org.springframework.web.bind.annotation.RestController;
import org.springframework.web.client.RestTemplate;

import javax.annotation.Resource;

@RestController
public class ConsumerController {

    @Resource
    private RestTemplate restTemplate;

    @Value("${producer-url}")
    public String serverUrl;

    @GetMapping(value = "/consumer/{name}")
    public String echo(@PathVariable String name) {
        return restTemplate.getForObject(serverUrl + "/echo/" + name, String.class);
    }
}
测试
服务提供者和服务消费者代码编写完,我们就可以进行测试了。这里的服务方和消费方都是注册到本地的Nacos注册中心上面进行统一的服务治理的,为了演示服务集群效果,我们这里对服务提供者启用多实例。
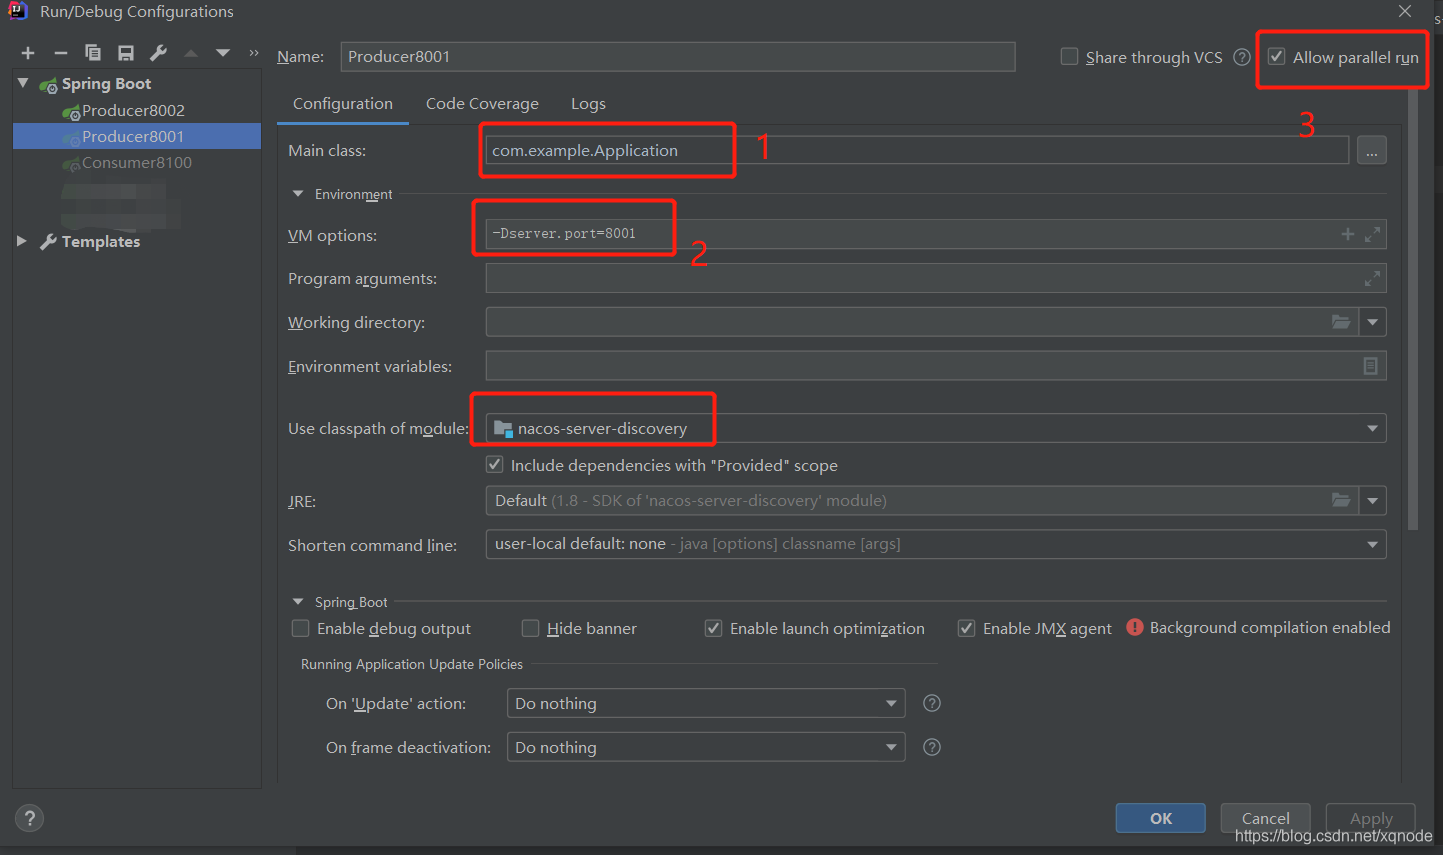
服务提供者
配置服务提供者 8001,启动参数 -Dserver.port=8001
配置服务提供者 8002,启动参数 -Dserver.port=8002
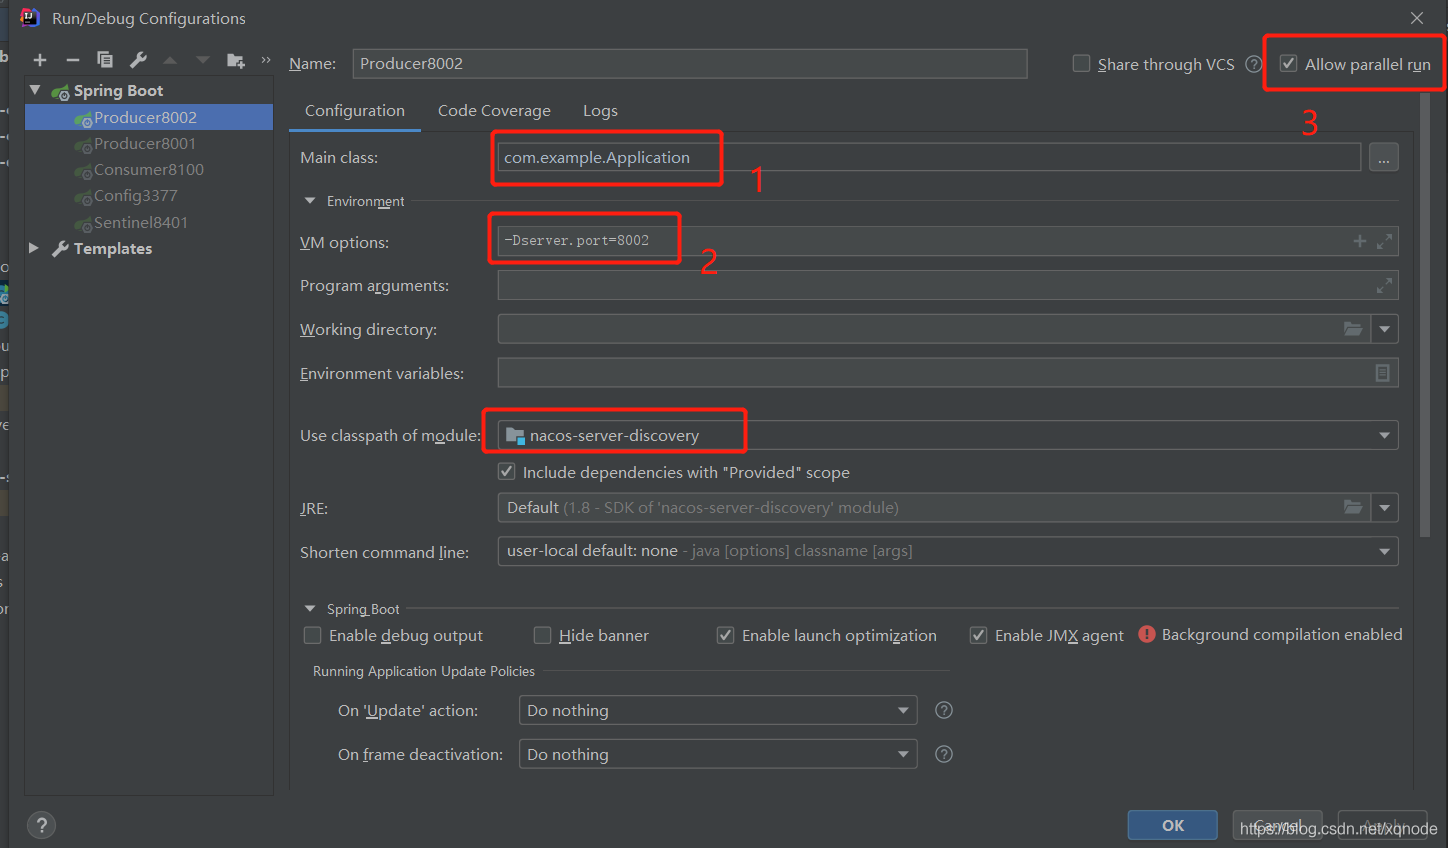
注意:idea中对同一个服务启动多个实例需要设置 Alow paraller run,也就是上图中的第三步需要打上勾。
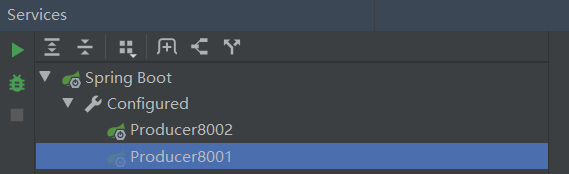
完成服务提供者的配置之后我们先启动一下:
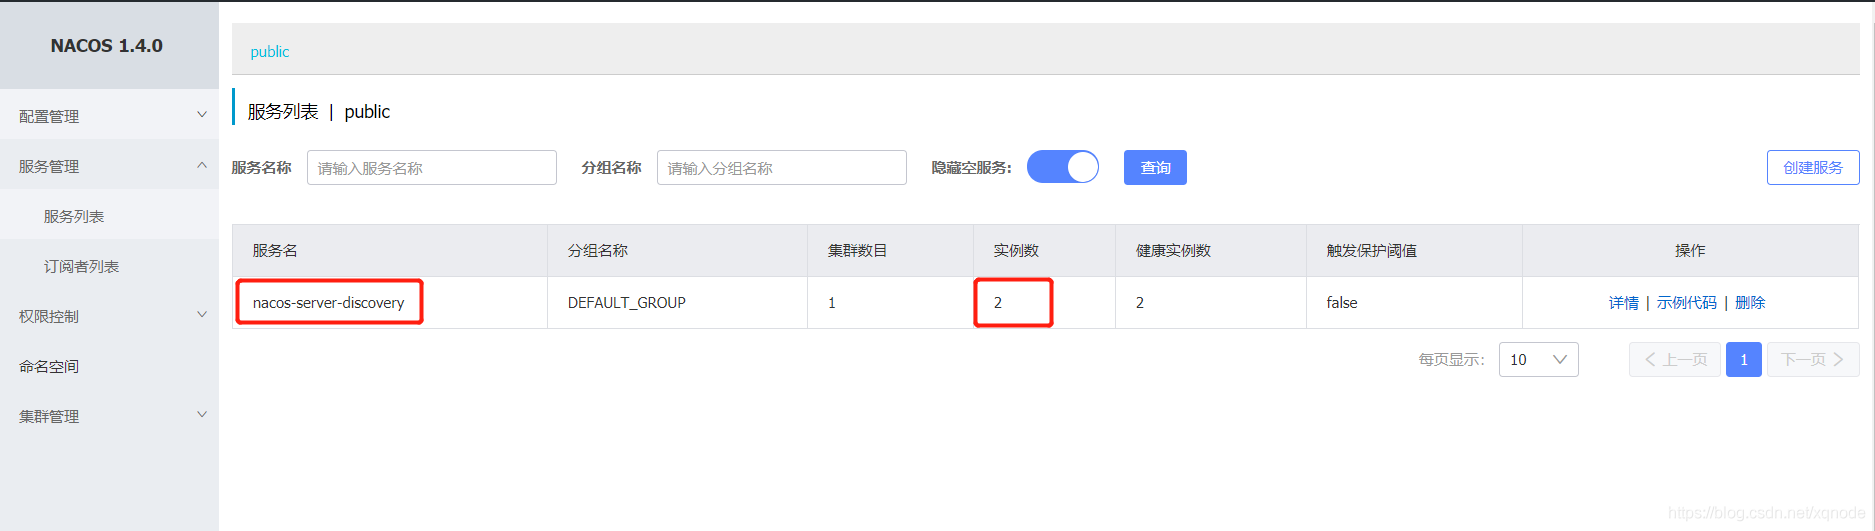
启动完成之后就可以在Nacos的注册中心看到了:
服务消费者
直接启动,端口8100:

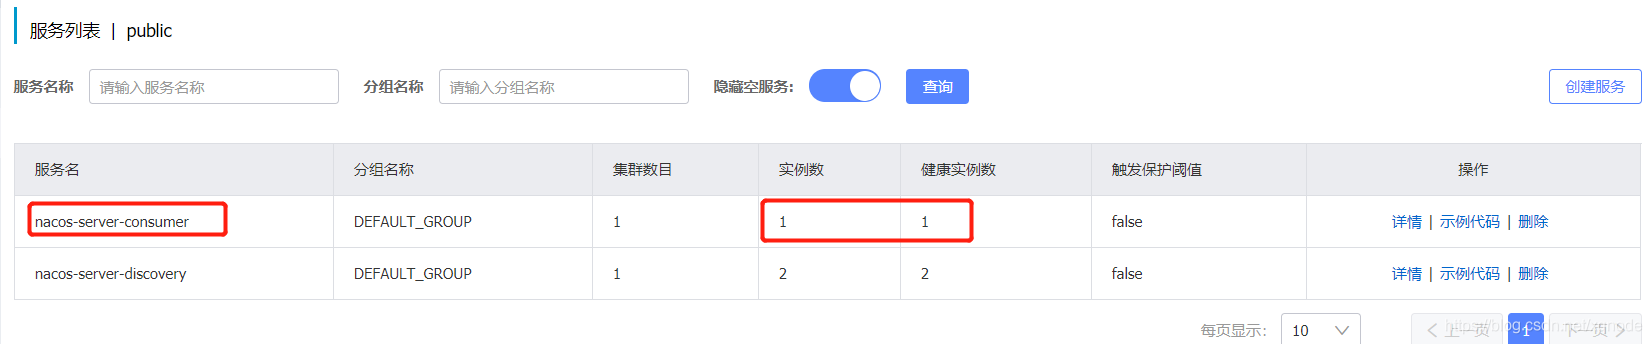
在注册中心可以看到我们刚刚启动的消费者服务:
现在在浏览器访问消费者接口:
输入 http://localhost:8100/consumer/123
浏览器打印出服务方接口的信息:

刷新一下接口,会更换服务提供方的实例:

说明我们的服务在 Nacos注册中心 注册成功并完成访问了。
总结
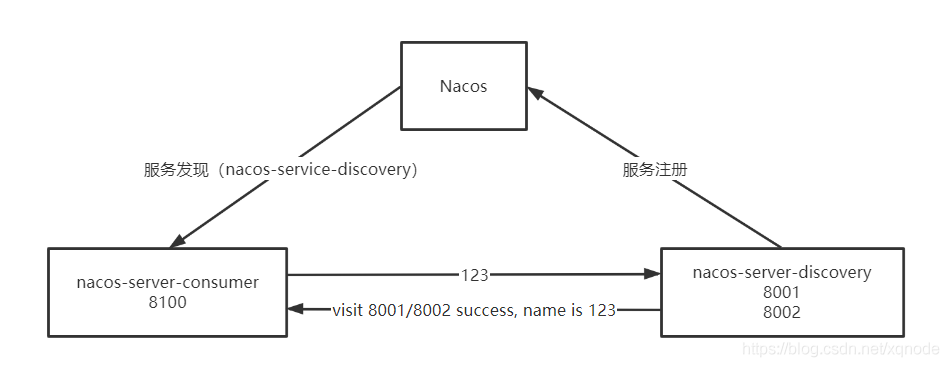
上面的测试案例可以用上面这张图来表示。服务提供者和服务消费者都把自己注册到Nacos注册中心,然后当用户在请求服务消费者接口,服务消费者通过 Nacos找到服务的提供者,获取其所需的数据,再返回给页面。
通过负载均衡,服务的消费者可以获取多个节点服务提供者发送的数据,防止单点故障,这在分布式系统中是非常常见的做法。
好了,以上就是本期给您带来的Nacos理论 + 实践案例讲解,如果你能看完并跟着代码自己跑一遍,那么我想你肯定会有所收获的,为了能更好的帮助你学习,本文中的代码都是我自己跑过测试没有问题的。
我是程序员青戈,我们下期再见~ 还有,别忘记一键三连哦😝
阿里云国际版折扣https://www.yundadi.com |
| 阿里云国际,腾讯云国际,低至75折。AWS 93折 免费开户实名账号 代冲值 优惠多多 微信号:monov8 飞机:@monov6 |