

SpringSecurity6 | HelloWorld入门案例-CSDN博客
| 阿里云国内75折 回扣 微信号:monov8 |
| 阿里云国际,腾讯云国际,低至75折。AWS 93折 免费开户实名账号 代冲值 优惠多多 微信号:monov8 飞机:@monov6 |
✅作者简介大家好我是Leo热爱Java后端开发者一个想要与大家共同进步的男人
个人主页Leo的博客
当前专栏 Java从入门到精通
✨特色专栏 MySQL学习
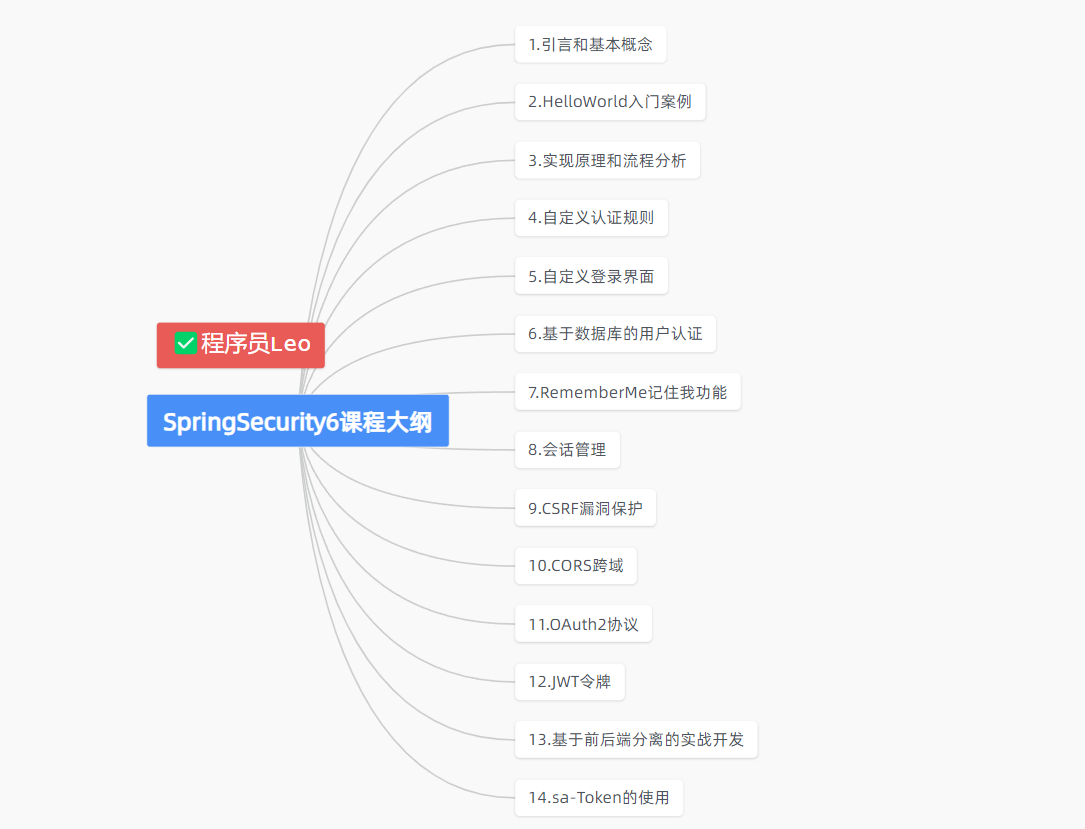
本文内容SpringSecurity6 | HelloWorld入门案例
️个人小站 个人博客欢迎大家访问
个人知识库 Leo知识库欢迎大家访问
初始SpringSecurity
学习参考
- 讲师孙帅老师
- 课程孙哥说SpringSecurity6
1.前言
大家好我是Leo哥第一节我们认识了SpringSecurity相关的概念以及相关的的历史这一节我们就直接上手SpringSecurity通过一个简单的案例的方式在我们的代码中集成SpringSecurity。好了话不多说让我们开始动手写代码吧。
2.开发环境
注意此次SpringSecurity的项目案例的环境如下
- JDK17
- IntelliJ IDEA 2023.22
- SpringSecurity6.0
- MySQL8.0+
- Maven3.8+
- MyBatis3.5+
以上版本均为笔者的本地环境大家可以进行横向参考大致跟我保持一致即可。
3.环境搭建
在搭建我们第一个SpringSecurity的HelloWorld的案例之前我们首先复习一下在IDEA中搭建一个基础的SprignBoot环境我们的案例也是基于SpringBoot基础环境之上进行开发以及代码的编写。
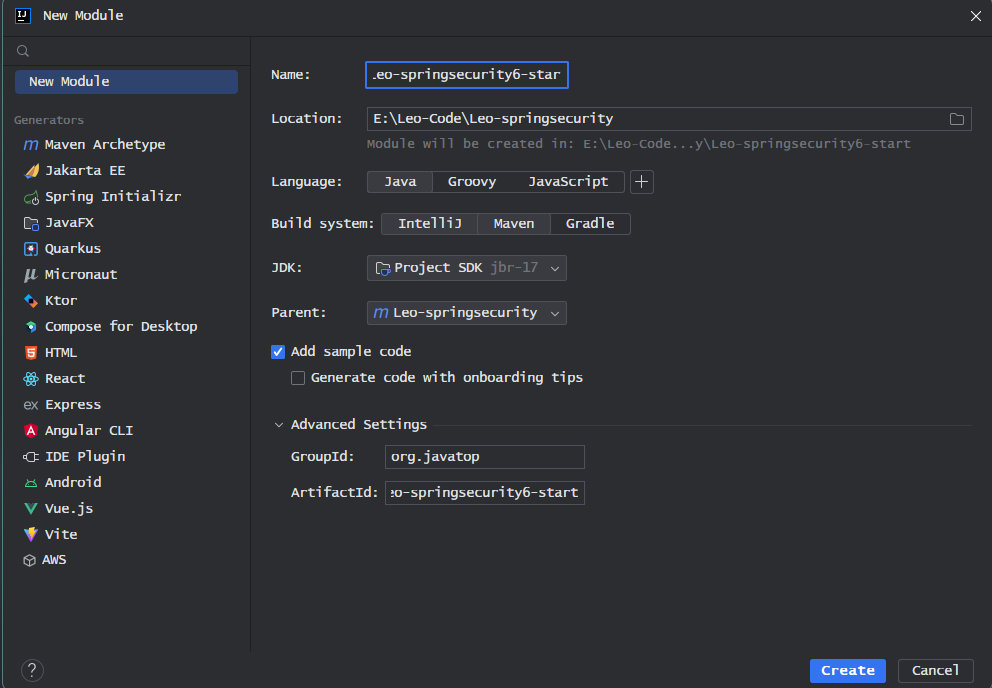
3.1使用Maven创建工程
使用Maven父子工程进行创建项目。
3.2添加依赖信息
<?xml version="1.0" encoding="UTF-8"?>
<project xmlns="http://maven.apache.org/POM/4.0.0"
         xmlns:xsi="http://www.w3.org/2001/XMLSchema-instance"
         xsi:schemaLocation="http://maven.apache.org/POM/4.0.0 http://maven.apache.org/xsd/maven-4.0.0.xsd">
    <modelVersion>4.0.0</modelVersion>

    <groupId>org.javatop</groupId>
    <artifactId>Leo-springsecurity6-start</artifactId>
    <version>1.0-SNAPSHOT</version>

    <parent>
        <groupId>org.springframework.boot</groupId>
        <artifactId>spring-boot-starter-parent</artifactId>
        <version>3.0.12</version>
        <relativePath/>
    </parent>

    <properties>
        <maven.compiler.source>17</maven.compiler.source>
        <maven.compiler.target>17</maven.compiler.target>
        <project.build.sourceEncoding>UTF-8</project.build.sourceEncoding>
    </properties>

    <dependencies>
        <dependency>
            <groupId>org.springframework.boot</groupId>
            <artifactId>spring-boot-starter-web</artifactId>
        </dependency>
        <dependency>
            <groupId>org.springframework.boot</groupId>
            <artifactId>spring-boot-starter-test</artifactId>
        </dependency>
    </dependencies>
</project>
3.3配置YAML配置文件
server:
  port: 8500
3.4添加主启动类
package org.javatop;

import org.springframework.boot.SpringApplication;
import org.springframework.boot.autoconfigure.SpringBootApplication;
import org.springframework.boot.autoconfigure.jdbc.DataSourceAutoConfiguration;
import org.springframework.context.ConfigurableApplicationContext;
import org.springframework.core.env.Environment;

/**
 * @author : Leo
 * @version 1.0
 * @date 2023-10-31 15:05
 * @description : 启动类
 */
@SpringBootApplication(exclude = { DataSourceAutoConfiguration.class })
public class Application
{
    public static void main(String[] args)
    {
        ConfigurableApplicationContext context = SpringApplication.run(Application.class, args);
        Environment environment = context.getBean(Environment.class);

        System.out.println("访问链接http://localhost:" + environment.getProperty("server.port"));
        System.out.println("(♥◠‿◠)  项目启动成功   ლ(´ڡ`ლ)  \n" +
                " .-------.       ____     __        \n" +
                " |  _ _   \\      \\   \\   /  /    \n" +
                " | ( ' )  |       \\  _. /  '       \n" +
                " |(_ o _) /        _( )_ .'         \n" +
                " | (_,_).' __  ___(_ o _)'          \n" +
                " |  |\\ \\  |  ||   |(_,_)'         \n" +
                " |  | \\ `'   /|   `-'  /           \n" +
                " |  |  \\    /  \\      /           \n" +
                " ''-'   `'-'    `-..-'              ");
    }
}
3.5编写接口测试
1.编写Hello接口
import org.springframework.web.bind.annotation.RequestMapping;
import org.springframework.web.bind.annotation.RestController;
/**
* @author : Leo
* @version 1.0
* @date 2023-10-31 15:02
* @description :
*/
@RestController
public class HelloController {
@RequestMapping("/hello")
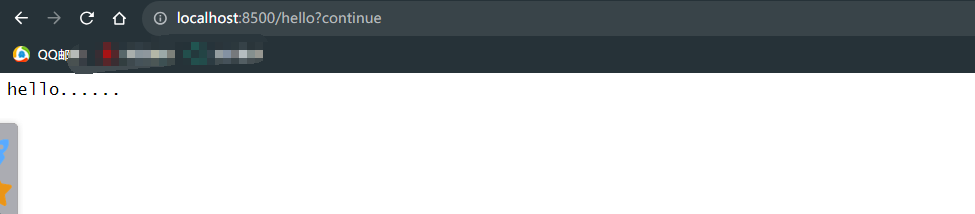
public String hello() {
return "hello......";
}
}
2.启动测试

打开浏览器访问ip + 端口号 http://localhost:8500/hello

至此到这里我们的SpringBoot的基础开发环境就已经搭建完成。
3.6添加SpringSecurity依赖
添加依赖
	<!--SpringSecurity启动器-->
        <dependency>
            <groupId>org.springframework.boot</groupId>
            <artifactId>spring-boot-starter-security</artifactId>
        </dependency>
3.7重启项目进行测试
再次打开打开浏览器访问ip + 端口号 http://localhost:8500/hello
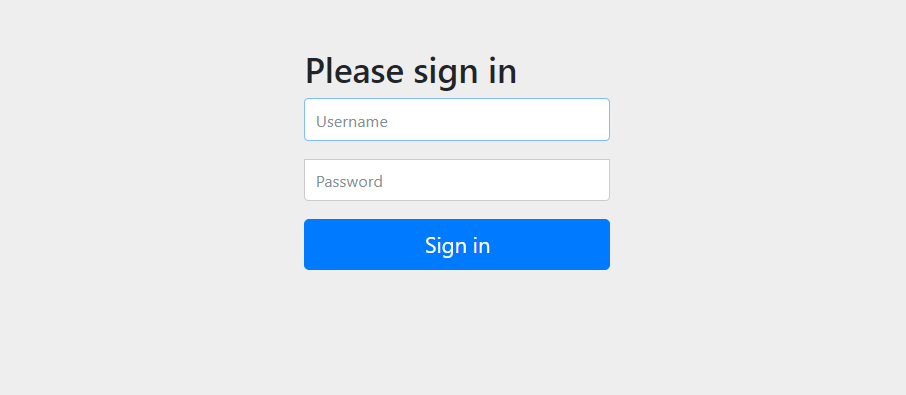
此时发现我们就直接访问到我们的hello接口了而是需要我们进行登录认证。
但是我们并不知道用户名跟密码是什么我们也只是添加了一个SpringSecurity的依赖而是怎么就给我直接跳出了一个登录框呢。
在 Spring Security 中默认的登录页面和登录接口都是 /login 只不过一个是 get 请求登录页面另一个是 post 请求登录接口。
「大家可以看到非常方便一个依赖就保护了所有接口。」
带着疑问我们继续往下看此时发现我们的IDEA控制台和第一次有一些不一样。

第一行的内容就是security给我们提供的一个uuid生成的密码用户名默认为user。第二行的内容大概的意思这个生成的密码只适合于生产环境如果需要线上投入使用的话需要你进行配置。
有人说你怎么知道知道生成的默认密码是一个 UUID 呢
这个其实很好判断。
和用户相关的自动化配置类在 UserDetailsServiceAutoConfiguration 里边在该类的 getOrDeducePassword 方法中我们看到如下一行日志

毫无疑问我们在控制台看到的日志就是从这里打印出来的。打印的条件是 isPasswordGenerated 方法返回 true即密码是默认生成的。
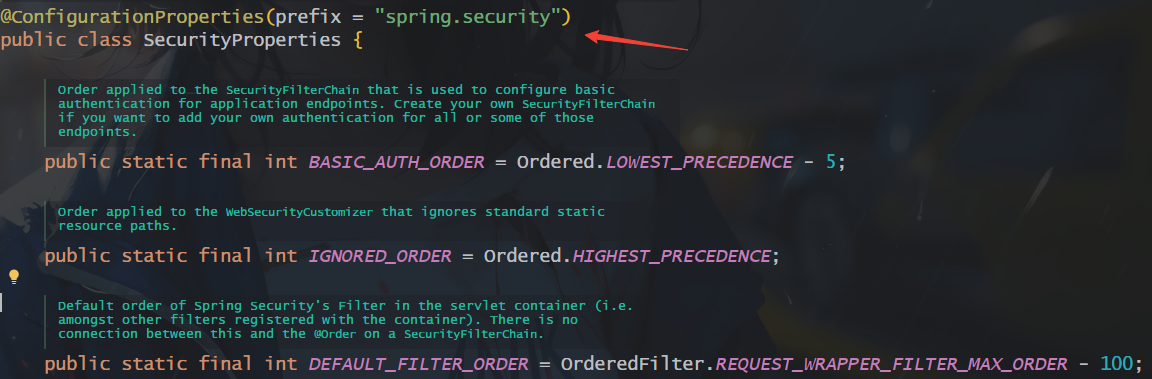
进而我们发现user.getPassword 出现在 SecurityProperties 中在 SecurityProperties 中我们看到如下定义
可以看到默认的用户名就是 user默认的密码则是 UUID而默认情况下passwordGenerated 也为 true。
好了接下来我们就使用security给提供的用户名和密码来进行登录认证。
可以看到我们成功登录并直接跳转到我们的hello接口至此我们的HelloWorld入门案例完结。
4.自定义配置
虽然通过security自带的密码可以让我们进行登录并访问到我们的接口但是你每次项目重启系统所生成的UUID都不一样这样会不会太麻烦了。
能不能通过手动配置的方式来进行配置自定义用户的密码呢。当然可以下面Leo哥带你通过配置文件来对他进行自定义配置。
4.1配置文件
我们可以在 application.properties 中配置默认的用户名密码。
怎么配置呢大家还记得上一小节我们说的 SecurityProperties默认的用户就定义在它里边是一个静态内部类我们如果要定义自己的用户名密码必然是要去覆盖默认配置我们先来看下 SecurityProperties 的定义
可以看出来我们可以通过yml配置文件来对SecurityProperties的默认配置进行覆盖好了接下来我们通过配置application.yml来进行配置。
spring:
  security:
    user:
      name: javatop
      password: 123456
这就是我们新定义的用户名密码。
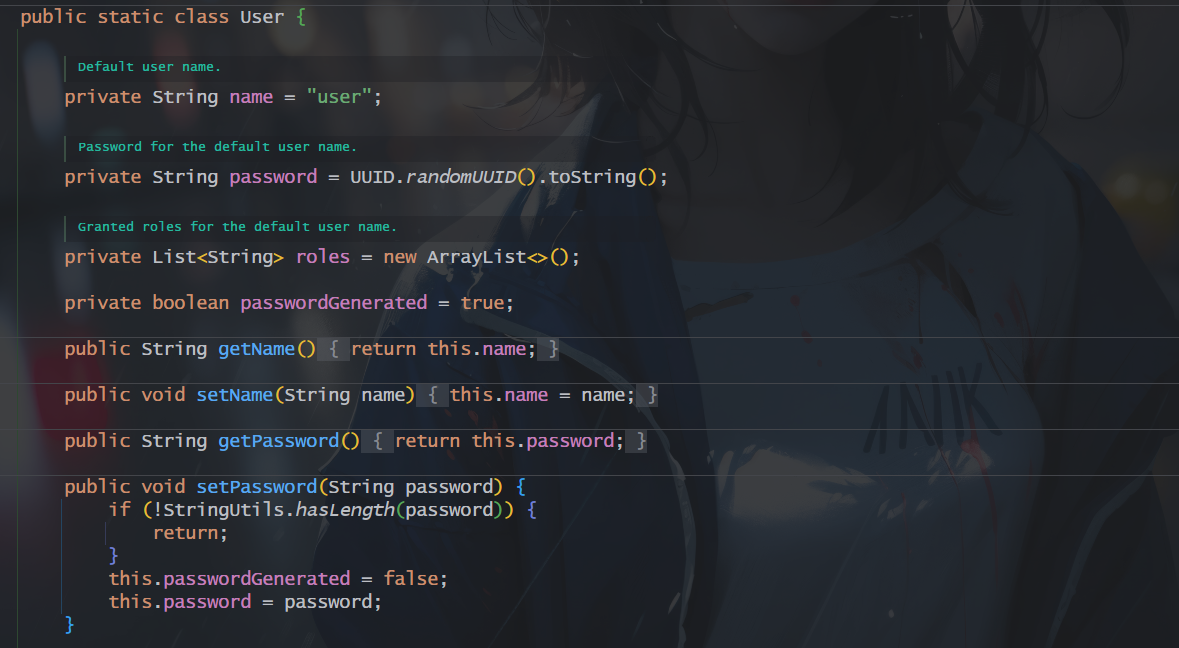
在 properties 中定义的用户名密码最终是通过set 方法注入到属性中去的这里我们顺便来看下 SecurityProperties.User#setPassword 方法:
public void setPassword(String password) {
	if (!StringUtils.hasLength(password)) {
		return;
	}
	this.passwordGenerated = false;
	this.password = password;
}
从这里我们可以看到application.yml 中定义的密码在注入进来之后还顺便设置了 passwordGenerated 属性为 false这个属性设置为 false 之后控制台就不会打印默认的密码了。

此时重启项目我们就可以使用自己定义的用户名/密码登录了。
4.总结
以上便是本文的全部内容本人才疏学浅文章有什么错误的地方欢迎大佬们批评指正我是Leo一个在互联网行业的小白立志成为更好的自己。
如果你想了解更多关于Leo可以关注公众号-程序员Leo后面文章会首先同步至公众号。
| 阿里云国内75折 回扣 微信号:monov8 |
| 阿里云国际,腾讯云国际,低至75折。AWS 93折 免费开户实名账号 代冲值 优惠多多 微信号:monov8 飞机:@monov6 |