

Spring Boot Actuator详解
| 阿里云国内75折 回扣 微信号:monov8 |
| 阿里云国际,腾讯云国际,低至75折。AWS 93折 免费开户实名账号 代冲值 优惠多多 微信号:monov8 飞机:@monov6 |
Actuator简介
什么是Spring Boot Actuator
- Spring Boot Actuator 模块提供了生产级别的功能比如健康检查审计指标收集HTTP跟踪等帮助我们监控和管理Spring Boot应用。
- 这个模块是一个采集应用内部信息暴露给外部的模块上述的功能都可以通过HTTP和JMX访问。
- 因为暴露内部信息的特性Actuator也可以和一些外部的应用监控系统整合Prometheus, Graphite, DataDog等。这些监控系统提供了出色的仪表板图形分析和警报可帮助你通过一个统一友好的界面监视和管理你的应用程序。
- Actuator使用Micrometer与这些外部应用程序监视系统集成。这样一来只需很少的配置即可轻松集成外部的监控系统。
Micrometer为Java 平台上的性能数据收集提供了一个通用的API应用程序只需要使用Micrometer的通用API来收集性能指标即可。Micrometer会负责完成与不同监控系统的适配工作这就使得切换监控系统变得很容易。对比Slf4j之于Java Logger中的定位。
Endpoints介绍
Endpoints简介
Spring Boot提供了所谓endpoints下文翻译为端点用于外部系统与应用程序进行访问和交互。
例如/health端点提供了关于应用健康情况的一些基础信息。/metrics端点提供了一些有用的应用程序指标JVM 内存使用、系统CPU使用等。
Endpoints类型
Actuator模块本来就有的端点我们称之为原生端点。根据端点的作用的话我们大概可以分为三大类
- 应用配置类 获取应用程序中加载的应用配置、环境变量、自动化配置报告等与Spring Boot应用密切相关的配置类信息。
- 度量指标类 获取应用程序运行过程中用于监控的度量指标比如内存信息、线程池信息、HTTP请求统计等。
- 操作控制类 提供了对应用的关闭等操作类功能。
需要注意的就是
- 每一个端点都可以通过配置来单独禁用或者启动
- 不同于Actuator 1.xActuator 2.x 的大多数端点默认被禁掉。 Actuator 2.x中的默认端点增加了
/actuator前缀。默认暴露的两个端点为/actuator/health和/actuator/info
Endpoints清单
此处使用的是SpringBoot 2.2.8版本详情请查看Spring官方文件
| Endpoint | HTTP方法 | 描述 |
|---|---|---|
| /actuator | GET | 查看有哪些Actuator endpoint是开放的 |
| /actuator/auditevent | GET | 显示应用暴露的审计事件 (比如认证进入、订单失败)需要搭配Spring Security使用示例代码 |
| /actuator/beans | GET | 查看当前上下文中配置的所有的Bean |
| /actuator/conditions | GET | 该端点用来获取应用的自动化配置报告其中包括所有自动化配置的候选项。同时还列出了每个候选项自动化配置的各个先决条件是否满足。所以该端点可以帮助我们方便的找到一些自动化配置为什么没有生效的具体原因。 |
| /actuator/configprops | GET | 查看注入带有@ConfigurationProperties类的properties配置的属性和值prefix代表前缀 |
| /actuator/env (常用) | GET | 该端点与/configprops不同它用来获取应用所有可用的环境属性报告。包括环境变量、JVM属性、应用的配置配置、命令行中的参数但是会自动过滤掉带有key、password、secret等关键字的properties的值保护信息安全 |
| /actuator/flyway | GET | 显示已应用的所有Flyway数据库迁移 |
| /actuator/health (常用) | GET | 查看当前SpringBoot运行的健康指标值由HealthIndicator的实现类提供所以可以自定义一些健康指标信息 |
| /actuator/heapdump | GET | 会自动生成一个JVM的堆文件 |
| /actuator/info | GET | 展示了关于应用的一般信息这些信息从编译文件比如META-INF/build-info.properties或者Git文件比如git.properties或者任何环境的property中获取。 |
| /actuator/mappings | GET | 查看全部的endpoint包含 Actuator 的即路径列表 |
| /actuator/metrics常用 | GET | 查看有哪些指标可以看ex: jvm.memory.max、system.cpu.usage使用/actuator/metrics/{metric.name}可以查看各指标的详细信息 |
| /actuator/scheduledtasks | GET | 查看定時任务的信息 |
| /actuator/shutdown | POST | 唯一一个需要POST请求的endpoint使应用程序正常关闭 |
更多详细的EndPoint可以查看Spring Boot Actuator [监控与管理]
集成 Actuator
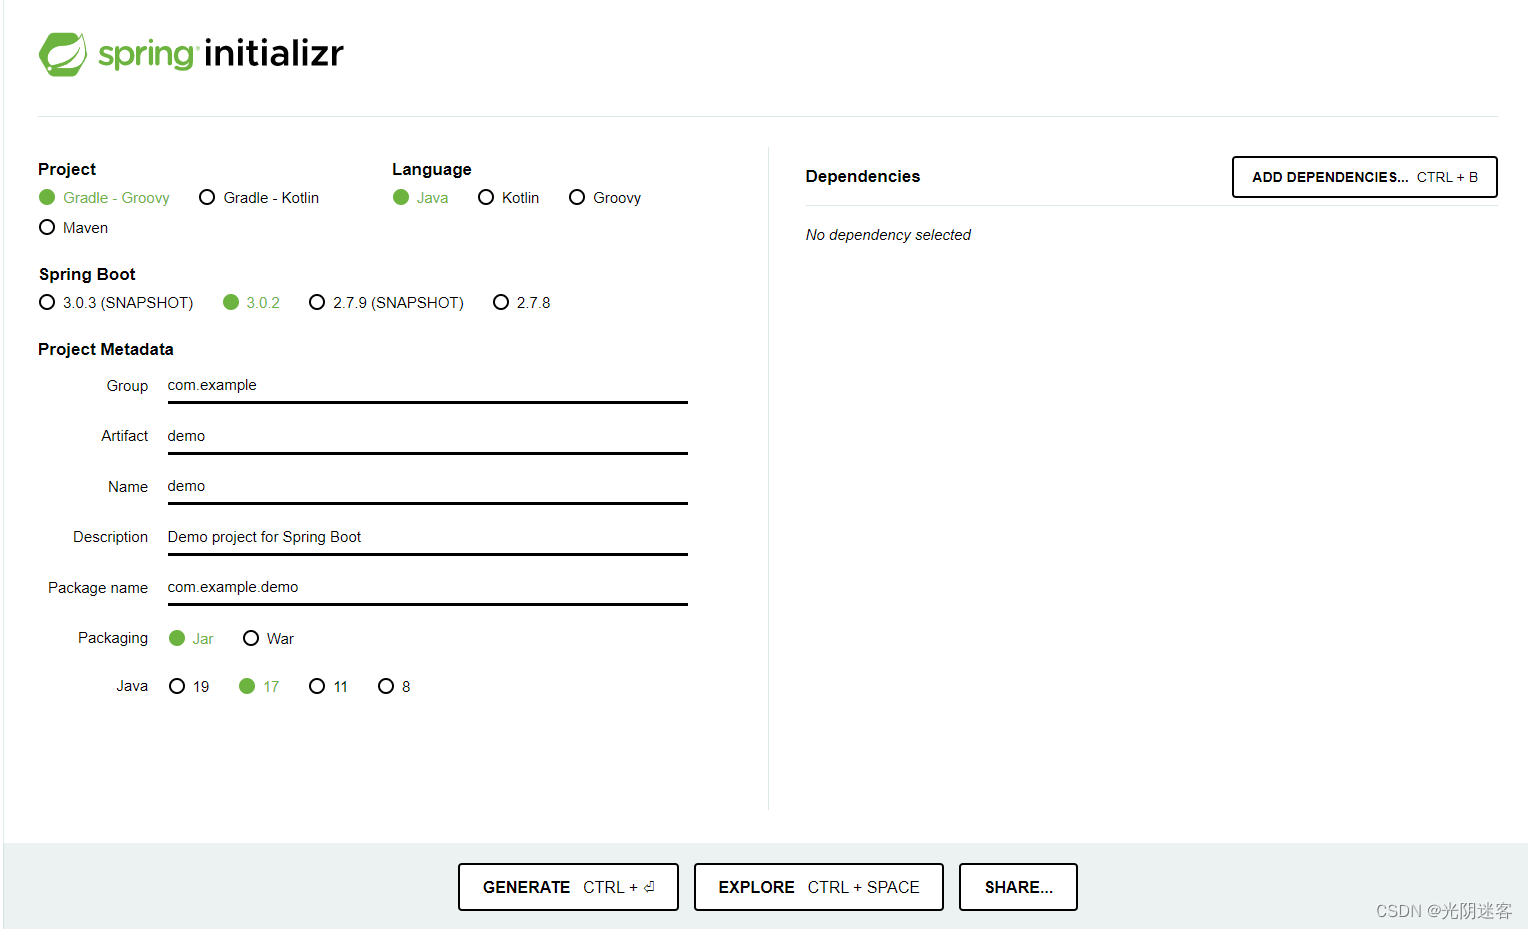
创建示例项目
我们先创建一个demo应用可以通过Spring Initializr创建
引入依赖
Maven
<dependency>
    <groupId>org.springframework.boot</groupId>
    <artifactId>spring-boot-starter-actuator</artifactId>
</dependency>
Gradle
dependencies {
    compile("org.springframework.boot:spring-boot-starter-actuator")
}
端点配置
默认暴露端点
我们可以通过以下配置来配置通过JMX 和 HTTP 暴露的端点。
| Property | Default |
|---|---|
| management.endpoints.jmx.exposure.exclude | |
| management.endpoints.jmx.exposure.include | * |
| management.endpoints.web.exposure.exclude | |
| management.endpoints.web.exposure.include | info, healt |
考虑到安全因素Actuator默认只开放了/actuator/health和/actuator/info这两个endpoint如果要开放其他endpoint需要额外在application.properties中进行设置。
暴露配置
① 打开所有的监控点
management:
  endpoints:
    enabled-by-default: true #暴露所有端点信息
    web:
      exposure:
        include: '*'  #以web方式暴露(不包含shutdown)
② 开放指定的endpoint
management:
  endpoints:
    enabled-by-default: true #暴露所有端点信息
    web:
      exposure:
        include: beans,mappings  # 如果指定多个端点用","分开
③ 关闭指定的endpoint
management:
  endpoints:
    web:
      exposure:
        exclude: beans# 如果指定多个端点用","分开
        include: *
exclude通常会跟include一起用就是先include了全部然后再exclude/actuator/beans这个endpoint。
④ 开放shutdown需额外配置
management:
  endpoints:
    shutdown:
      enabled: true
路径配置
① 默认情况下所有端点都暴露在/actuator路径下也可以改变/actuator的路径可以自定义
management:
  endpoints:
    web:
      base-path: /monitor
设置完重启后原本內建的/actuator/xxx路径都会变成/monitor/xxx可以用来防止被其他人猜到。
② 支持单个endpoint路径定义比如将health修改成healthcheck
management:
  endpoints:
    web:
      path-mapping:
        health: healthcheck
管理端口调整
management:
  server:
    port: 11011
自定义端口默认跟server.port一样可以防止被其他人猜到
端点响应缓存
对于一些不带参数的端点请求会自动进行缓存我们可以通过如下方式配置缓存时间下面配置表示 beans端点的缓存时间为100s
management:
  endpoint:
    beans:
      cache:
        time-to-live: 100s
端点保护
如果开启了Actuator默认不开放的endpoints建议一定要加上Spring Security用于endpoint保护避免重要信息泄露必须防止未经授权的外部访问。
这里我们使用Spring Security保护首先添加相关依赖
<dependency>
   <groupId>org.springframework.boot</groupId>
   <artifactId>spring-boot-starter-security</artifactId>
</dependency>
添加之后我们需要定义安全校验规则来覆盖Spring Security的默认配置。
这里给出两个版本的模板配置
import org.springframework.boot.actuate.autoconfigure.security.servlet.EndpointRequest;
import org.springframework.boot.actuate.context.ShutdownEndpoint;
import org.springframework.boot.autoconfigure.security.servlet.PathRequest;
import org.springframework.context.annotation.Configuration;
import org.springframework.security.config.annotation.web.builders.HttpSecurity;
import org.springframework.security.config.annotation.web.configuration.WebSecurityConfigurerAdapter;


@Configuration
public class ActuatorSecurityConfig extends WebSecurityConfigurerAdapter {

    /*
     * version1:
     * 1. 限制 '/shutdown'端点的访问只允许ACTUATOR访问
     * 2. 允许外部访问其他的端点
     * 3. 允许外部访问静态资源
     * 4. 允许外部访问 '/'
     * 5. 其他的访问需要被校验
     * version2:
     * 1. 限制所有端点的访问只允许ACTUATOR访问
     * 2. 允许外部访问静态资源
     * 3. 允许外部访问 '/'
     * 4. 其他的访问需要被校验
     */

    @Override
    protected void configure(HttpSecurity http) throws Exception {
        // version1
//        http
//                .authorizeRequests()
//                    .requestMatchers(EndpointRequest.to(ShutdownEndpoint.class))
//                        .hasRole("ADMIN")
//                .requestMatchers(EndpointRequest.toAnyEndpoint())
//                    .permitAll()
//                .requestMatchers(PathRequest.toStaticResources().atCommonLocations())
//                    .permitAll()
//                .antMatchers("/")
//                    .permitAll()
//                .antMatchers("/**")
//                    .authenticated()
//                .and()
//                .httpBasic();

        // version2
        http
                .authorizeRequests()
                .requestMatchers(EndpointRequest.toAnyEndpoint())
                    .hasRole("ADMIN")
                .requestMatchers(PathRequest.toStaticResources().atCommonLocations())
                    .permitAll()
                .antMatchers("/")
                    .permitAll()
                .antMatchers("/**")
                    .authenticated()
                .and()
                .httpBasic();
    }
}
application.properties的相关配置如下
# Spring Security Default user name and password
spring.security.user.name=actuator
spring.security.user.password=actuator
spring.security.user.roles=ADMIN
我们使用浏览器访问http://localhost:8080/actuator/health端点接口会先弹出个登录框只有登录后才能访问。
定制Endpoint
定制化health信息
① 配置Health显示情况详细界面显示配置
management:
    health:
      enabled: true
      show-details: always #总是显示详细信息。可显示每个模块的状态信息
② 定制Health Endpoint
添加信息
1继承 AbstractHealthIndicator 类
2定义参数 Health.Builder builder
3向参数 builder 中添加状态及相关信息
@Component
//类名截去HealthIndicator后为显示时的组件名
public class MyComHealthIndicator extends AbstractHealthIndicator {

    //真实的检查方法
    @Override
    protected void doHealthCheck(Health.Builder builder) throws Exception {
        // 获取链接进行测试
        Map<String, Object> map = new HashMap<>();

        //检查完成
        if (1 == 1) {
            //健康
            builder.status(Status.UP);
            map.put("count", 1);
        } else {
            //不健康
            builder.status(Status.OUT_OF_SERVICE);
            map.put("err", "连接超时");
            map.put("time", 3000);
        }

        builder.withDetail("code", 100)
               .withDetails(map);
    }
}
定制info信息
编写InfoContributor
1继承 public class ExampleInfoContributor implements InfoContributor
2定义 Info.Builder builder 参数
3向builder中添加参数信息
@Component
public class ExampleInfoContributor implements InfoContributor {

    @Override
    public void contribute(Info.Builder builder) {
        builder.withDetail("msg", "你好")
               .withDetail("hello", "uclass")
               .withDetails(Collections.singletonMap("key", "value"));

    }
}
定制Metrics信息
① 利用service层构造器在注册中心中添加cityService.saveCity.count指标
@Service
public class CityServiceImpl implements CityServices {

    @Autowired
    CityMapper cityMapper;

    Counter counter;

    //利用构造器在注册中心中添加cityService.saveCity.count指标
    public CityServiceImpl(MeterRegistry meterRegistry) {
        //指标中心注册新的指标项
        counter = meterRegistry.counter("cityService.saveCity.count");
    }

    public void saveCity(City city) {
        counter.increment();
        cityMapper.insertCity(city);
    }
}
② 在配置类中新建配置添加指标
@ServletComponentScan(basePackages = "com.uclass.thymeleaf")
@Configuration
public class AdminWebConfig implements WebMvcConfigurer {
    @Bean
    MeterBinder queueSize(Queue queue) {
        return (registry) -> Gauge.builder("queueSize", queue::size).register(registry);
    }
}
    //利用构造器在注册中心中添加cityService.saveCity.count指标
    public CityServiceImpl(MeterRegistry meterRegistry) {
        //指标中心注册新的指标项
        counter = meterRegistry.counter("cityService.saveCity.count");
    }
自定义新端点
利用 @Endpoint(id = “myservice”) 注解
- id属性代表新增的端点名称
- 利用@ReadOperation、@WritOperation注解在端点中添加信息
@Component
@Endpoint(id = "myservice")
public class MyServiceEndPoint {

    @ReadOperation
    public Map getDockerInfo () {
        //端点的读操作
        return Collections.singletonMap("dockerInfo", "docker start...");
    }

    @WriteOperation
    private void restartDocker(){
        System.out.println("docker restarted....");
    }
}