

Ubuntu 使用 nginx 搭建 https 文件服务器-CSDN博客
| 阿里云国内75折 回扣 微信号:monov8 |
| 阿里云国际,腾讯云国际,低至75折。AWS 93折 免费开户实名账号 代冲值 优惠多多 微信号:monov8 飞机:@monov6 |
Ubuntu 使用 nginx 搭建 https 文件服务器
搭建步骤
- 安装 nginx
- 生成证书
- 修改 config
- 重启 nginx
安装 nginx
apt 安装
sudo apt-get install nginx
生成证书
使用 openssl 生成证书
到对应的路径下/etc/nginx/ssl/
openssl genrsa -des3 -out shidian.key 1024
openssl req -new -key shidian.key -out shidian.csr
cp shidian.key shidian.key.org
openssl rsa -in shidian.key.org -out shidian.key
openssl x509 -req -days 365 -in shidian.csr -signkey shidian.key -out shidian.crt
修改 config
修改 nginx 对应的 config 文件/etc/nginx/site-enable/default
# SSL配置
server {
listen 443 ssl; #SSL协议访问端口号为443。此处如未添加ssl可能会造成Nginx无法启动。
server_name localhost; #改将localhost修改为您证书绑定的域名例如www.example.com。
#index index.htm index.html; #默认文件
#root /usr/share/nginx/html/;
ssl_certificate /etc/nginx/ssl/shidian.crt;
ssl_certificate_key /etc/nginx/ssl/shidian.key;
ssl_session_timeout 5m;
ssl_protocols TLSv1 TLSv1.1 TLSv1.2; #使用该协议进行配置。
ssl_prefer_server_ciphers on;
#wordpress伪静态不是wordpress应该就不用加了
location / {
root /usr/share/nginx/html;
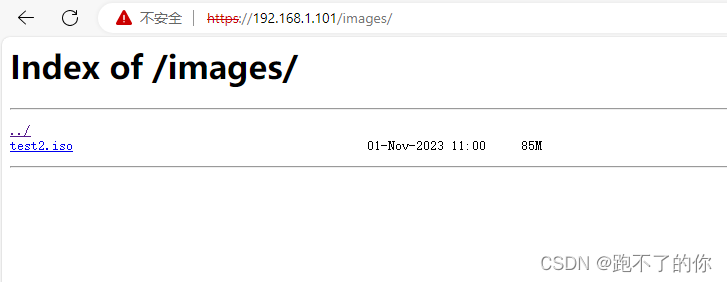
autoindex on;
autoindex_exact_size off;
autoindex_localtime on;
charset utf-8;
}
#这段是必备没有好像就不能正常运行加了就是了
location ~* \.(eot|ttf|woff|woff2)$ {
add_header Access-Control-Allow-Origin '*';
}
}
重启 nginx
sudo nginx -t #测试配置是否正确
sudo nginx -s reload
| 阿里云国内75折 回扣 微信号:monov8 |
| 阿里云国际,腾讯云国际,低至75折。AWS 93折 免费开户实名账号 代冲值 优惠多多 微信号:monov8 飞机:@monov6 |