

【Vue中使用Echarts】在Vue中优雅的使用Echarts——图表轮播图、Echarts图表组件封装、节流函数优化图表性能
| 阿里云国内75折 回扣 微信号:monov8 |
| 阿里云国际,腾讯云国际,低至75折。AWS 93折 免费开户实名账号 代冲值 优惠多多 微信号:monov8 飞机:@monov6 |
文章目录
一、为什么要优雅的使用echarts
为了提高代码的规范性、复用性vue中最常用的就是将具有某些功能的代码封装到一个插件。如果没有对插件进行封装在后期使用插件的时候效率会十分低下也不便于后期对程序的维护拓展在优雅的使用echarts时首先我们考虑到多个地方需要用到echarts就需要封装一个组件出来由于每一个图中的属性均由配置项option进行控制所以我们可以将option选项提取出来在将来用到图表的时候从父组件传进来父组件需要做的就是为图标提供一个有大小的盒子以便于将图表放进盒子内。当然这只是粗略的想法具体应如何做还要向下继续看。接下来的几个例子均是由App.vue组件承担父组件角色Mycharts.vue承担子组件的角色。
二、最初的表格组件
这种方法也是我们在上一篇博客中介绍到的目的就是为了让大家画出来一个表格体验到画表格的喜悦感。在实际使用过程中我们并不这么干这样只能一个组件画出一个表格并且后期维护非常麻烦。我们首先考虑的就是将option选项提取出来在父组件用到图表时将其传进来然后渲染出表格。
MyCharts.vue
<template>
<div class="hello">
</div>
</template>
<script>
import * as echarts from "echarts"
export default {
name: 'HelloWorld',
mounted() {
this.initOneEcharts();
},
methods: {
initOneEcharts() {
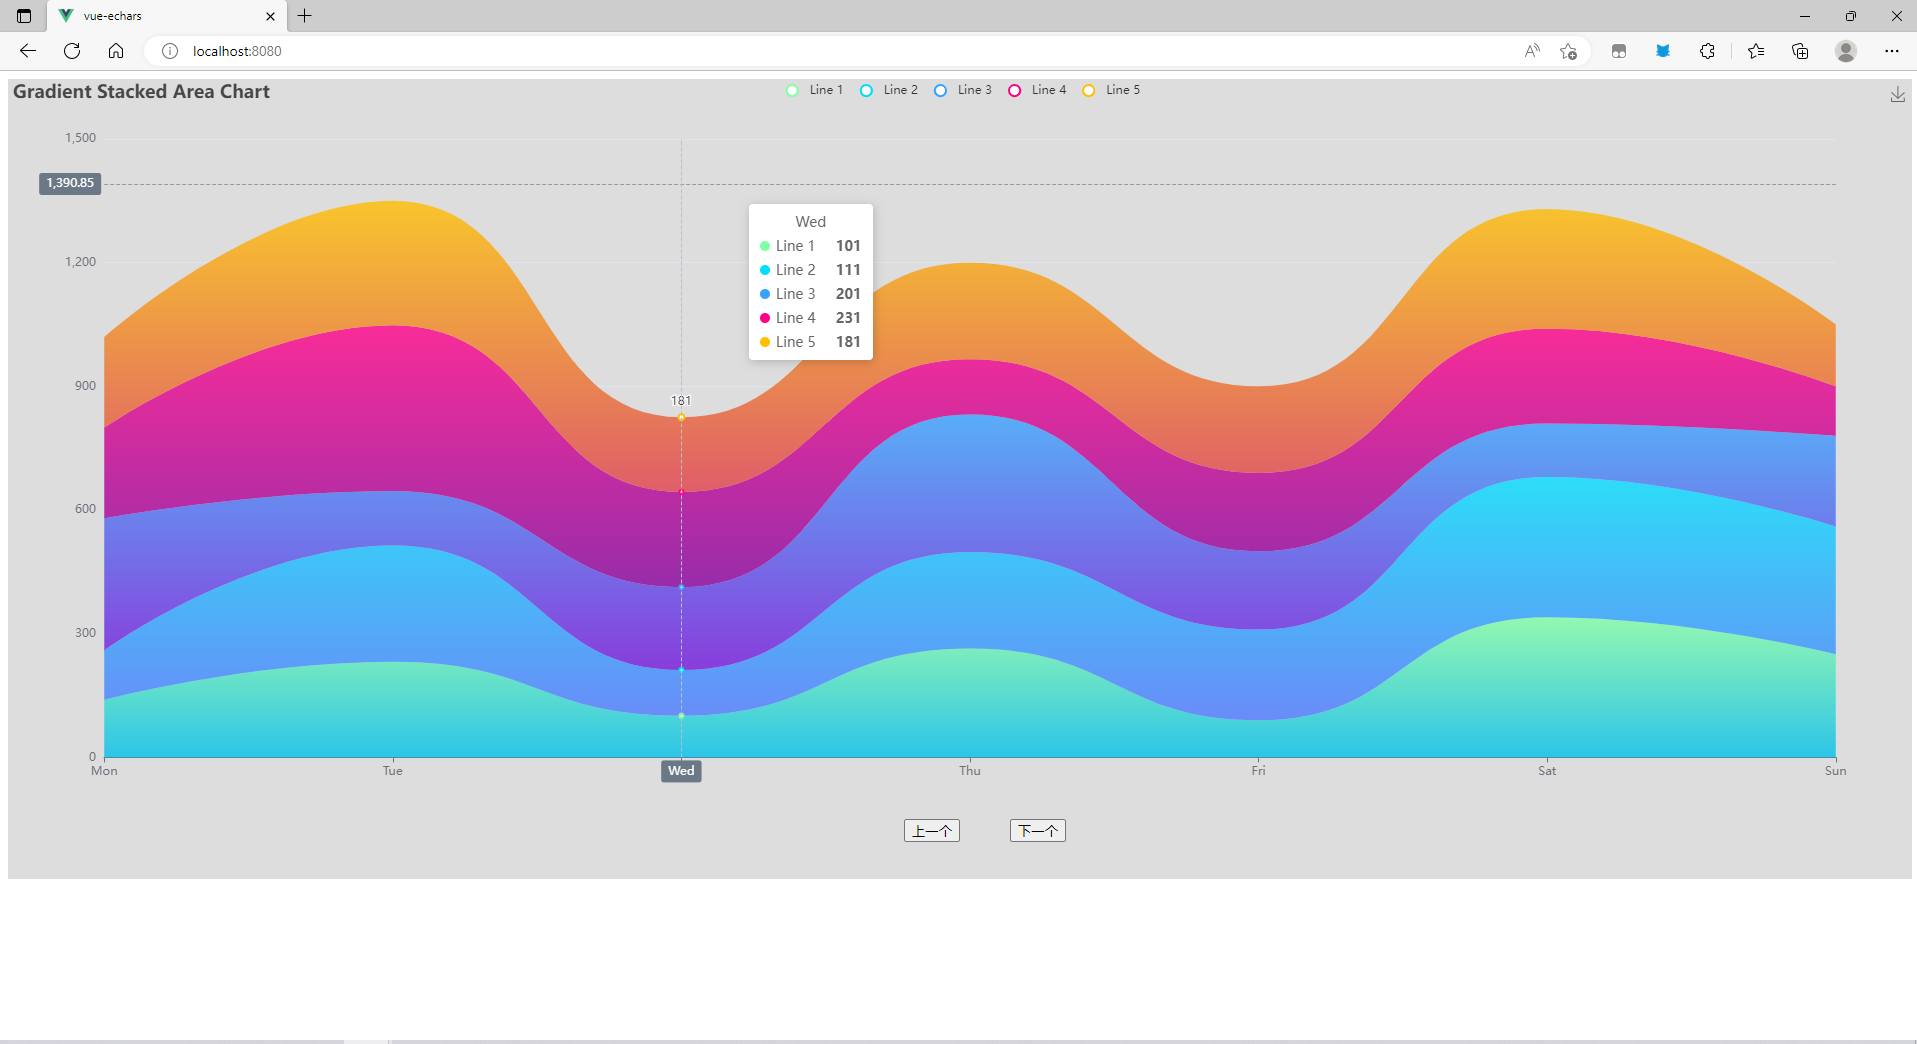
const option = {
color: ["#80FFA5", "#00DDFF", "#37A2FF", "#FF0087", "#FFBF00"],
title: {
text: "Gradient Stacked Area Chart",
},
tooltip: {
trigger: "axis",
axisPointer: {
type: "cross",
label: {
backgroundColor: "#6a7985",
},
},
},
legend: {
data: ["Line 1", "Line 2", "Line 3", "Line 4", "Line 5"],
},
toolbox: {
feature: {
saveAsImage: {},
},
},
grid: {
left: "3%",
right: "4%",
bottom: "3%",
containLabel: true,
},
xAxis: [
{
type: "category",
boundaryGap: false,
data: ["Mon", "Tue", "Wed", "Thu", "Fri", "Sat", "Sun"],
},
],
yAxis: [
{
type: "value",
},
],
series: [
{
name: "Line 1",
type: "line",
stack: "Total",
smooth: true,
lineStyle: {
width: 0,
},
showSymbol: false,
areaStyle: {
opacity: 0.8,
color: new echarts.graphic.LinearGradient(0, 0, 0, 1, [
{
offset: 0,
color: "rgb(128, 255, 165)",
},
{
offset: 1,
color: "rgb(1, 191, 236)",
},
]),
},
emphasis: {
focus: "series",
},
data: [140, 232, 101, 264, 90, 340, 250],
},
{
name: "Line 2",
type: "line",
stack: "Total",
smooth: true,
lineStyle: {
width: 0,
},
showSymbol: false,
areaStyle: {
opacity: 0.8,
color: new echarts.graphic.LinearGradient(0, 0, 0, 1, [
{
offset: 0,
color: "rgb(0, 221, 255)",
},
{
offset: 1,
color: "rgb(77, 119, 255)",
},
]),
},
emphasis: {
focus: "series",
},
data: [120, 282, 111, 234, 220, 340, 310],
},
{
name: "Line 3",
type: "line",
stack: "Total",
smooth: true,
lineStyle: {
width: 0,
},
showSymbol: false,
areaStyle: {
opacity: 0.8,
color: new echarts.graphic.LinearGradient(0, 0, 0, 1, [
{
offset: 0,
color: "rgb(55, 162, 255)",
},
{
offset: 1,
color: "rgb(116, 21, 219)",
},
]),
},
emphasis: {
focus: "series",
},
data: [320, 132, 201, 334, 190, 130, 220],
},
{
name: "Line 4",
type: "line",
stack: "Total",
smooth: true,
lineStyle: {
width: 0,
},
showSymbol: false,
areaStyle: {
opacity: 0.8,
color: new echarts.graphic.LinearGradient(0, 0, 0, 1, [
{
offset: 0,
color: "rgb(255, 0, 135)",
},
{
offset: 1,
color: "rgb(135, 0, 157)",
},
]),
},
emphasis: {
focus: "series",
},
data: [220, 402, 231, 134, 190, 230, 120],
},
{
name: "Line 5",
type: "line",
stack: "Total",
smooth: true,
lineStyle: {
width: 0,
},
showSymbol: false,
label: {
show: true,
position: "top",
},
areaStyle: {
opacity: 0.8,
color: new echarts.graphic.LinearGradient(0, 0, 0, 1, [
{
offset: 0,
color: "rgb(255, 191, 0)",
},
{
offset: 1,
color: "rgb(224, 62, 76)",
},
]),
},
emphasis: {
focus: "series",
},
data: [220, 302, 181, 234, 210, 290, 150],
},
],
};
echarts.init(document.getElementById("app")).setOption(option);
},
},
};
</script>
<!-- Add "scoped" attribute to limit CSS to this component only -->
<style scoped>
#hello{
width: 1000px;
height: 600px;
}
</style>
App.vue
<template>
  <div id="app"><HelloWorld/></div>
</template>

<script>
import HelloWorld from "./components/HelloWorld.vue"
export default {
  name: "app",
  components:{
    HelloWorld
  }
};
</script>

<style scoped>
#app{
  width: 1000px;
  height: 600px;
}
</style>
三、初步的封装
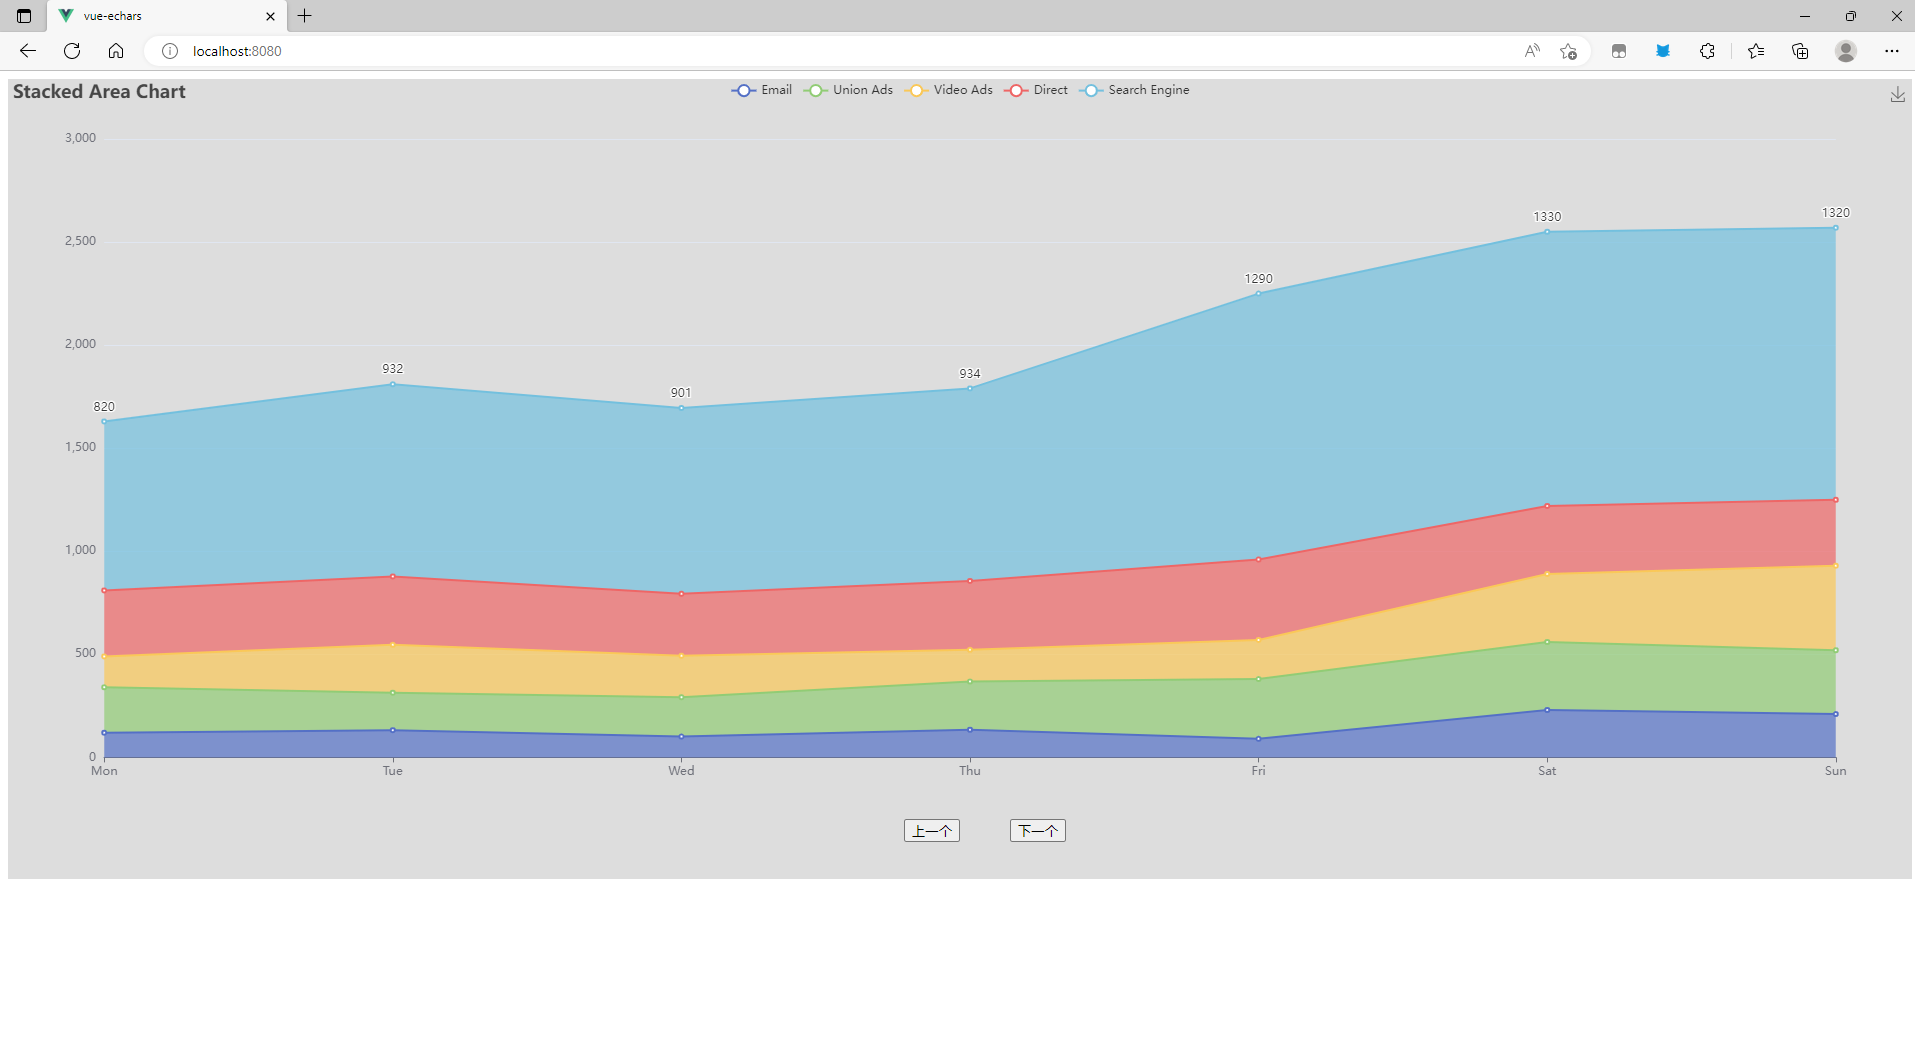
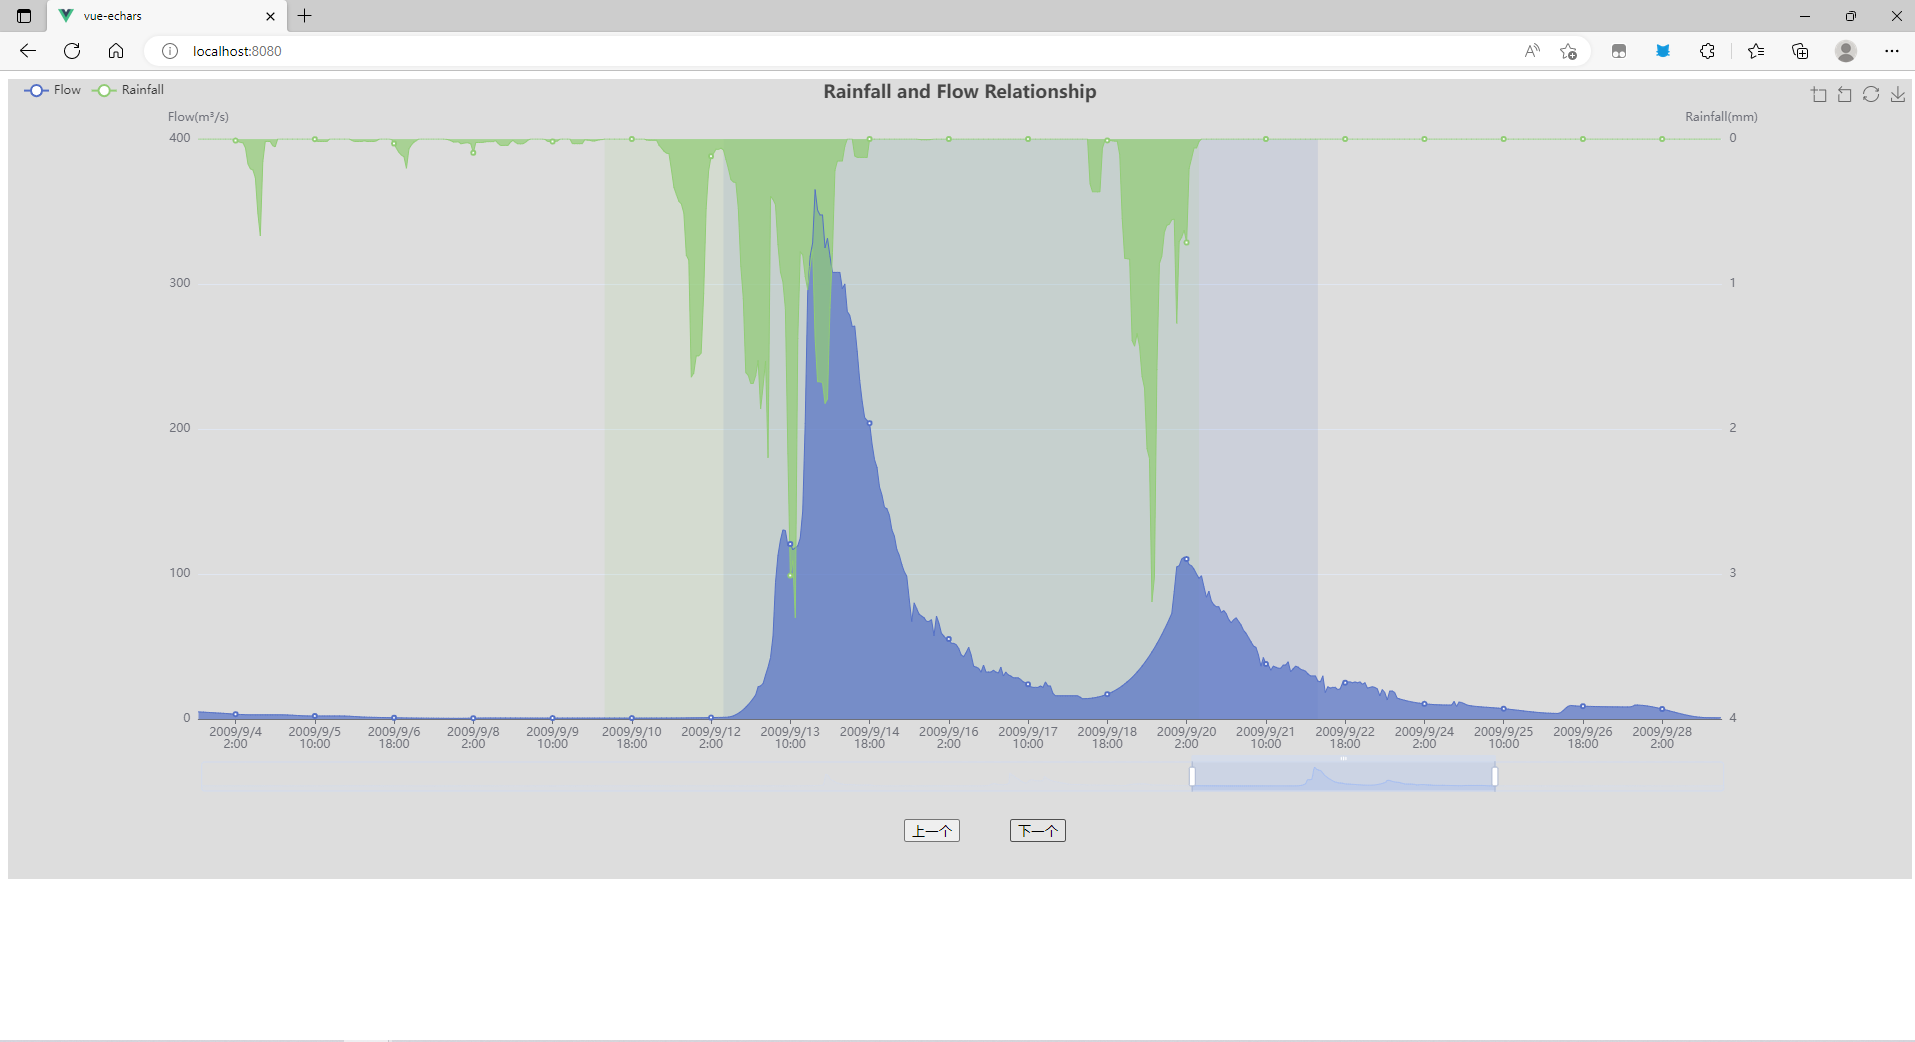
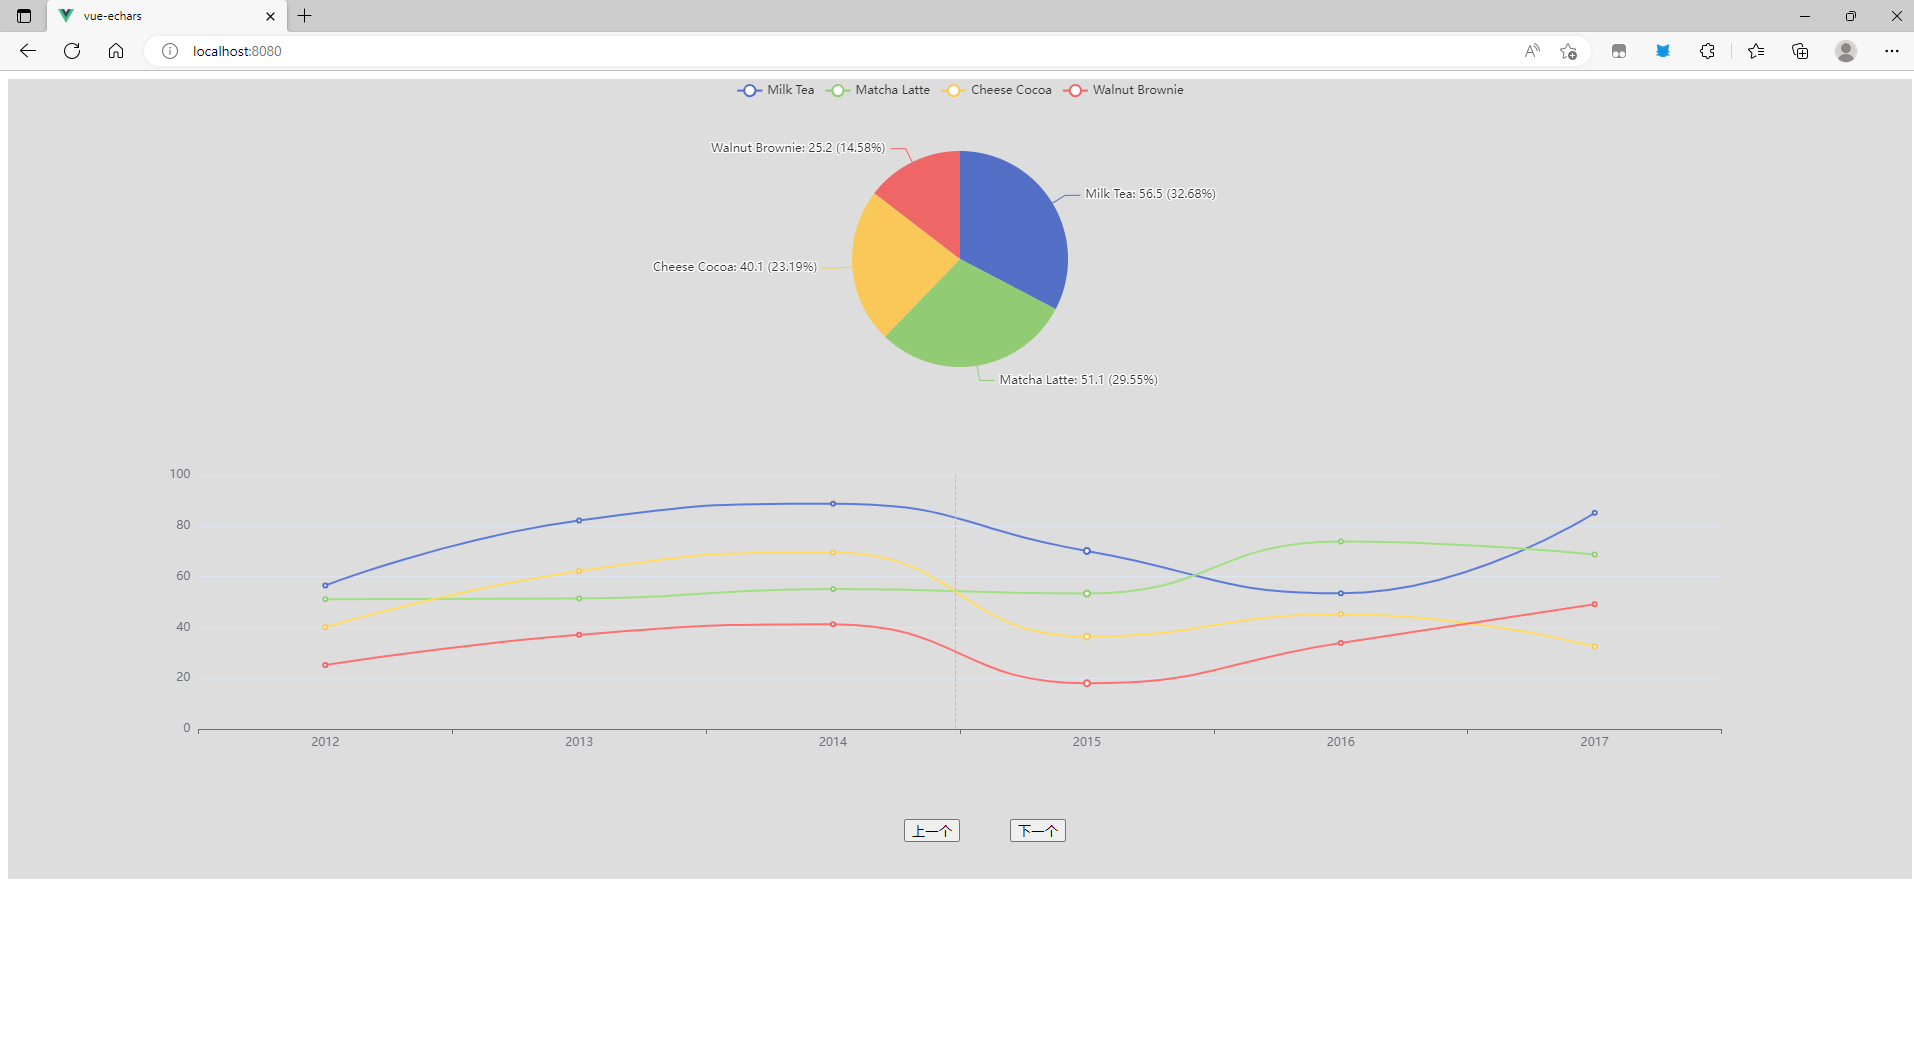
初步的封装并没有考虑太多性能方面的东西而是将组件提取出来能够再父组件中使用起来以下代码是通过简单的算法实现了一个echarts图例轮播图
当然其中有许多不足大家只需要体会以下将其封装的感觉就好。
MyCharts.vue 封装好的图表组件
<template>
  <div id="mycharts"></div>
</template>

<script>
import * as echarts from "echarts";
export default {
  mounted() {
    if (this.option) {
      this.initOneEcharts();
    }
  },
  data() {
    return {
      mycharts: null,
    };
  },
  props: {
    option: {
      Object,
    },
  },
  methods: {
    initOneEcharts() {
      this.mycharts = echarts.init(document.getElementById("mycharts"));
      this.mycharts.setOption(this.option);
    },
  },
  watch: {
    option() {
      // 不为空的话先销毁然后再初始化新的
      if (this.mycharts) {
        this.mycharts.dispose();
      }
      this.initOneEcharts();
    },
  },
};
</script>

<!-- Add "scoped" attribute to limit CSS to this component only -->
<style scoped>
#mycharts {
  width: 100%;
  height: 100%;
}
</style>
App.vue 将数据传向图表组件并渲染
<template>
  <div id="app">
    <div class="charts">
      <my-charts :option="option"></my-charts>
    </div>
    <div class="footer">
      <button class="b1" @click="b1">上一个</button>
      <button class="b2" @click="b2">下一个</button>
    </div>
  </div>
</template>

<script>
import * as echarts from "echarts";
import MyCharts from "./components/MyEcharts.vue";
export default {
  name: "app",
  components: {
    MyCharts,
  },
  data() {
    return {
      // 指向目前指向的是哪个图表
      pointer: 0,
      option: null,
      chartsList: [这里存放option对象],
    };
  },
  mounted() {
    this.option = this.chartsList[0];
  },
  methods: {
    b1() {
      console.log("后退");
      if (this.pointer == 0) {
        this.pointer = this.chartsList.length;
      }
      this.pointer--;
      this.option = this.chartsList[this.pointer];
    },
    b2() {
      console.log("前进", this.chartsList.length + 1, this.pointer);
      this.pointer = (this.pointer + 1) % this.chartsList.length;
      this.option = this.chartsList[this.pointer];
    },
  },
};
</script>

<style scoped>
#app {
  background-color: #ddd;
  text-align: center;
  width: 100%;
  height: 800px;
}
.charts {
  width: 100%;
  height: 90%;
  /* background-color: blue; */
}
.footer {
  margin-top: 20px;
  /* background-color: red; */
}
.b1 {
  margin: 0 50px;
}
</style>
四、性能优化
截止目前我们的mycharts插件具备的以下功能:
- 数据源与展示的模板进行了分离
- mycharts插件可以在多个插件中使用只需传入option配置即可
- 数据源发生改变时插件可以感知到然后重新渲染模板(如果是内部数据改变可以在watch中加入deep:true)
看似已经齐活了但是从性能方面来说还有很大的差距:
- 没有进行全局注册哪里用到哪里引入使用频繁就需要进行全局注册
- 窗口大小适配能力差传统适配方案效率低下
- option内容丰富声明在data中性能差需要声明在外部
于是可以做以下调整
将封装好的插件注册为全局插件
import MyEcharts from "./components/MyEcharts"
Vue.component("MyEcharts",MyEcharts)
添加窗口改变监听事件
this.mychart.__resize = function(){
    chart.resize();
};
setTimeout(() => {
    window.addEventListener('resize',this.chart.__resize);
}, 200);
移除窗口改变监听事件
beforeDestroy() {
    // 移除窗口改变监听
    window.removeEventListener('resize',this.chart.__resize);
}
频繁的窗口改变会降低效率使用节流函数
mounted(){
    this.chart = echarts.init(document.getElementById(this.id));
    this.chart.setOption(this.option);
    // 节流函数,来自Lodash这里可以自己写一个简单点的
    // 如果有多个地方用到也可以使用引入的方式
    function throttle(func, wait, options) {
        let time, context, args, result;
        let previous = 0;
        if (!options) options = {};

        let later = function() {
            previous = options.leading === false ? 0 : new Date().getTime();
            time = null;
            func.apply(context, args);
            if (!time) context = args = null;
        };

        let throttled = function() {
            let now = new Date().getTime();
            if (!previous && options.leading === false) previous = now;
            let remaining = wait - (now - previous);
            context = this;
            args = arguments;
            if (remaining <= 0 || remaining > wait) {
                if (time) {
                    clearTimeout(time);
                    time = null;
                }
                previous = now;
                func.apply(context, args);
                if (!time) context = args = null;
            } else if (!time && options.trailing !== false) {
                time = setTimeout(later, remaining);
            }
        };
        return throttled;
    };

    var chart = this.chart;
    this.chart.__resize = throttle(function(){
        chart.resize();
    },200);

    setTimeout(() => {
        window.addEventListener('resize',this.chart.__resize);
    }, 200);
},
将数据源提出去(与vue对象分离)
<template>
  <div id="mycharts"></div>
</template>

<script>
import * as echarts from "echarts";
export default {
  name: "MyEcharts",
  beforeDestroy() {
    // 移除窗口改变监听
    window.removeEventListener("resize", this.mycharts.resize);
  },
  data() {
    return {
      mycharts: null,
    };
  },
  methods: {
      //当数据变化的时候调用这个接口即可
    setOption(option) {
      if (this.mycharts){
        this.mycharts.dispose()
      }
      this.mycharts = echarts.init(document.getElementById("mycharts"));
      this.mycharts.setOption(option);
      window.addEventListener("resize", this.mycharts.resize);
    },
  }
};
</script>

<!-- Add "scoped" attribute to limit CSS to this component only -->
<style scoped>
#mycharts {
  width: 100%;
  height: 100%;
}
</style>
修改后完整的代码如下:
main.js
import Vue from 'vue'
import App from './App.vue'
import * as echarts from "echarts"
// 绑定在vue的原型对象上
Vue.prototype.$echarts=echarts
import MyEcharts from "./components/MyEcharts"
Vue.component("MyEcharts",MyEcharts)
// 关闭生产提示
Vue.config.productionTip = false

new Vue({
  render: h => h(App),
}).$mount('#root')
App.vue
<template>
  <div id="app">
    <div class="charts">
      <my-echarts ref="chart1" :option="option"></my-echarts>
    </div>
    <div class="footer">
      <button class="b1" @click="b1">上一个</button>
      <button class="b2" @click="b2">下一个</button>
    </div>
  </div>
</template>

<script>
import * as echarts from "echarts";
let chartsList=[这里存放图标配置项option]
export default {
  name: "app",
  components:{},
  data() {
    return {
      // 指向目前指向的是哪个图表
      pointer: 0,
      option: null,
    };
  },
  mounted() {
    this.$refs.chart1.setOption(chartsList[0])
  },
  methods: {
    b1() {
      console.log("后退");
      if (this.pointer == 0) {
        this.pointer = chartsList.length;
      }
      this.pointer--;
      // this.option = chartsList[this.pointer];
      this.$refs.chart1.setOption(chartsList[this.pointer])

    },
    b2() {
      console.log("前进", chartsList.length + 1, this.pointer);
      this.pointer = (this.pointer + 1) % chartsList.length;
      // this.option = chartsList[this.pointer];
      this.$refs.chart1.setOption(chartsList[this.pointer])
    },
  },
};
</script>

<style scoped>
#app {
  background-color: #ddd;
  text-align: center;
  width: 100%;
  height: 800px;
}
.charts {
  width: 100%;
  height: 90%;
  /* background-color: blue; */
}
.footer {
  margin-top: 20px;
  /* background-color: red; */
}
.b1 {
  margin: 0 50px;
}
</style>
MyEcharts.vue
<template>
  <div id="mycharts"></div>
</template>

<script>
import * as echarts from "echarts";
export default {
  name: "MyEcharts",
  beforeDestroy() {
    // 移除窗口改变监听
    window.removeEventListener("resize", this.mycharts.resize);
  },
  data() {
    return {
      mycharts: null,
    };
  },
  methods: {
    setOption(option) {
      if (this.mycharts){
        this.mycharts.dispose()
      }
      this.mycharts = echarts.init(document.getElementById("mycharts"));
      this.mycharts.setOption(option);
      window.addEventListener("resize", this.mycharts.resize);
    },
  }
};
</script>

<!-- Add "scoped" attribute to limit CSS to this component only -->
<style scoped>
#mycharts {
  width: 100%;
  height: 100%;
}
</style>
程序到目前为止已经该有的都有了但是还是不够完善如果大家有什么好的介意或者意见欢迎共同探讨。