liunx centos9安装nodejs并搭建vue 图文详解手把手教程
| 阿里云国内75折 回扣 微信号:monov8 |
| 阿里云国际,腾讯云国际,低至75折。AWS 93折 免费开户实名账号 代冲值 优惠多多 微信号:monov8 飞机:@monov6 |
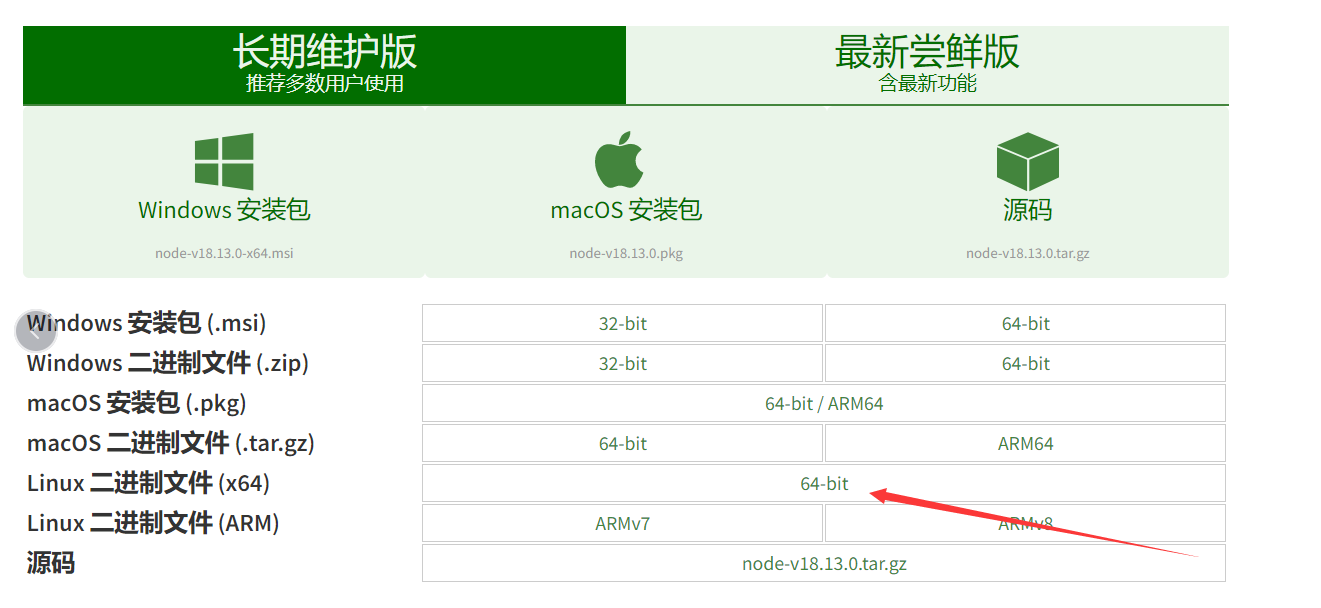
首先nodjs的官网找到liunx的安装包
https://nodejs.org/en/download/
这里不推荐用源码安装因为实在太慢我安装时一下在不停安装连续15分钟都还在跑就是不知道什么原因
解压包
tar -xvf /root/node-v18.13.0-linux-x64.tar.xz
设置全局 -s后面地址就是你的安装包解压的地址
ln -s /root/node-v18.13.0-linux-x64/bin/npm  /usr/local/bin/
ln -s /root/node-v18.13.0-linux-x64/bin/node   /usr/local/bin/
添加环境变量
vim /etc/profile
这一行上面添加下面的内容

export NODE_HOME=/root/node-v18.13.0-linux-x64
export PATH=$NODE_HOME/bin:$PATH
然后退出
ctrl+c
shift+:
保存
wq!
使编译配置保存
source /etc/profile
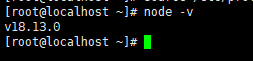
验证是否安装成功
node -v
下面我们来运行一下http服务器
在你的目录中创建一个a1.js文件将以下代码插入进去
var http = require('http');
http.createServer(function (request, response) {
response.writeHead(200, {'Content-Type': 'text/plain'});
response.end('Hello World\n');
}).listen(8888);
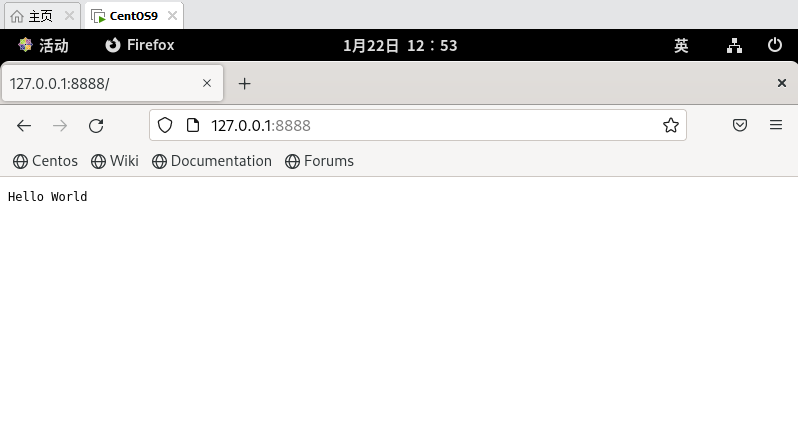
console.log('nodejs服务器运行成功');
然后浏览器访问127.0.0.1:8888成功出现Hello World就代表成功
然后我们来搭建vue3环境
首先下载npm
npm install -g cnpm --registry=https://registry.npmmirror.com
然后再用cnpm安装vue
cnpm install vue@next
再安装vue cli这个命令行工具
cnpm install -g @vue/cli
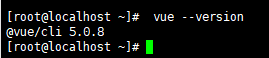
安装好后查看vue版本
vue --version
运行vue项目
vue upgrade --next
安装桥接工具

npm install -g @vue/cli-init
创建一个vue项目
vue init webpack my-project
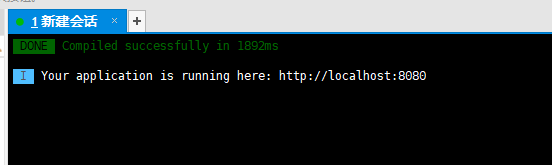
安装运行dev
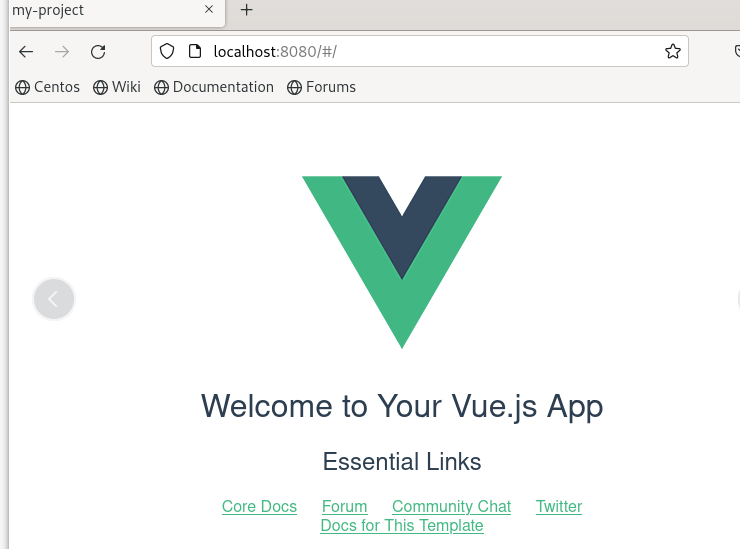
cnpm run dev
访问http://localhost:8080/
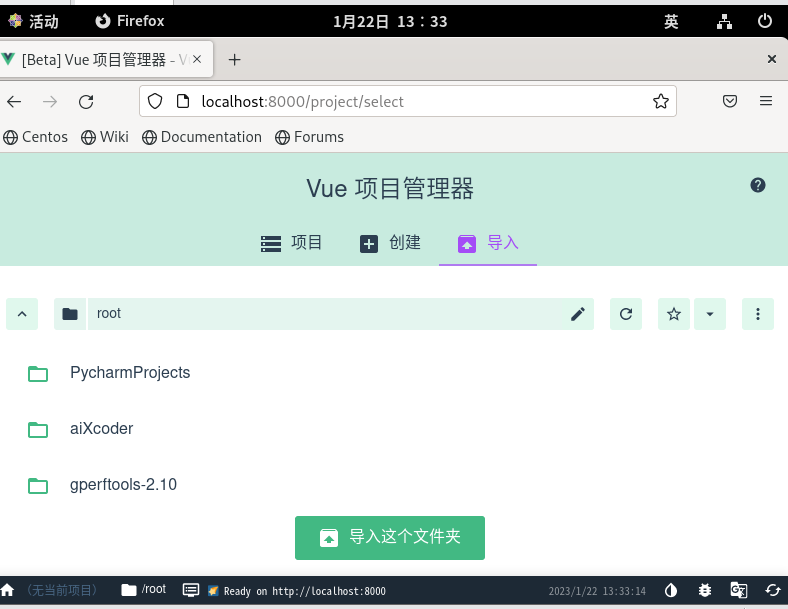
使用vue ui来进行项目管理