

linux(debian系列)配置seetaface6
| 阿里云国内75折 回扣 微信号:monov8 |
| 阿里云国际,腾讯云国际,低至75折。AWS 93折 免费开户实名账号 代冲值 优惠多多 微信号:monov8 飞机:@monov6 |
seetaface6依赖于opencv另外我们需要界面所以也需要Qt你也可以选择其他的。
这里的目标是配置好环境能够编译并运行seetaface6给的demo。
那个demo中用到了sqlite数据库所以我们还需要安装sqlite。
总的来说就是以下步骤
- 编译并安装OpenCV
- 编译并安装seetaface6
- 安装Qt
- 安装sqlite和sqlite开发包
- 编译运行seetaface_demo
一、安装OpenCV
这里用官网给的步骤即可目前最新的是opencv4.7由于需要人脸识别所以我们需要安装opencv_contrib模块。
https://docs.opencv.org/4.x/d7/d9f/tutorial_linux_install.html
# Install minimal prerequisites (Ubuntu 18.04 as reference)
sudo apt update && sudo apt install -y cmake g++ wget unzip
# Download and unpack sources
wget -O opencv.zip https://github.com/opencv/opencv/archive/4.x.zip
wget -O opencv_contrib.zip https://github.com/opencv/opencv_contrib/archive/4.x.zip
unzip opencv.zip
unzip opencv_contrib.zip
# Create build directory and switch into it
mkdir -p build && cd build
# Configure
cmake -DOPENCV_EXTRA_MODULES_PATH=../opencv_contrib-4.x/modules ../opencv-4.x
# Build
cmake --build .
注意默认安装路径是/usr/local。
- 头文件在
/usr/local/include/opencv4 - 链接库在
/usr/local/lib - cmake文件在
/usr/local/cmake。
我们知道这三个就够了。可以用-D CMAKE_INSTALL_PREFIX=来指定安装路径。
这里假定为默认路径/usr/local。
如果你不想自己编译可以用我打包好的
https://github.com/sixsixQAQ/opencv4-dev
$dpkg --info opencv4-dev.deb
 新格式的 Debian 软件包格式版本 2.0。
 大小 16311436 字节主控包=380 字节。
     265 字节    9 行      control
 Package: opencv4-dev
 Version: 1.0
 Architecture: amd64
 Maintainer: sixqaq@outlook.com
 Description: OpenCV4 development package with opencv-contrib module.
        binary:         /usr/local/bin
        includes:       /usr/local/include/opencv4
        lib:            /usr/local/lib
        share:          /usr/local/share
二、编译安装seetaface6
1. 去github找到seetafce6这个只是个是demo我们先不管它

2. 根据提示seetaface6源码在SeetaFace6Open
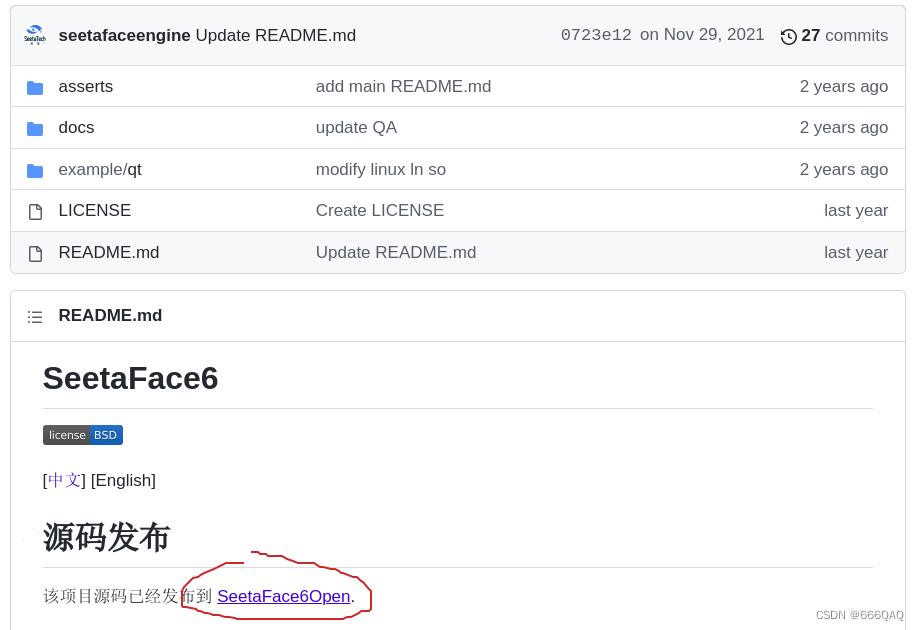
3. 根据提示下载
git clone --recursive https://github.com/SeetaFace6Open/index.git

4. 编译
然后会有一个index文件夹我们需要挨个模块编译按个进入它们的craft文件夹运行build.linux.x64.sh。
但是编译有顺序要求否则有的会无法编译通过。
这里给个编译脚本
#!/bin/bash

modules="OpenRoleZoo
SeetaAuthorize
TenniS
FaceBoxes
FaceRecognizer6
FaceTracker6
Landmarker
PoseEstimator6
QualityAssessor3
SeetaAgePredictor
SeetaEyeStateDetector
SeetaGenderPredictor
SeetaMaskDetector
FaceAntiSpoofingX6"

for dir in $modules
do
        cd $dir/craft
        bash build.linux.x64.sh
        cd -
done
编译得到的东西在index/build里面有头文件、链接库、.cmake文件是我们开发和编译demo需要的。
5.配置路径/安装
你需要将编译出的文件配置到位放到/usr/lib、/usr/incldue等位置这样弊端是卸载不方便或者在你的项目构建文件中填写头文件路径、链接库路径弊端是比较繁琐不方便迁移否则会找不到文件。
我的做法是把它打包成.deb推荐方便安装和卸载https://github.com/sixsixQAQ/seetaface6-dev
$dpkg --info seetaface6-dev.deb
 新格式的 Debian 软件包格式版本 2.0。
 大小 5529512 字节主控包=360 字节。
     226 字节    9 行      control
 Package: seetaface6-dev
 Version: 1.0
 Architecture: amd64
 Maintainer: sixqaq@outlook.com
 Description: seetaface6 development package.
        binary:         /usr/bin
        headers:        /usr/include
        lib:            /usr/lib/seetaface6
        cmake:          /usr/lib/cmake
你也可以自己打包很简单教程参见如何制作deb包
三、安装Qt5
由于demo用的是qt5所以要安装qt5。
安装略。
建议完美解决QT在线安装太慢
四、配置sqlite
apt install sqlite3 libsqlite3-dev
这里sqlite3是命令行工具-dev的是开发包我们两个都需要。
五、编译运行seetaface6-demo
1.修改pro文件
删除seetaface6-demo中的.pro.user文件然后用qt creator打开.pro文件把Qt5勾上来重新配置项目。
这个demo用的qmake我们需要修改那个.pro文件这里只求在linux运行即可所以我把windows的全删除了。
seetaface6-dev包中把seetaface6链接库安装到了/usr/lib/seetaface6修改一下头文件路径和链接库路径即可。
#-------------------------------------------------
#
# Project created by QtCreator 2020-03-16T14:40:38
#
#-------------------------------------------------

QT       += core gui sql

greaterThan(QT_MAJOR_VERSION, 4): QT += widgets

TARGET = seetaface_demo
TEMPLATE = app

# The following define makes your compiler emit warnings if you use
# any feature of Qt which has been marked as deprecated (the exact warnings
# depend on your compiler). Please consult the documentation of the
# deprecated API in order to know how to port your code away from it.
DEFINES += QT_DEPRECATED_WARNINGS

# You can also make your code fail to compile if you use deprecated APIs.
# In order to do so, uncomment the following line.
# You can also select to disable deprecated APIs only up to a certain version of Qt.
#DEFINES += QT_DISABLE_DEPRECATED_BEFORE=0x060000    # disables all the APIs deprecated before Qt 6.0.0


SOURCES += \
        main.cpp \
        mainwindow.cpp \
    videocapturethread.cpp \
    inputfilesprocessdialog.cpp \
    resetmodelprocessdialog.cpp

HEADERS += \
        mainwindow.h \
    videocapturethread.h \
    inputfilesprocessdialog.h \
    resetmodelprocessdialog.h

forms += \
        mainwindow.ui

#linux:
INCLUDEPATH += /usr/local/include/opencv4

#OpenCV的链接库安装路径这里是/usr/local/lib
LIBS += -L/usr/local/lib -lopencv_core -lopencv_imgproc -lopencv_highgui -lopencv_videoio -lopencv_imgcodecs
#seetaface6链接库的路径这里是/usr/lib/seetaface6
LIBS += -L/usr/lib/seetaface6 -lSeetaFaceDetector600 -lSeetaFaceLandmarker600 \
        -lSeetaFaceAntiSpoofingX600 -lSeetaFaceTracking600 -lSeetaFaceRecognizer610 \
        -lSeetaQualityAssessor300 -lSeetaPoseEstimation600 -lSeetaAuthorize -ltennis

RESOURCES += \
    face_resource.qrc
2.下载模型
github上有模型的链接下载、解压并放到你的Qt构建目录下重命名为models
3.运行
点击绿三角运行。
建议没摄像头的买个摄像头。