

Android Studio实现音乐播放器2.0_android音乐播放器
| 阿里云国内75折 回扣 微信号:monov8 |
| 阿里云国际,腾讯云国际,低至75折。AWS 93折 免费开户实名账号 代冲值 优惠多多 微信号:monov8 飞机:@monov6 |
项目目录
一、引言
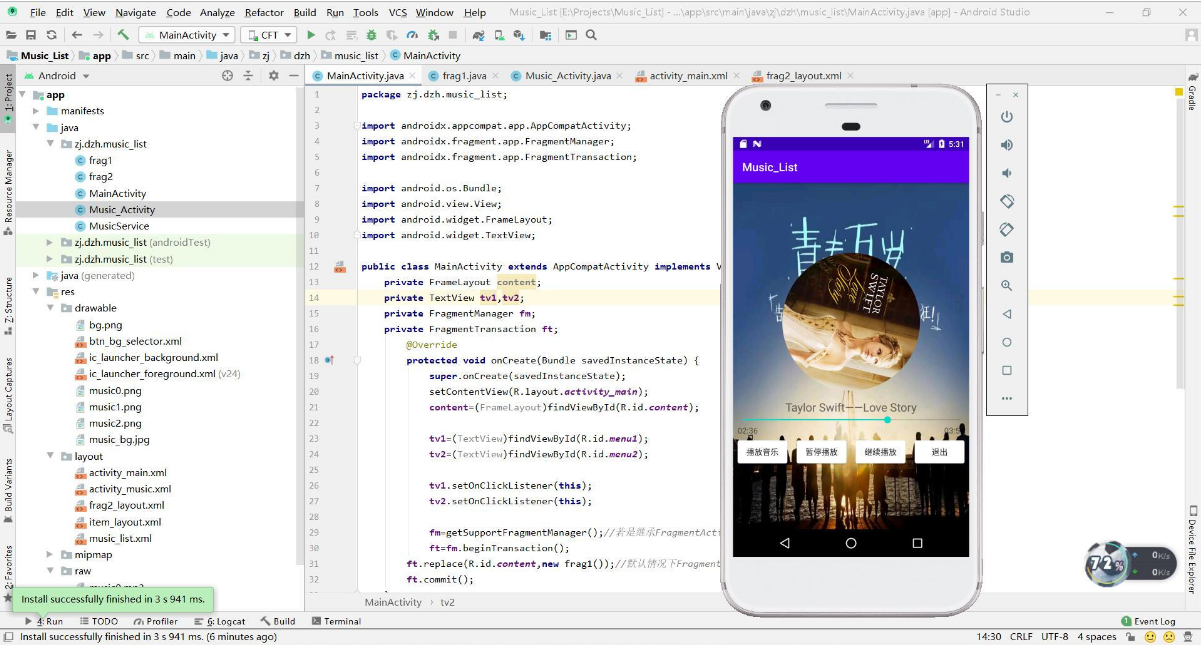
博主在一年前发过一篇用Android实现音乐播放器的教程Android Studio如何实现音乐播放器简单易上手。当时实现的功能也很简单就是播放音乐、暂停音乐、继续播放、退出播放、显示音乐列表和专辑封面的功能。如下图所示
🌾2、控件UI优化
2.1、音乐播放器按钮用自带的样式看起来对用户很不友好。所以博主又花了几个小时从各大图标网站找到了一款比较中意的UI图这里推荐给大家一个超级好用的阿里巴巴矢量图标库。
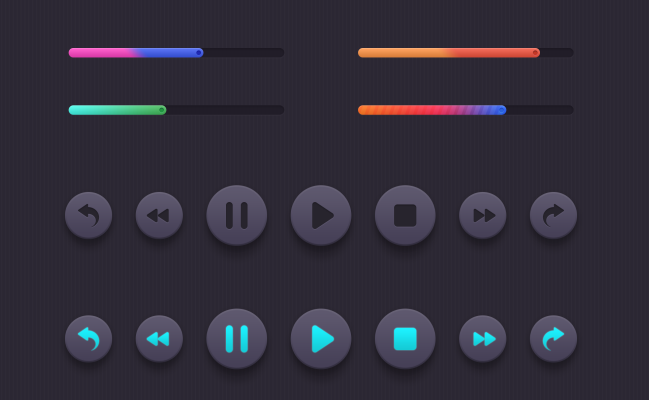
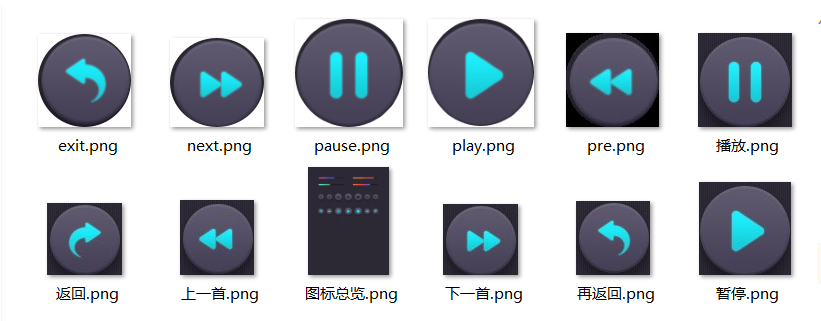
2.2、通过WPS图片剪切将它们裁剪成圆形图标效果如下图所示
2.3、然后修改layout文件这里要将播放按钮、暂停按钮、继续播放按钮三个按钮进行重叠。我通过android:layout_centerHorizontal="true"来将它们三个全部水平居中这样就重叠在一起了但是重叠顺序也必须有讲究最上层的是播放按钮btn_play第二层是暂停按钮btn_pause第三层是
继续播放按钮btn_continue_play。
同学甲为什么最上层的是播放按钮
博主因为播放按钮点击之后要让它消失而且用以后不再出现所以它必须放第一个。
同学乙为什么第二层的是暂停按钮
博主因为播放歌曲后肯定要能暂停歌曲所以要能显示暂停按钮而且暂停按钮点击之后会消失显示最底下的继续播放按钮。
同学丙那我按下继续播放按钮是不是歌曲继续播放继续播放按钮消失然后暂停按钮出现
博主你说的没错就是这样的逻辑。
这里给出完整的activity_music代码
<?xml version="1.0" encoding="utf-8"?>
<LinearLayout
    xmlns:android="http://schemas.android.com/apk/res/android"
    xmlns:tools="http://schemas.android.com/tools"
    android:layout_width="match_parent"
    android:layout_height="match_parent"
    android:background="@drawable/music_bg"
    tools:context=".MusicActivity"
    android:gravity="center"
    android:orientation="vertical">

    <ImageView
        android:id="@+id/iv_music"
        android:layout_width="240dp"
        android:layout_height="240dp"
        android:layout_gravity="center_horizontal"
        android:layout_margin="15dp"
        android:src="@drawable/music0"/>
    <TextView
        android:id="@+id/song_name"
        android:layout_width="wrap_content"
        android:layout_height="wrap_content"
        android:text="歌曲名"
        android:textSize="20sp"/>
    <SeekBar
        android:id="@+id/sb"
        android:layout_width="match_parent"
        android:layout_height="wrap_content" />
    <RelativeLayout
        android:layout_width="match_parent"
        android:layout_height="wrap_content"
        android:paddingLeft="8dp"
        android:paddingRight="8dp">
        <TextView
            android:id="@+id/tv_progress"
            android:layout_width="wrap_content"
            android:layout_height="wrap_content"
            android:text="00:00"/>
        <TextView
            android:id="@+id/tv_total"
            android:layout_width="wrap_content"
            android:layout_height="wrap_content"
            android:layout_alignParentRight="true"
            android:text="00:00"/>
    </RelativeLayout>
    <RelativeLayout
        android:layout_width="match_parent"
        android:layout_height="wrap_content">
        <Button
            android:id="@+id/btn_continue_play"
            android:layout_width="80dp"
            android:layout_height="80dp"
            android:layout_centerHorizontal="true"
            android:background="@drawable/play"/>
        <Button
            android:id="@+id/btn_pause"
            android:layout_width="80dp"
            android:layout_height="80dp"
            android:layout_centerHorizontal="true"
            android:background="@drawable/pause"/>
        <Button
            android:id="@+id/btn_play"
            android:layout_width="80dp"
            android:layout_height="80dp"
            android:layout_centerHorizontal="true"
            android:background="@drawable/play" />
        <Button
            android:id="@+id/btn_pre"
            android:layout_width="60dp"
            android:layout_height="60dp"
            android:background="@drawable/pre"
            android:layout_centerVertical="true"
            android:layout_marginRight="10dp"
            android:layout_toLeftOf="@id/btn_play"/>

        <Button
            android:id="@+id/btn_next"
            android:layout_width="60dp"
            android:layout_height="60dp"
            android:background="@drawable/next"
            android:layout_centerVertical="true"
            android:layout_marginLeft="10dp"
            android:layout_toRightOf="@id/btn_play"/>
        <Button
            android:id="@+id/btn_exit"
            android:layout_width="60dp"
            android:layout_height="60dp"
            android:background="@drawable/exit"
            android:layout_centerVertical="true"
            android:layout_marginLeft="30dp"
            android:layout_toRightOf="@id/btn_next"/>

    </RelativeLayout>
</LinearLayout>
还有很多控件样式都定义在drawable中这里不再详细展示细节非常多。
🍁3、登录和注册
这部分内容就是模板类博主在QQ页面跳转这篇中讲的很清楚代码也是如法炮制。
应用一进去就是登录的activity
然后点击注册按钮进入注册的activity
然后注册完返回登录界面进行登录
登录成功进入主界面。
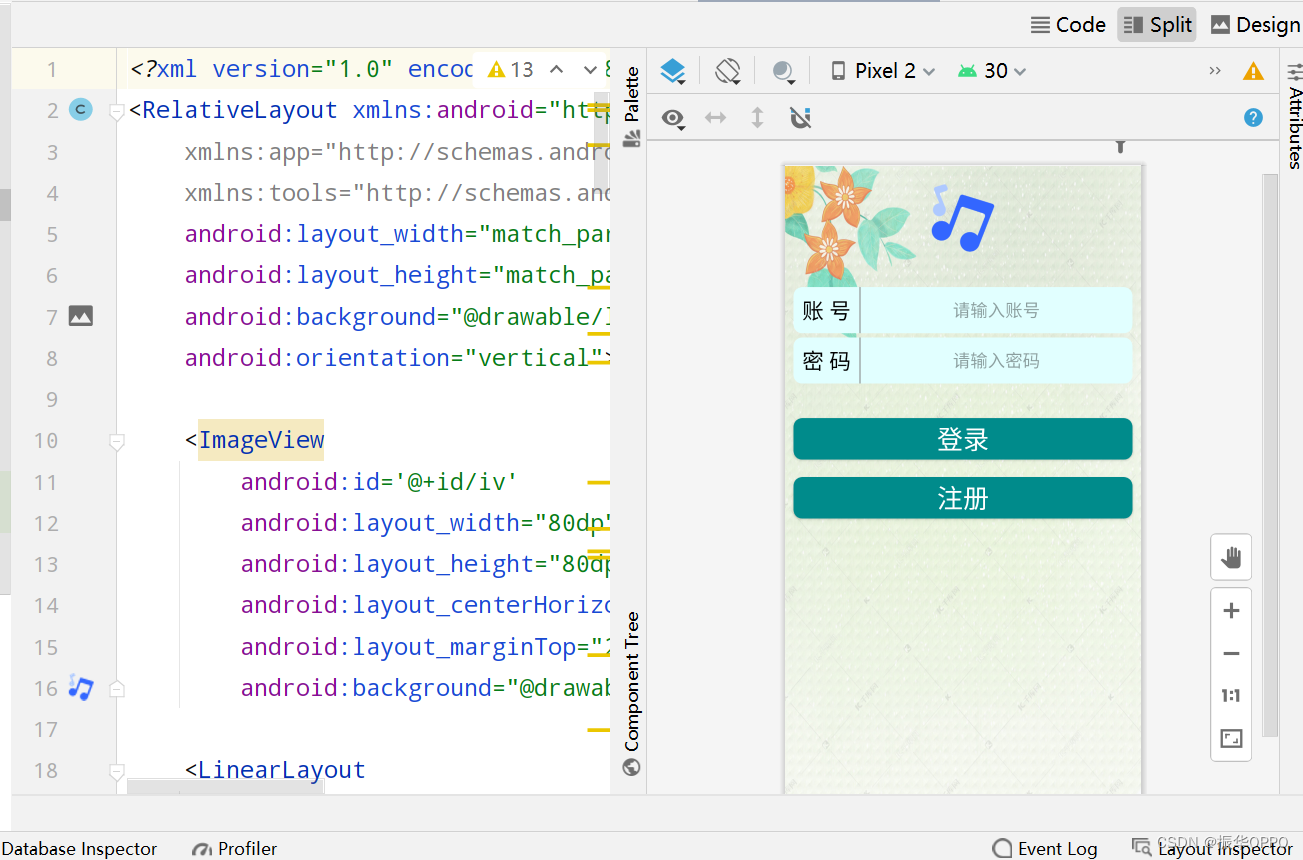
🦄这是登录界面
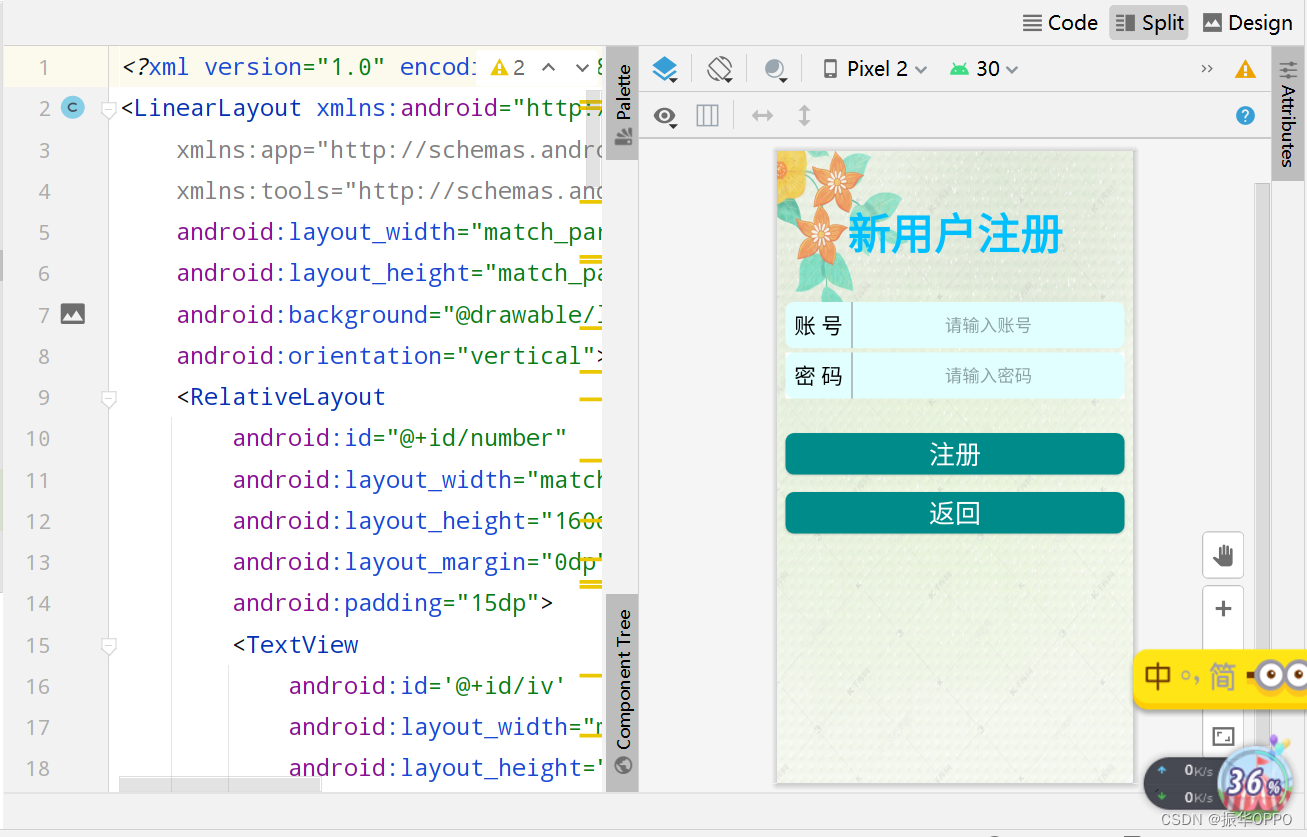
🐴这是注册界面
🌴4、数据库设计
这是DataBaseHelper类的完整代码使用是android自带的sqlite数据库。创建了music.db这个数据库然后创建了user表用来存放user的account以及password也是非常标准的模板。数据库中的CRUD操作在UserDao中这里不再详细讲述。
public class DataBaseHelper extends SQLiteOpenHelper {
    public static final String DATABASE = "music.db";
    public static final int VERSION = 1;
    private Context mContext;

    //建表语句定义成字符串常量
    public static final String CREATE_USER = "create table user ("
            + "account text primary key,"
            + "password text)";

    //创建DB对象时的构造函数
    public DataBaseHelper(Context context) {
        super(context, DATABASE, null, VERSION);
    }

    @Override
    public void onCreate(SQLiteDatabase db) {
        db.execSQL(CREATE_USER);
    }

    @Override
    public void onUpgrade(SQLiteDatabase db, int oldVersion, int newVersion) {

    }
}
🌻5、歌手导航栏
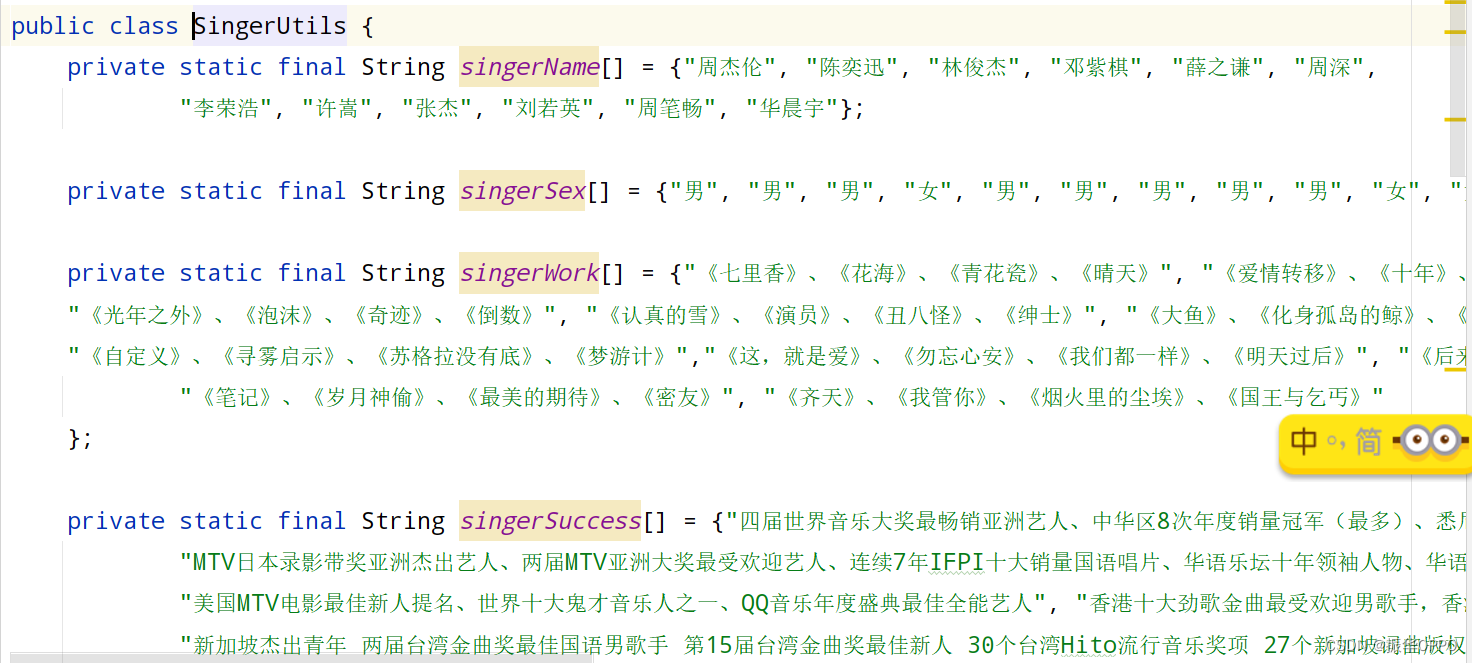
在Bean包下先创建了Singer类定义歌手属性实现构造方法和get、set方法。然后在SingerUtils中定义了歌手属性的数组是每位歌手的详细资料。
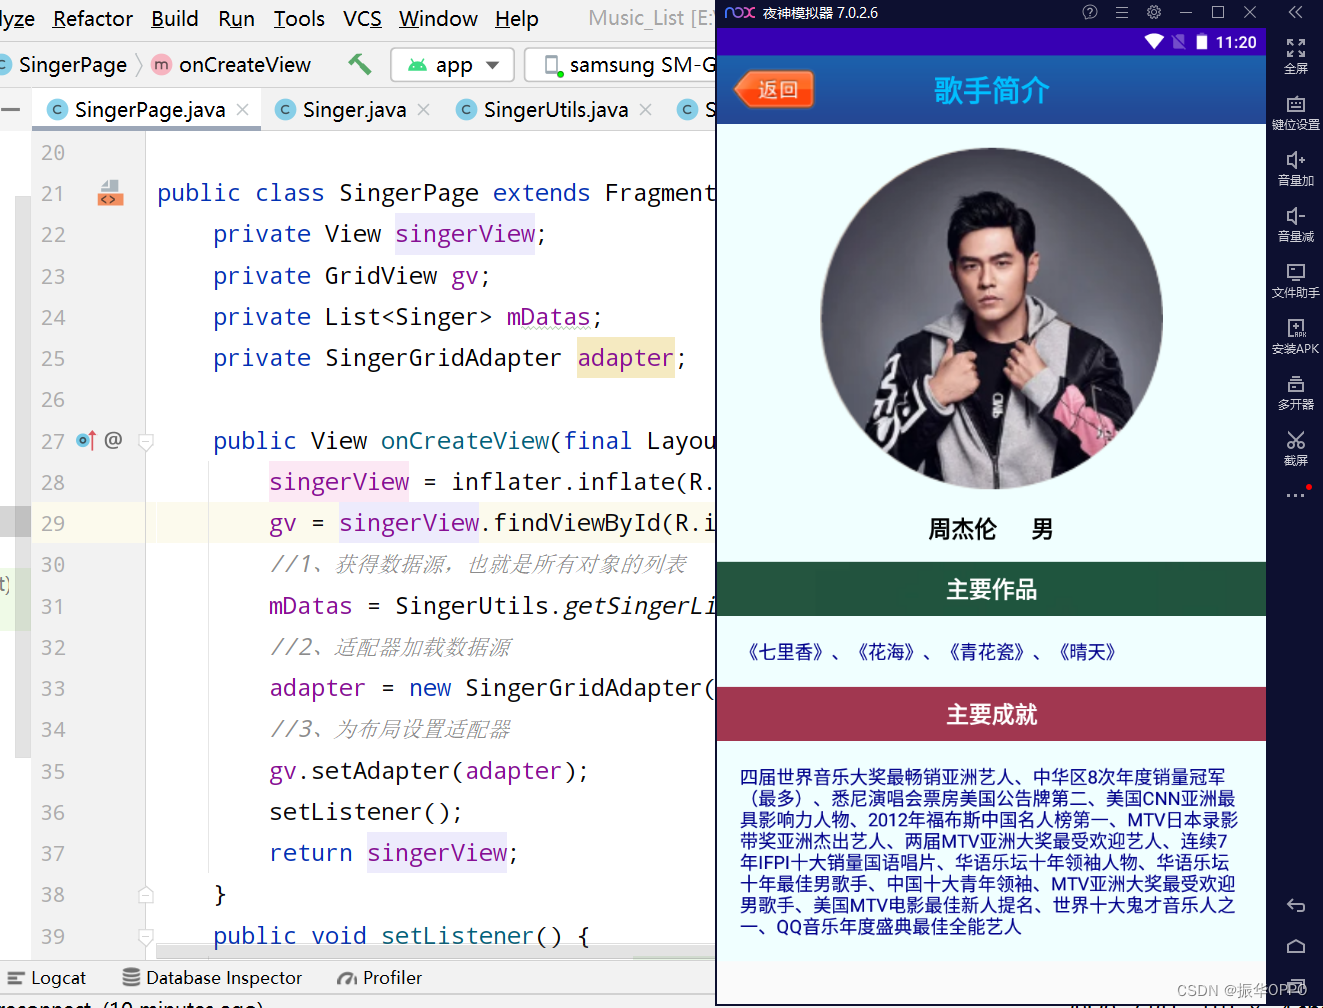
接着创建了SingerGridAdapter适配器在每个子项中显示每位歌手的信息使用ViewHodler复用item的空间防止内存泄漏。最后在SingerPage的碎片中为GridView设置适配器。
        //1、获得数据源也就是所有对象的列表
        mDatas = SingerUtils.getSingerList();
        //2、适配器加载数据源
        adapter = new SingerGridAdapter(getContext(), mDatas);
        //3、为布局设置适配器
        gv.setAdapter(adapter);
歌手导航栏界面如下

点击可以进入每位歌手的详情界面
五、运行效果
Android Studio实现音乐播放器2.0
六、项目总结
本次项目主要是对最初版本的音乐播放器进行功能和UI上的优化实现起来并不算复杂但是细节非常多UI设计也很花时间。其实不管遇到什么问题都应该耐心去分析问题然后想出解决思路最后解决问题。这个过程可能会很短暂也可能会很漫长但是我们要相信没有什么难题可以困住自己。
七、源码获取
点击右侧链接即可下载源码👉Android Studio实现音乐播放器2.0👈
🍉还可以关注我的公众号《萌新加油站》🍍后台回复音乐播放器2.0
✨还有很多优质的Android项目等你来学习~
🚀这有你错过的精彩内容
在你考虑是否读博前先安稳读完硕士然后看看自己是不是写文章的料到那时候你就自然想清楚这个问题了硕博连读然后毕业遥遥无期的很多很多先走好脚下的路。